.svg)


รูปลักษณ์โฉมใหม่แต่ยังเป็นผลิตภัณฑ์ที่ยอดเยี่ยมเช่นเดิม! HelloSign เปลี่ยนเป็น Dropbox Sign แล้วตอนนี้
Close deals faster, boost productivity, and keep your team organized with the powerhouse combination of eSignatures and HubSpot CRM.
Discover the power of the Dropbox Sign HubSpot eSignature integration, designed to empower your sales team. Explore the benefits and see how this combination streamlines the signing process—ultimately leading to a smoother, faster experience that boosts customer satisfaction.
Connect Dropbox Sign with HubSpot
eSignatures are an essential tool for streamlining sales processes, reducing administrative tasks, and accelerating deal closures. Integrating eSignatures with your CRM can further enhance these benefits.
By connecting Dropbox Sign to HubSpot, you gain significant efficiencies. This integration offers audit trails, real-time tracking, and automated reminders. Plus, you can manage all these features directly within the familiar HubSpot interface.

Why your sales team needs HubSpot document signing
Implementing HubSpot document signing boosts your team's productivity, while clients enjoy a smooth, hassle-free signing experience. This integrated approach not only enhances efficiency but also elevates the overall customer experience, driving greater success for your sales team.
By leveraging automated workflows and pre-built templates, your sales reps can finalize deals more swiftly and efficiently, enhancing the end customer’s experience. Real-time tracking and auto-filled documents ensure precision, which keeps both your team and your customers satisfied, leading to higher customer satisfaction and loyalty.
What are the benefits of a HubSpot eSignature integration?
Connecting Dropbox Sign with your HubSpot CRM offers a suite of digital-first benefits that streamline the sales process.
Time saving: Utilize templates for faster, smoother sending
Using templates in your HubSpot CRM allows you to swiftly send out standardized documents, ensuring consistency and saving valuable time. This integration allows you to pre-fill data fields, ensuring accuracy and saving time—like Symphonic who leveraged over 60 pre-built templates to send out 400+ signature requests monthly, saving countless hours in the process.
The seamless workflow reduces the potential for errors and accelerates the entire process, from document creation to sending. By automating these steps, your sales team can focus more on engaging with leads and closing deals rather than administrative tasks.

With Dropbox Sign's easy template creation and integration capabilities, you can upload documents, designate signers, insert necessary fields, and send contracts directly within HubSpot.
You can also easily turn contracts, NDAs, proposals, and more into ready-to-use templates—so you don’t have to start from scratch every time.
Error reduction: Minimize data entry errors with autofill features
With the ability to autofill data from your HubSpot CRM into your templates, there will be less data entry work, fewer errors, and more time closing deals. Additionally, the integration ensures that all signed documents are automatically stored and organized within HubSpot, providing easy access and maintaining a complete record of all interactions. This not only improves efficiency but also enhances the overall customer experience by making the signing process more convenient.
Enhanced efficiency: Automated workflows and reduce manual tasks
Using siloed applications may seem manageable, but they often hinder productivity and introduce errors. Dropbox Sign for HubSpot eliminates these barriers by automating contract signing processes. This means no more manual tracking or follow-ups, drastically reducing the chance for mistakes.
The Dropbox Sign for HubSpot eSignature integration automates multi-signer requests directly from your CRM. After the first signer completes their part, Dropbox Sign automatically sends a request to the next person, eliminating the hassle of managing the signing process.
Additionally, Dropbox Sign sends automatic reminders for unsigned documents, saving you from manually chasing down unresponsive signees. This allows you to focus on closing deals, while eSignatures handle the behind-the-scenes tasks seamlessly and efficiently.
Stay informed and improve responsiveness with real-time tracking and alerts
Monitoring multiple signature requests doesn't have to be a stress. With the HubSpot eSignature integration, tracking the status of signatures is straightforward and efficient.
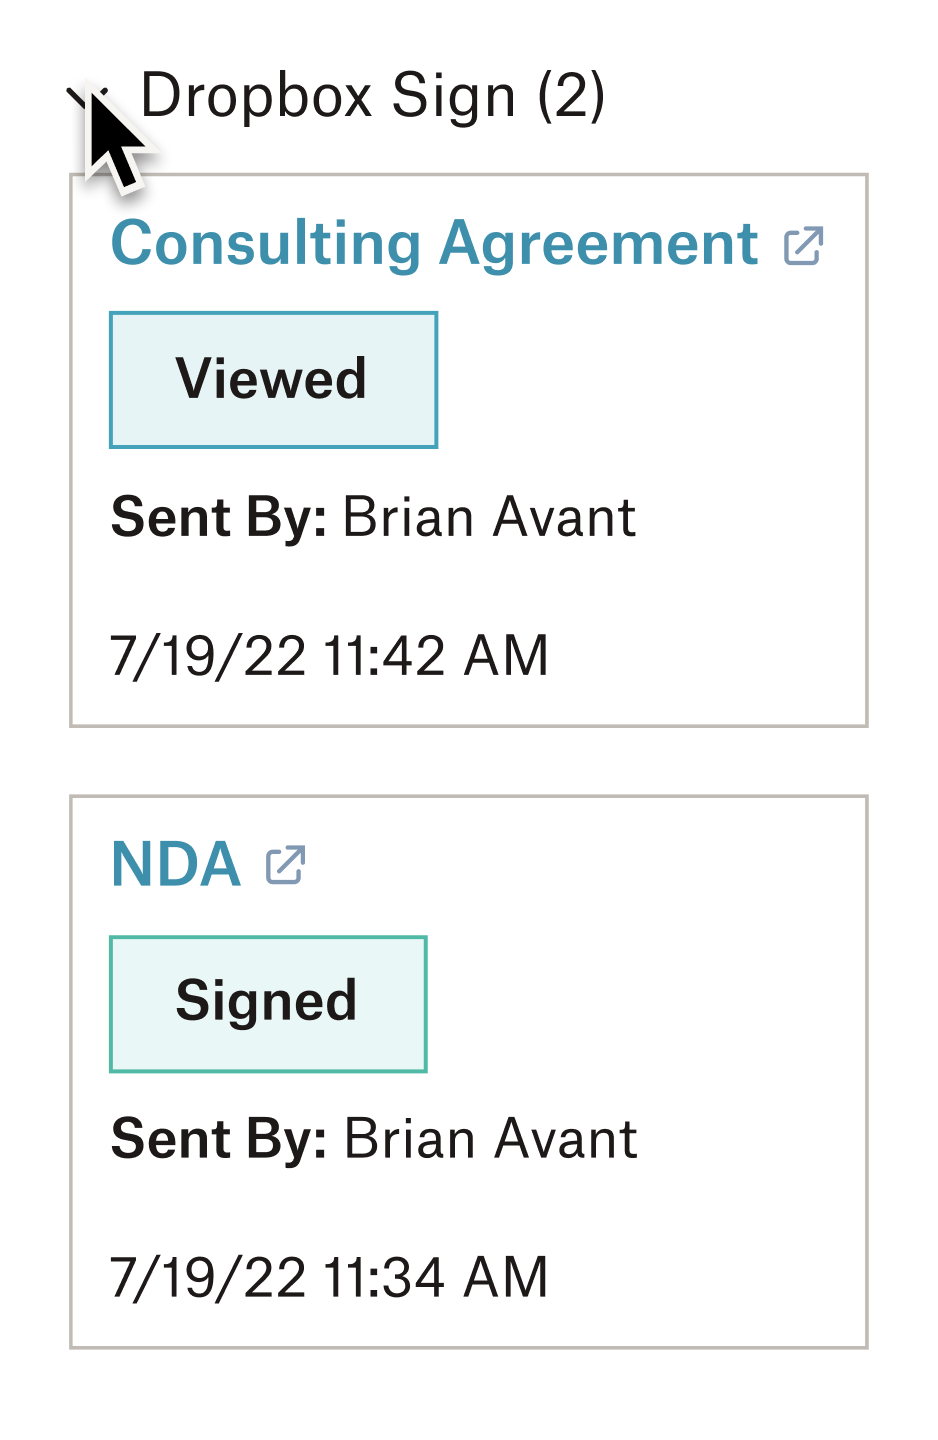
As soon as a request is sent out, the signature status updates in real-time on the Dropbox Sign CRM card within HubSpot. This allows you to effortlessly monitor who has received, opened, and signed a signature request, and identify any overdue actions.
Seamless document management: Automatically organize and store signed documents within HubSpot
Additionally, all signed contracts and documents are automatically saved to their corresponding HubSpot records. This seamless integration ensures that all documents are organized and easily accessible for every team member, streamlining your document management process and enhancing overall efficiency. As a result, your team can quickly retrieve any document, respond to customer inquiries promptly, and maintain a high level of service.
Improved customer satisfaction: Provide a smooth, hassle-free signing experience
Providing a smooth, hassle-free signing experience is key to enhancing customer satisfaction. With the Dropbox Sign and HubSpot integration, customers benefit from a fast and efficient signing process, which eliminates delays and frustrations.
By reducing manual errors and administrative tasks, your team can focus more on customer interactions and less on paperwork. The real-time tracking and automated reminders mean that your customers and clients receive timely updates and can complete signing processes quickly and efficiently. This not only speeds up the entire transaction process but also enhances the overall customer experience, leading to higher satisfaction and loyalty.
How to integrate Dropbox Sign eSignatures into HubSpot
Integrating Dropbox Sign with HubSpot is a straightforward process that takes only a few minutes. Follow these steps to enable sending signature requests directly from your HubSpot CRM efficiently.
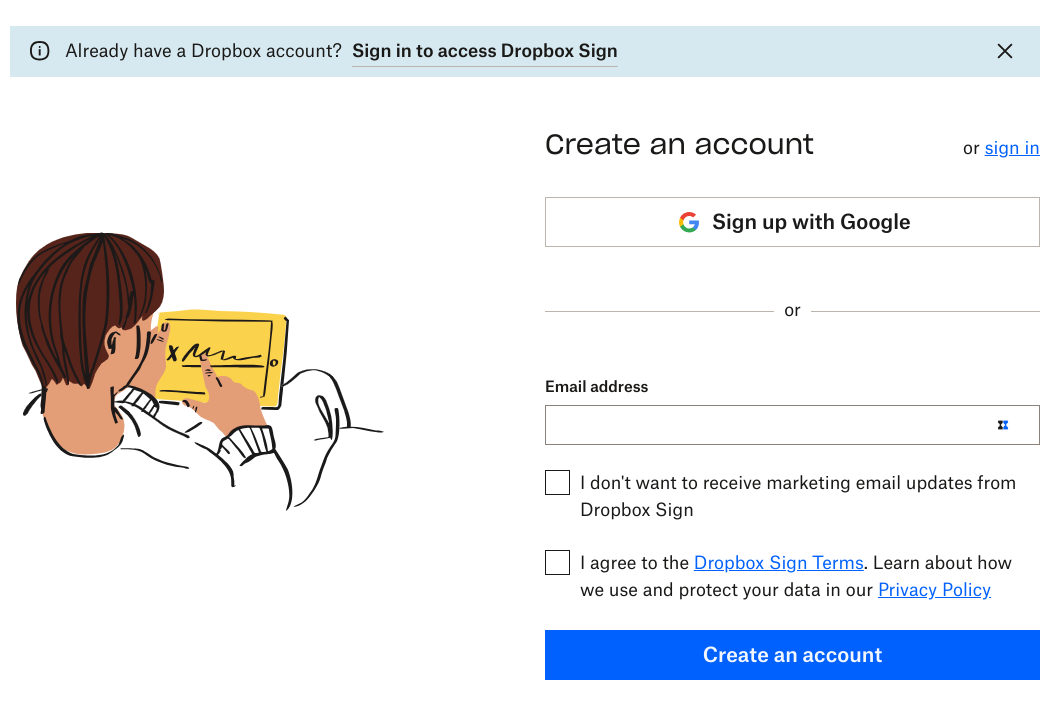
Step 1: Create a Dropbox Sign account (if you haven't already)
The setup process is quick and easy. It can also be done through the Dropbox app. If you have an account already, simply sign in.
Step 2: Install and connect to HubSpot
For this step, it’s best to have a HubSpot Super Admin authorize the installation via the App Marketplace on HubSpot.
Start by signing into app.hubspot.com, then click the store icon next to the search bar and choose App Marketplace.
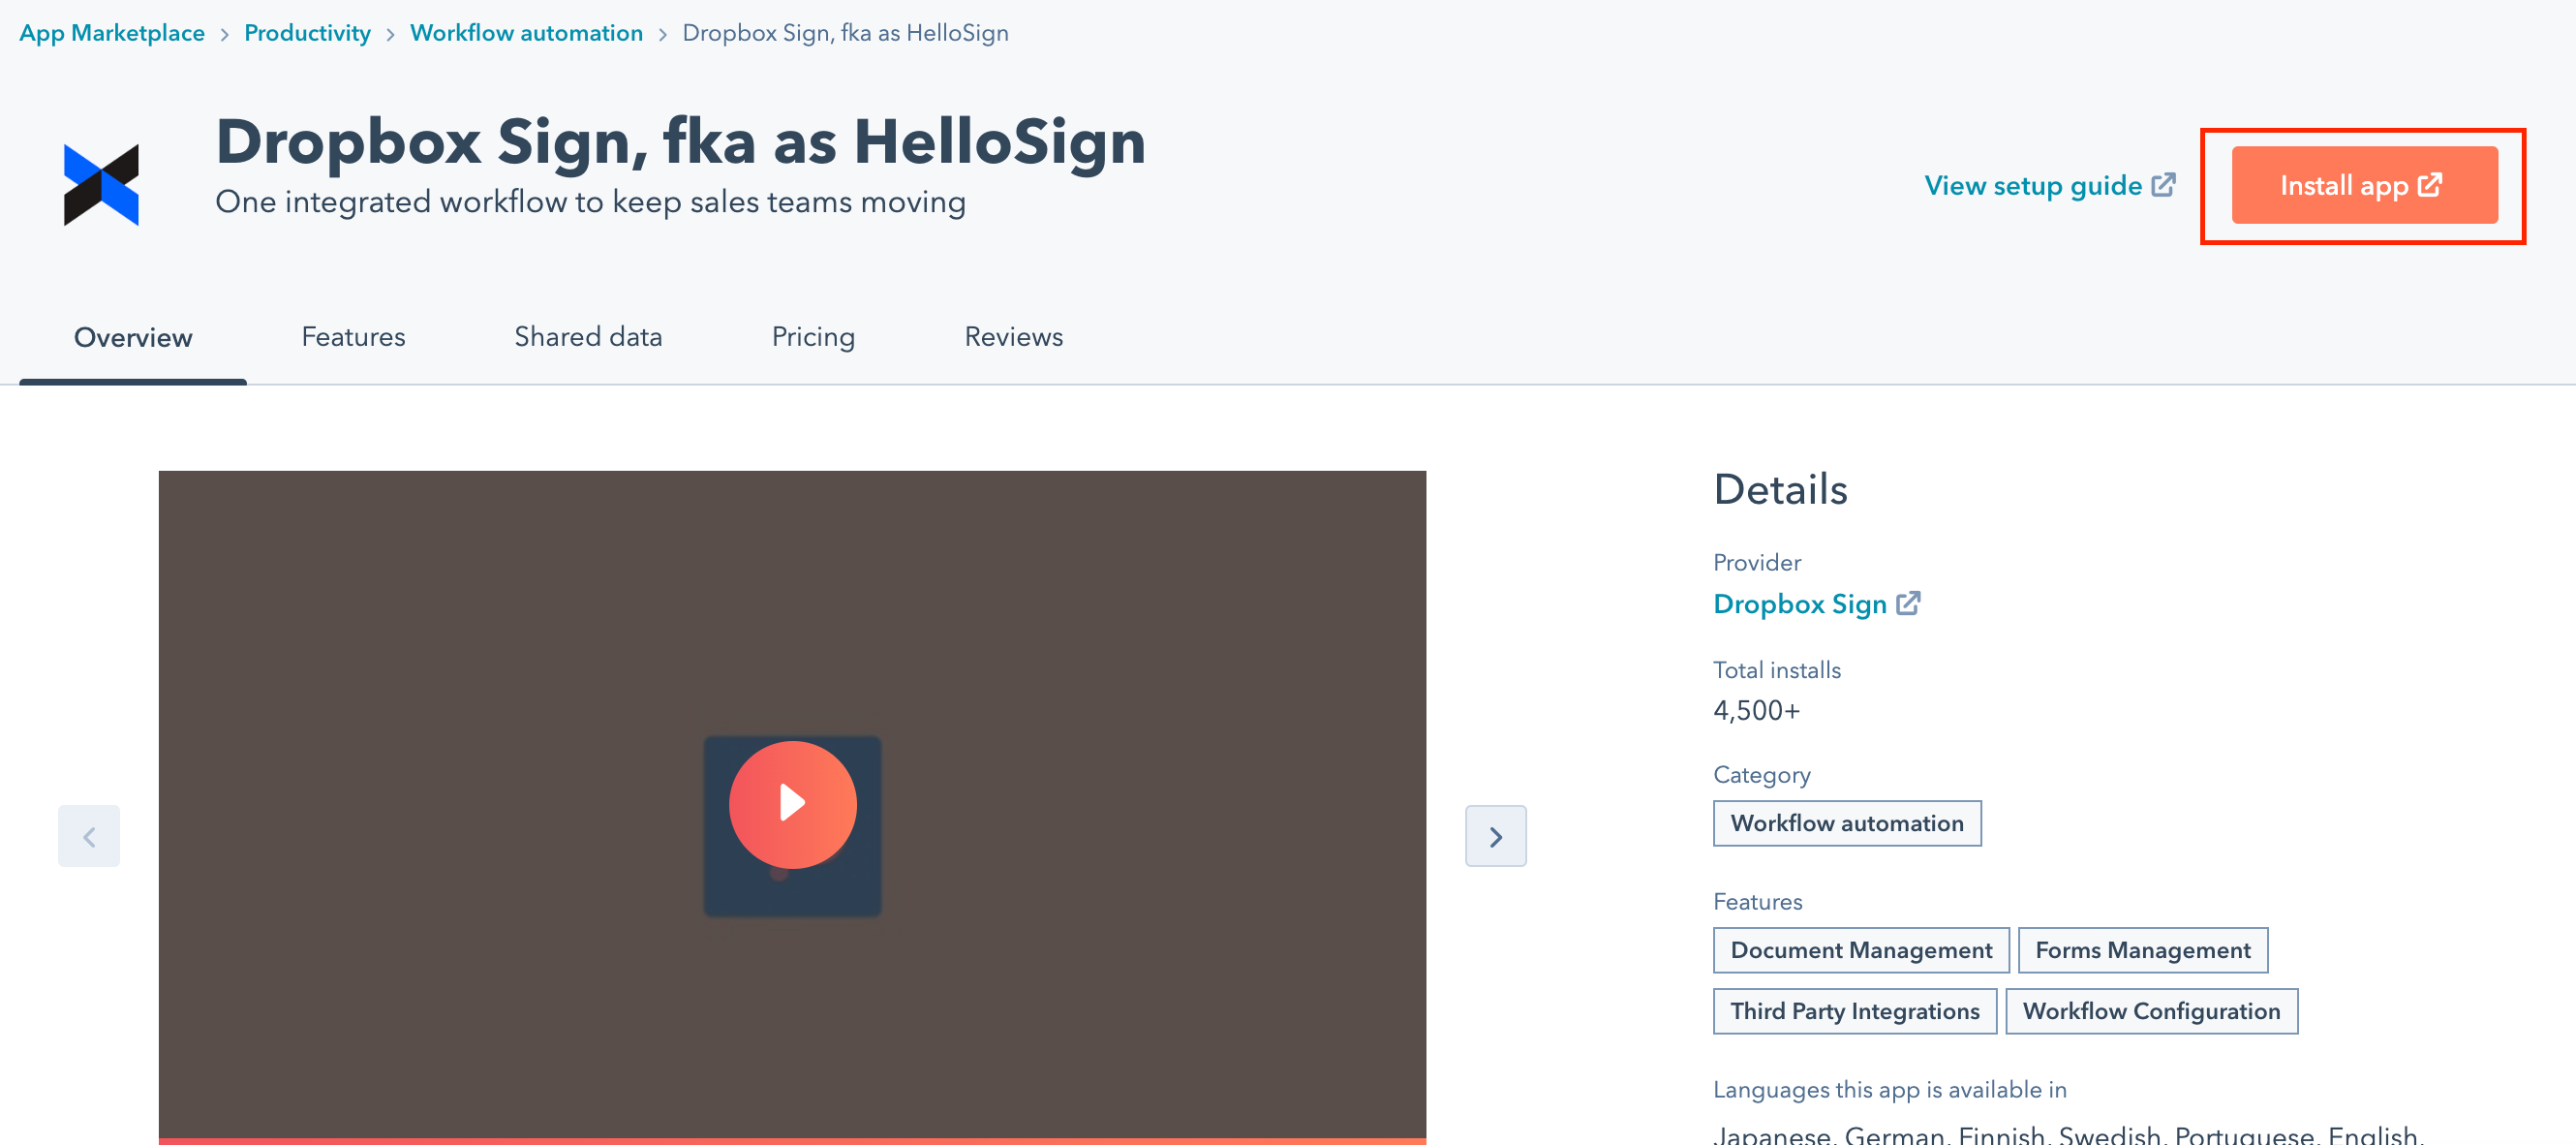
From there, search for Dropbox Sign and click Install app on the listing page.
Step 3: Connect Dropbox Sign to your HubSpot CRM
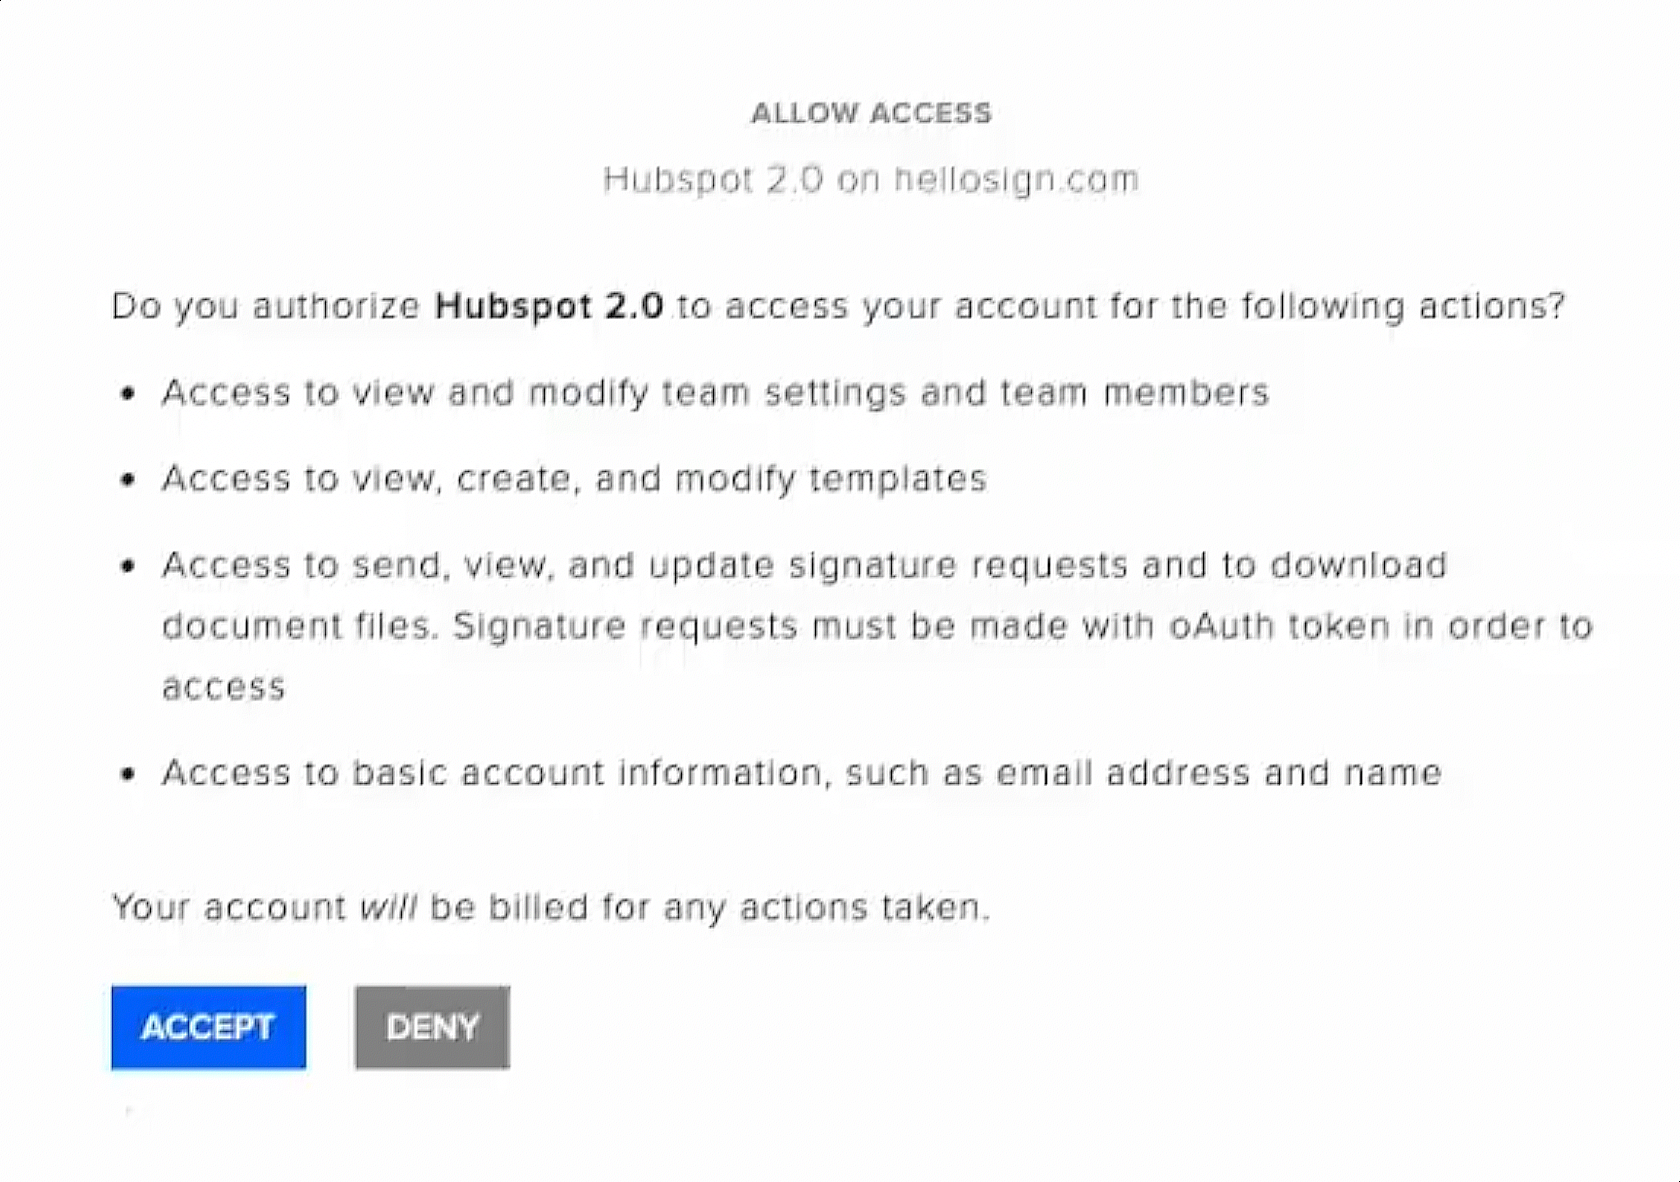
A new tab will open where you can enter your Dropbox Sign login information. Then click Accept to give HubSpot access to your Dropbox Sign account.
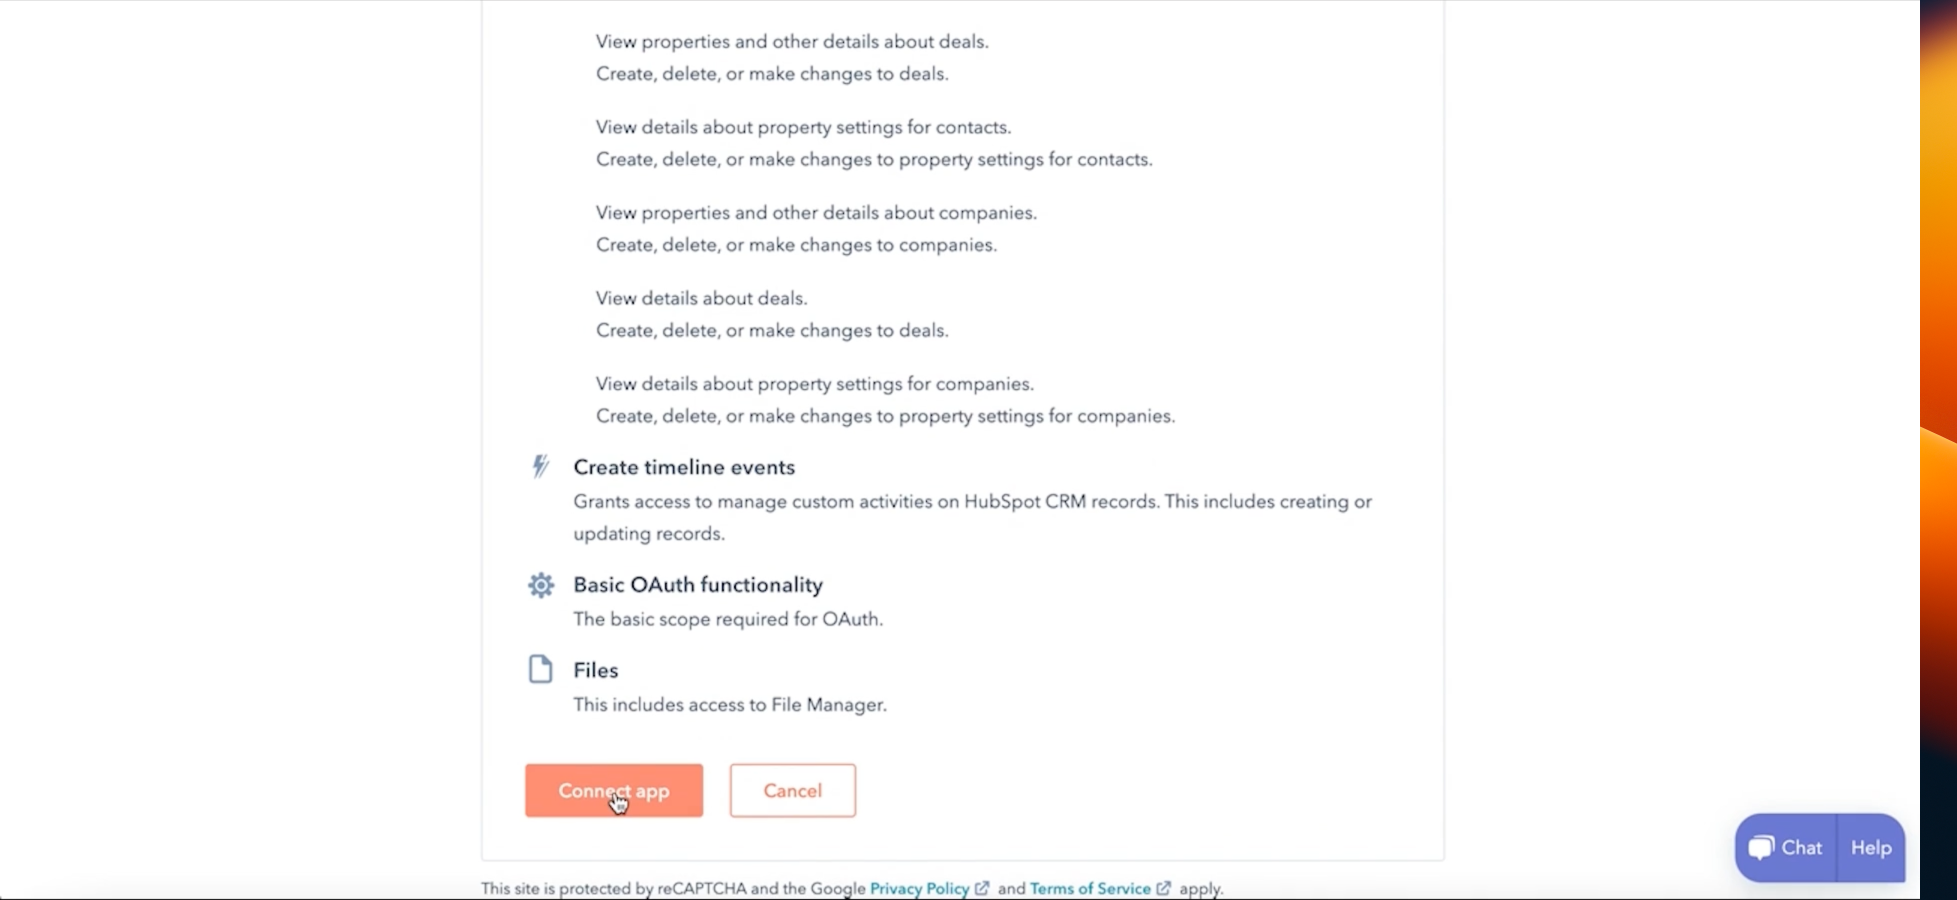
Finish by choosing the HubSpot account you want to connect to and click Connect App to authorize Dropbox Sign access to your HubSpot account.
How to use Dropbox Sign eSignatures with HubSpot
Ready to streamline your document signing process and save time? Then utilize templates and automation within HubSpot eSignatures with some of these features:
Build powerful workflows with templates
Templates are your key to efficiency. Create them in HubSpot with ease:
- Access the Dropbox Sign CRM card and select Create Template
- Upload your document: Drag and drop or choose the file you want to use
- Add signer roles: Specify who needs to sign (up to 20 individuals)
- Insert signature fields: Drag and drop the necessary fields from the sidebar onto your document.
Pro Tip: Use HubSpot properties for automatic data population, reducing errors and saving time.
- Name your template: Choose a clear and descriptive title.
- Save and return to HubSpot.

Automate documents with HubSpot records
Leverage HubSpot data to auto-fill documents and streamline your workflow:
- Navigate to a Contact, Company, or Deal Record
- Access the Dropbox Sign CRM card and choose Create Template
- Upload documents: Drag and drop or select the files you want to include
- Add signer roles: Specify who needs to sign
- Autofill with HubSpot properties: Select HubSpot under Signer and drag the desired property fields onto your document
- Name your template and save
Send signature requests with ease
- Navigate to a Contact, Company, or Deal Record
- Within the Dropbox Sign CRM card, select Send Template
- Choose your template: Select the pre-built template you want to use
- Add signers: Enter the names and email addresses of those who need to sign. If you're sending from their contact record, the name and email address of the first signer will autofill. If you've bought the Qualified eSignature (QES) add-on, you can also choose to Enable Qualified eSignature
- Review and send: Double-check everything looks good, then hit Send for Signature
How to get the most out of the Dropbox Sign and Hubspot eSignature integration
With your Dropbox Sign account linked to HubSpot, you can effectively manage your contracts, improve efficiency, and ensure a smooth eSignature process within your CRM.
This integration provides a powerful and user-friendly system for managing contracts, allowing you to define signer roles, drag and drop signature fields, and utilize HubSpot properties for automatic data population. By setting up workflows in HubSpot, you can automate signature requests based on specific triggers, ensuring consistency and saving time.
Additionally, you can monitor the status of your eSignature requests directly within HubSpot, receiving notifications as documents are viewed, signed, and completed. By integrating with other tools like Slack, Zoom, Google Workspace, and Microsoft Office, you can further enhance collaboration and streamline your processes. This comprehensive solution boosts efficiency and ensures a seamless eSignature process within your CRM.
Integrating Dropbox Sign with HubSpot CRM offers a multitude of benefits:
- For your team: Improved efficiency, reduced errors, and significant time savings
- For your customers: A smoother, faster, and more reliable signing process that enhances their overall experience and satisfaction
Start signing faster with Hubspot eSignatures today
Ready to transform your sales process? Discover the Dropbox Sign for HubSpot integration today and start streamlining your contract signing process. Sign up now for an easier, faster way to close deals.
Begin your journey to streamlined sales with HubSpot and Dropbox Sign.
ได้รับข้อมูลเสมอ
ขอบคุณ!
ขอบคุณสำหรับการสมัคร!


