.svg)


全新設計,優秀如初!HelloSign 現已更名為 Dropbox Sign。
In the machine learning (ML) era, everything from language generation to image processing is becoming automated. One emerging field is online document processing, which is used by banking, insurance, healthcare, and other industries to save the time and effort of manual data verification.
ML technologies like intelligent character recognition (ICR) and natural language processing (NLP) are helping organizations to capture data from documents and process them without the risk of human error.
Document processing isn’t limited to extracting text, though; it also involves images and signatures. In this tutorial, you will learn how to create a system that can extract document signatures.
What Is signature extraction?
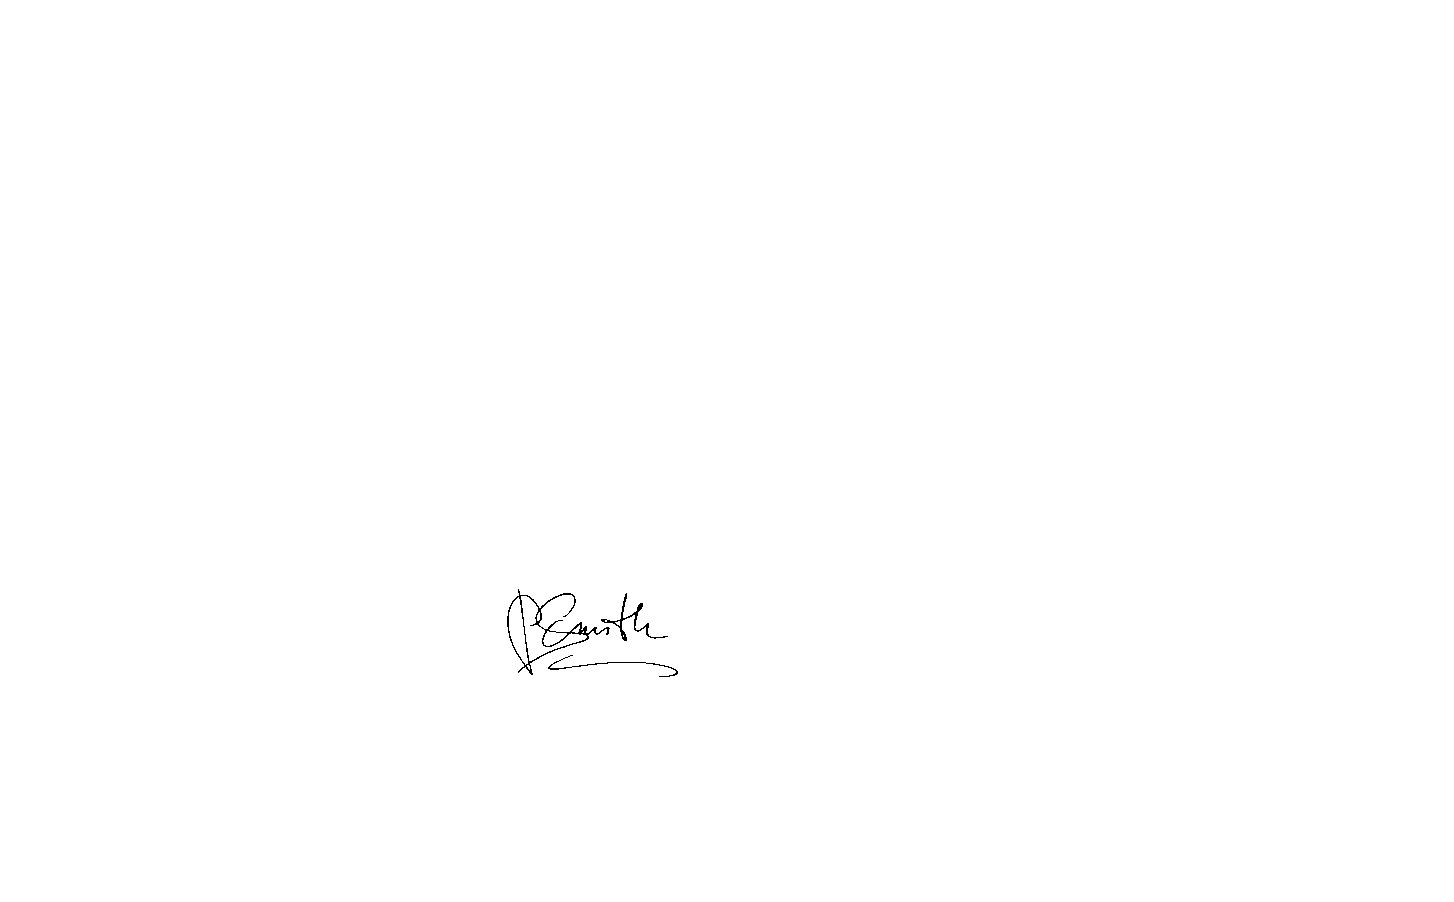
Signature extraction is the technique of automatically identifying the signatures in a scanned document and cropping them to use for different verification purposes. First, a signature must be detected and cropped out of the document. ML or computer vision models can extract that signature no matter how many times it is present in a document. Then, the signature can be used for validating the person’s identity, Know Your Customer (KYC) processing services, or contract and agreement processing.
Banking and finance services especially rely on signatures to verify a person’s identity. As more businesses transition to online platforms, they’re also switching from manually handled verification tasks to signature extraction, which is becoming increasingly accurate. This helps save the time and effort of printing, scanning, emailing, and making changes to documents.
The following are some use cases for signature extraction:
- Banks: Banks rely on signature verification, where an extracted signature is validated against a ground truth to confirm that it’s from the same person.
- Real estate: Buying and selling property requires a lot of paperwork. Once the contracts and legal documents are signed and shared across multiple cities or countries, they are normally converted to digital images. The signatures in those images can be extracted for verification.
- Sales and procurement: Many consumers have already shifted from in-store to e-commerce purchases. Businesses that make purchases, however, must complete sales contracts and other paperwork.
- Company onboarding: New hires, especially at larger organizations, will need to sign a letter of acceptance, offer letter, and/or nondisclosure agreement, among other documents.
- Legal agreements: Signatures are required for documents in all types of legal proceedings, such as court cases or estate hearings.
Implementing signature extraction
A signature extraction system can be developed in two ways: traditional computer vision using OpenCV and object detection with deep learning. In this tutorial, you’ll be implementing the first solution using Python 3.9 and Anaconda.
If you install the latest version of Anaconda, it comes with Python 3.9 and pip, Python’s package manager. It also includes platforms to run your code, like Jupyter Notebook and Spyder. While you can use any of these platforms to write the code, Spyder is preferred because it is more interactive.
Once you have the dependencies set up, you can clone or download this project repository from Ahmet Özlü to follow along.
You should find the following files/folders inside the project repository:
- The `inputs` folder stores the input images that are passed to the model to extract signatures.
- The `outputs` folder stores the extracted signatures, or the output images produced by the code.
- The `signature_extractor.py` file contains the implementation of computer-vision-based connected component analysis. You’ll need to run this file to produce the output.
Install the OpenCV library and other dependencies for the task. You can do so using pip either on the Anaconda prompt or on any terminal provided by Anaconda:
Other libraries like Matplotlib and NumPy already come with Anaconda. If you run into issues, though, you can download them in the same fashion:
When you open `signature_extractor.py`, you’ll see a lot of code. To better understand the process of signature extraction using connected component analysis, and the meaning behind each code block, follow along with this article and create a new Python file.
First, import the dependencies:
Here, `cv2` (`OpenCV`) and `scikit-image` (a.k.a. `skimage`) libraries are used for overall image processing. numpy is used to expedite the mathematical operations applied on the data, and `matplotlib` is used to plot the images.
Read the input image file from the local path and apply preprocessing that will help in the identification of the signature area:

In the above code, first the input image is read from the local path, and the mode of the image is specified as `0`. This indicates that the image has one color channel; in other words, it’s a black and white or grayscale image. Then, binary thresholding is applied to the image. Binary thresholding is the process of converting image pixels to black or white given a threshold, in this case `127`. Pixel values lower than the threshold are converted to 0 (black), and values greater than or equal to the threshold are converted to 255 (white). The image generated is a binary image with two pixel values.
Now that the image is ready, connected component analysis must be applied to detect the connected regions in the image. This helps in identifying the signature area, as signature characters are coupled together. `skimage` provides a function to do this:
A blob is a set of pixel values that generally distinguishes an object from its background. In this case, the text and signature are blobs on a background of white pixels. The first line of code identifies blobs whose size is greater than the image pixel average. The next line measures the size of each blob. Finally, the blob labels are converted to RGB and are overlaid on the original image for better visualization.
You might want to see the RGB image after connected component analysis. You can do that with Matplotlib:
So far you’ve read the image, analyzed its components, and visualized it. Generally, a signature will be bigger than other text areas in a document, so you need to do some measurements. Using component analysis, find the biggest component among the blobs:
The above code is a simple calculation to get the highest area component by iterating over each text blob. If its size is greater than `10`, add it to the variable `total_area` to compute the area average. If the blob size is greater than `250`, check if it’s greater than the previous element. If it is, replace it with the previous one; otherwise, keep it the same. Repeat until the highest area element is found.
For sizes that this code uses, `10` is good for scanned images, because the smallest object is almost always around the same length. Meanwhile, the largest object in an image is generally the signature, which has a tested value of greater than `250`.
Next, you need to filter out some outliers that might get confused with the signature blob:
The values in the code above were finalized after testing different sets of values for blob sizes to remove for signature extraction.
For outlier removal, you need to define some thresholds. There are four parameters initialized above: three for small size outlier removal, and one for big size outlier removal. First, check the small size outliers to remove:
Above, `a4_small_size_outlier_constant` is used as a threshold value to remove outlier connected pixels that are smaller than it in A4 size scanned documents.
Similarly, check the big size outliers:
Here, `a4_big_size_outlier_constant` is used as a threshold value to remove outlier connected pixels that are bigger than it in A4 size scanned documents.
Once you have these components, you can use the `morphology` operation to remove the outliers from your blob collection. You can then store the image locally, and it should be close to the final result:
`pre_version.png` is the image obtained after all the preprocessing. As a final step, read this image again and apply Otsu’s thresholding:
To store the final image with signature only, use OpenCV’s write function to save the result:
Now your document signature extractor is ready.
This signature extractor removes all other entities from the document and leaves only the signature area. If you want to extract the exact location of the signature, you’ll have to use the object detection technique.
Note that you must have a decent amount of data to train the object detection model, which would normally be 200 images. You can follow the steps in this article to prepare your data and train the object detection model for signature extraction.
The best way to extract signatures with Dropbox Sign
You should now have a better understanding of signature extraction and its use cases, as well as how to create a signature extractor. This process offers benefits to a number of industries, because it increases automation and speeds up document processing while reducing human error and freeing up team members to focus on other tasks.
Instead of creating your own signature extractor, though, you can use a ready-made solution. One such application is Dropbox Sign. Its API allows you to sign and track eSignatures while still keeping those documents secure. Dropbox Sign easily integrates into your site or application for a seamless experience. To learn more, check out Dropbox Sign’s documentation.
時時參與其中
謝謝您!
感謝訂閱!


