With all of the steps it takes to create a productive workflow, simplifying the process is always appreciated. You can now leverage one of Dropbox Sign’s newest features – “Signer Attachments” – to help boost productivity even more.
With “Signer Attachments,” signers have the option to upload any required and/or optional documents upon completing a signature request. Up to 5 attachments can be requested by a sender and subsequently uploaded by the signer(s). Example attachments might be a photo ID, pay stubs, tax documents, or proof of payment.
The ability to request signer attachments can be included in both non-embedded and embedded signature requests without a template. You’ll need to include a file upload from your local server or use a public facing file_url.
Let’s walk through how this works.
Setting Up Signer Attachments in the Dropbox Sign API
You’ll first need to grab your API Key from your account settings on DropboxSign.com. In this example, we’ll be using request-promise, a Node.js request library. In the future, you can use one of the six HelloSign SDKs to make this request.
In this example, we’ll have two signers: Alice and Bob. Signer one, Alice, will be required to upload two documents upon signing. And Signer two, Bob, will be presented with the option to upload one document upon signing. In the code snippet below, you’ll see the details for this example conceptually within the attachments array.
CODE: https://gist.github.com/latoyazamill/53cfca408847f059718707f700ac5573.js
Full NodeJS Code Snippet:
Note: In this example, we ’ll use the public-facing file_url[] parameter to have Dropbox Sign download the file to send for signature.
CODE: https://gist.github.com/latoyazamill/39f9626a8c99239ddcec83d66c4834de.js
Initial Response:
Note: Within the response object you’ll notice the attachments array includes a unique id associated with each attachment and for which signer the upload belongs to. This is great information to store within your database for attachment organization and association.
CODE: https://gist.github.com/latoyazamill/28cdd4968744ee234767dd51dffed5d7.js
Save and make note of the signature_request_id from your response. We’ll need it at the end of the example to obtain a copy of the signed documents and uploaded attachments.
Signer Flow:
Each signer will be able to review and sign the document accordingly once the document is received.
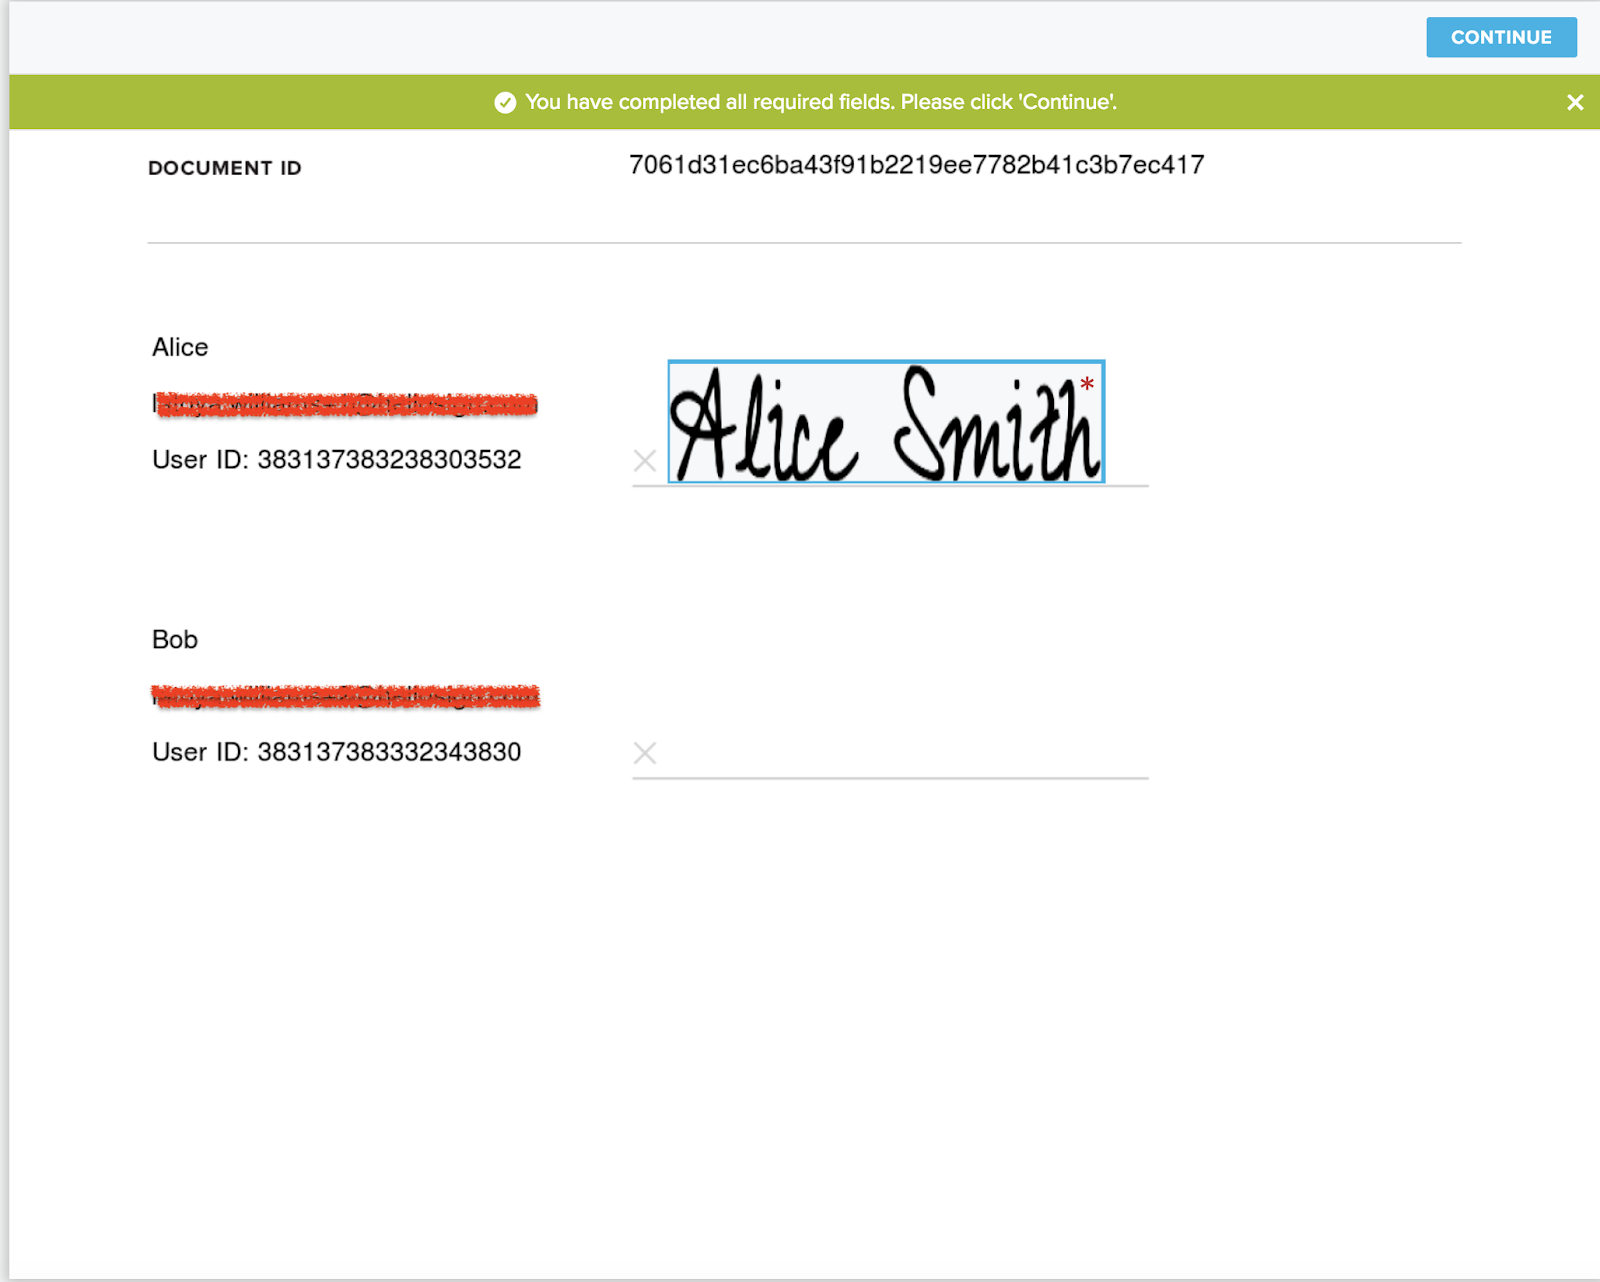
Upon completing the signer fields and placing the final signature on the document, the signer will then be asked to upload the requested documents.
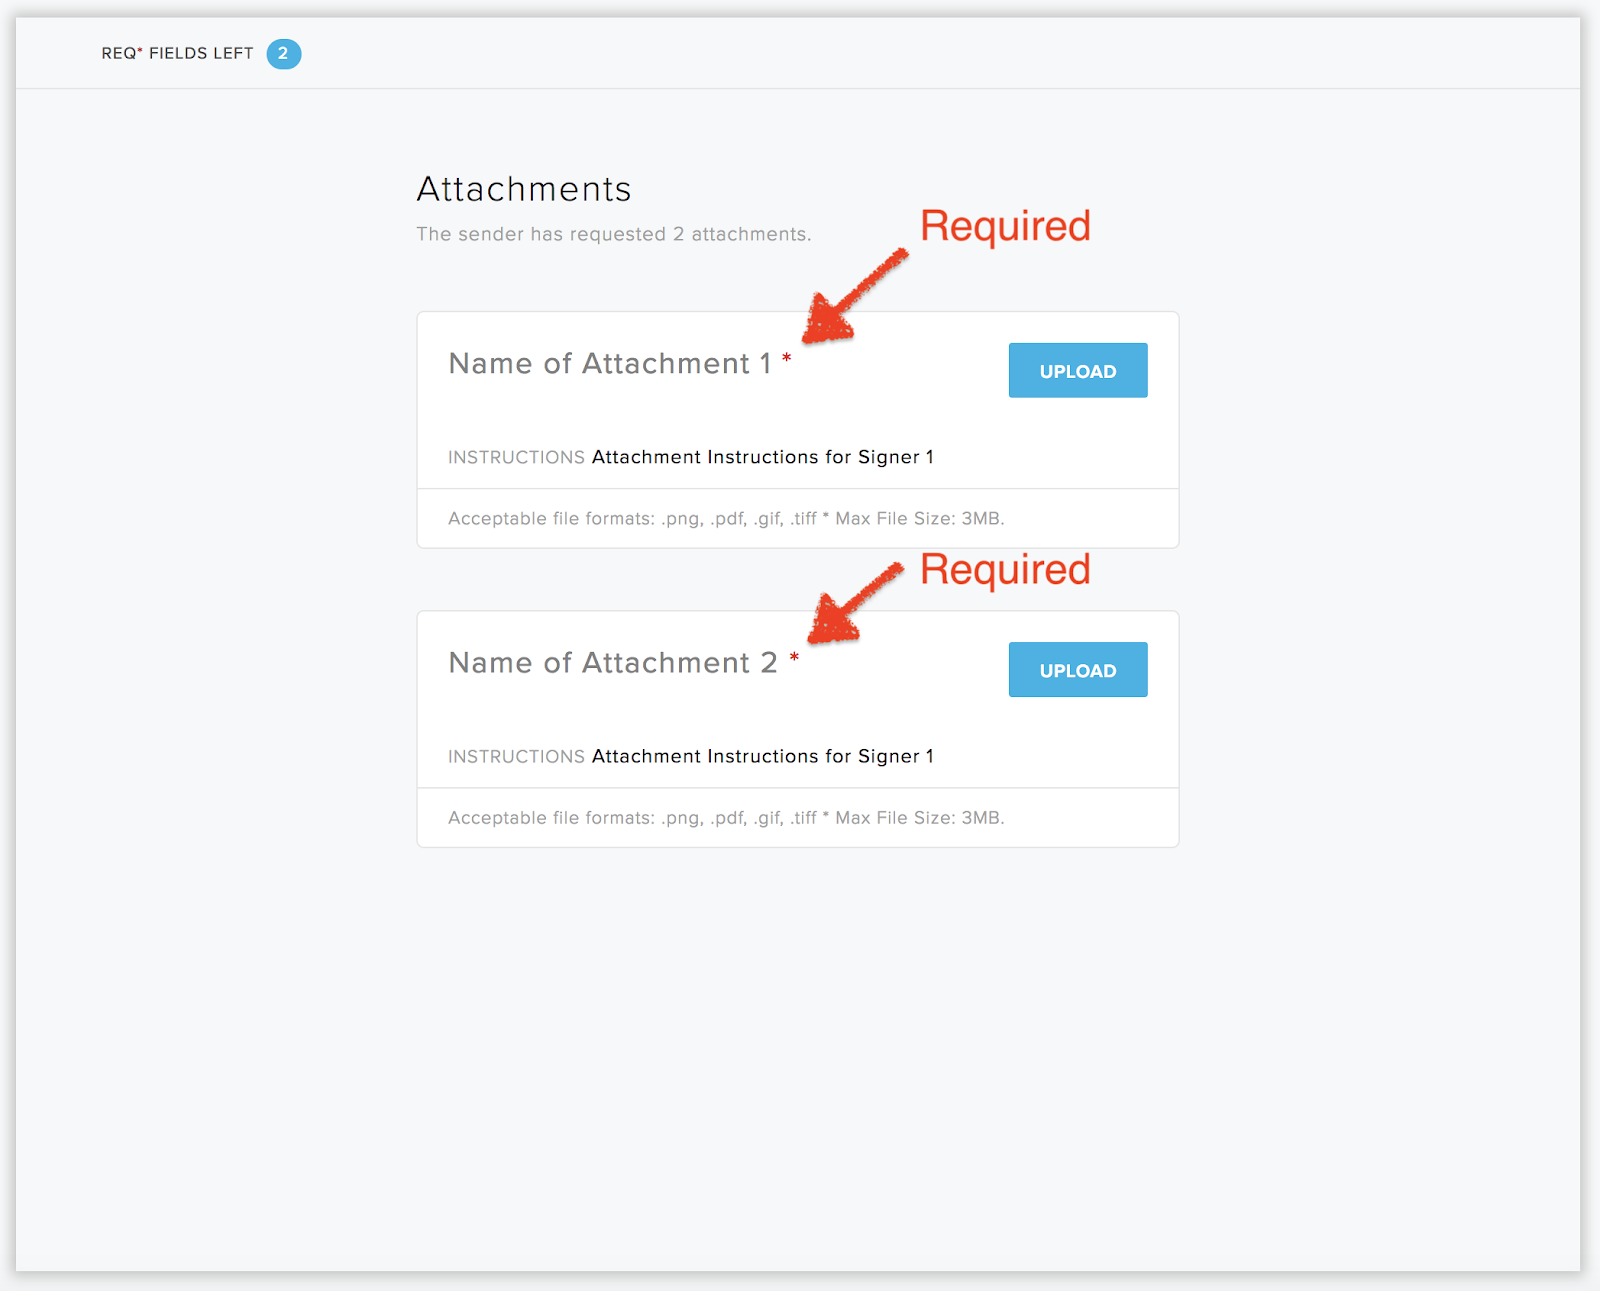
In this example, Alice is required to upload two attachments:
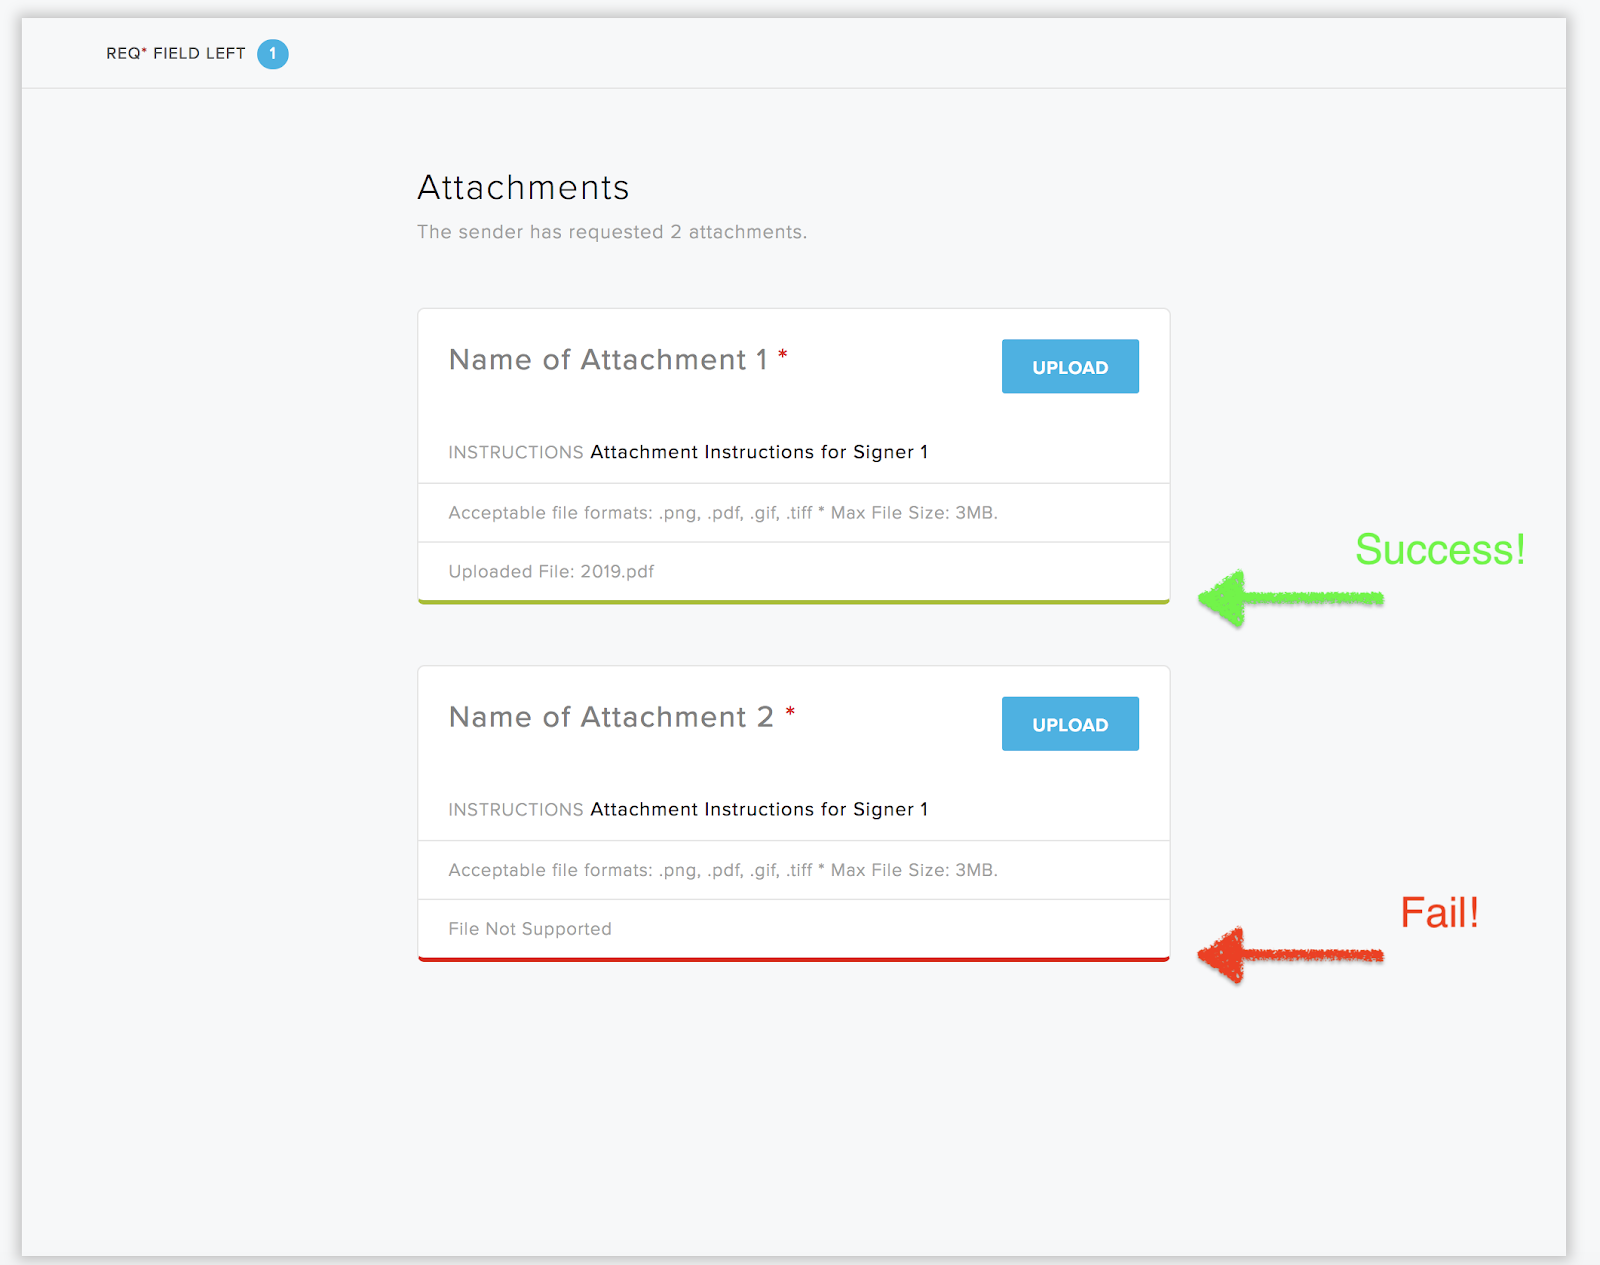
If one of the document uploads fails, she cannot move forward to the next step and will be given the reason why the upload failed. In this example, the document failed due to the file type not being supported. For a list of all supported file types, please review the following documentation: Supported File Types and Sizes.
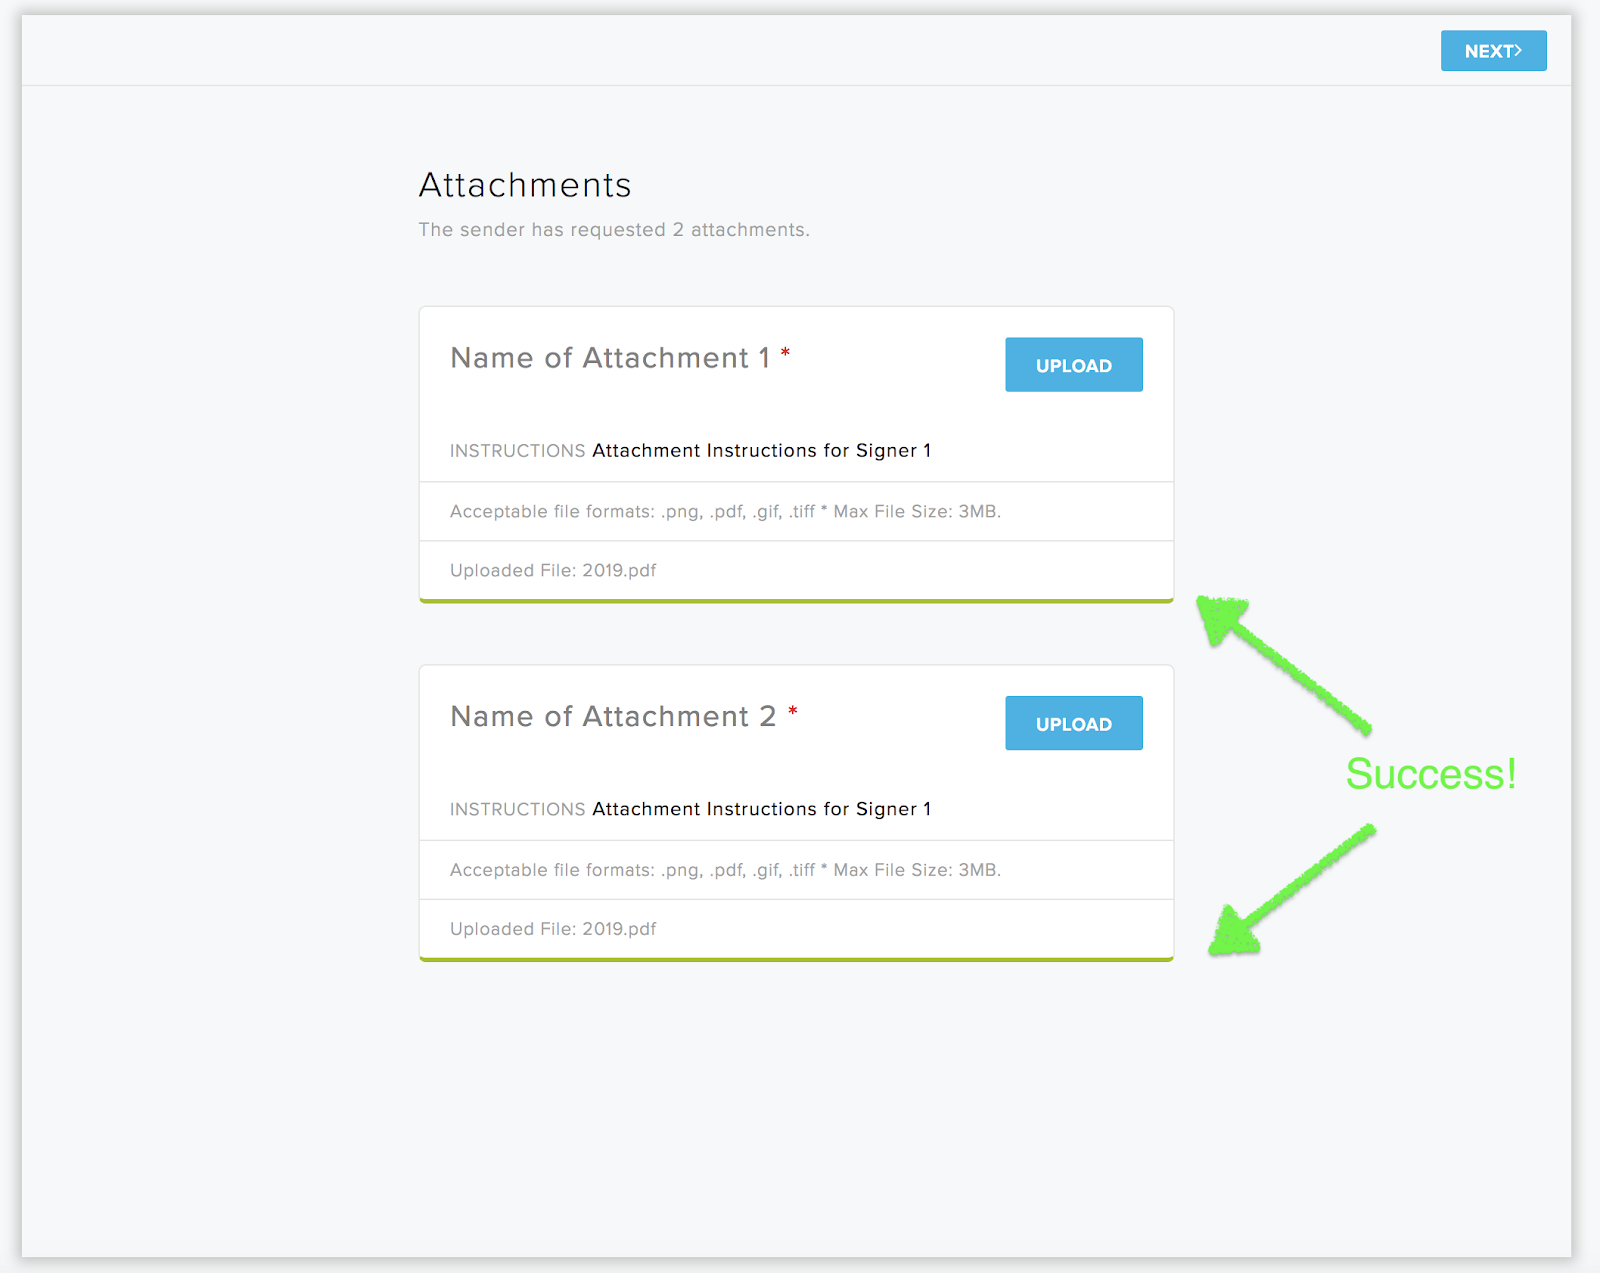
If Alice successfully uploads the documents she can move forward to the next steps and complete the signature request.
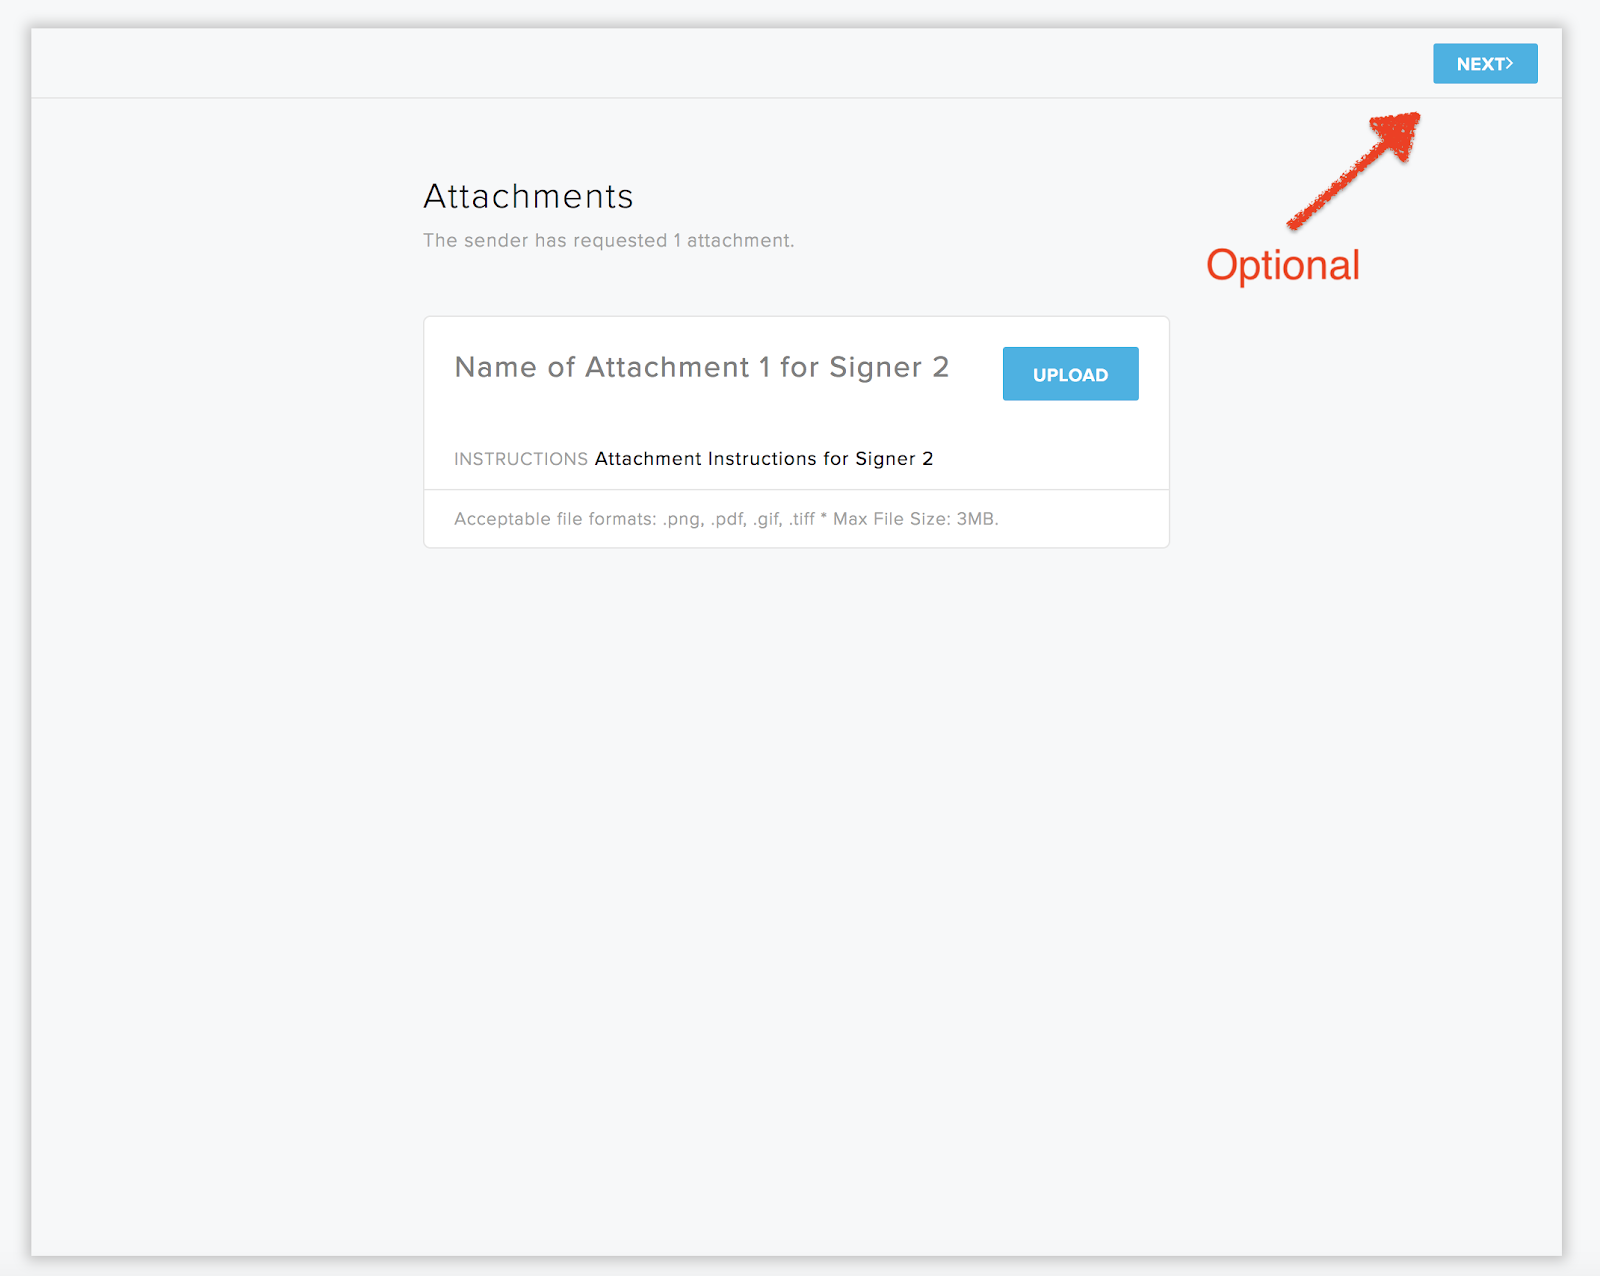
In this example, Bob cannot begin the signing process until Alice has signed due to signer order. Once Bob reviews and signs the document after Alice is complete, he will be presented with the following screen with only the option to upload an attachment since one is not required from him.
Final Response:
Note: Within the response object you will notice within the attachments array, the uploaded_at key has been updated with the appropriate Unix timestamp. This is great information to store within your database for attachment organization and association.
CODE: https://gist.github.com/latoyazamill/18ff2b564ed7bf114febd784786dd810.js
Now that we have successfully completed the signature request with signer attachments, let's obtain a final copy of the signature request. With the signature_request_id from the initial (or final response) use the Get Files endpoint to retrieve the document. You’ll have the option to download the document as a PDF or a ZIP file.
Happy Signing!
진행 상태 확인
Thank you!
Thank you for subscribing!


