메인 콘텐츠로 건너뛰기
항목을 찾을 수 없습니다.
dropboxsign 로고
Dropbox Sign을 사용해야 하는 이유
아코디언 메뉴 펼치기/접기

포함된 기능

온라인에서 문서 서명
전자 서명 만들기
템플릿 선택 또는 생성
PDF를 작성하고 서명하기
온라인 계약 체결하기
문서 관리
기능 살펴보기
오른쪽 방향 화살표 아이콘

이용 사례

영업 및 비즈니스 개발
인사
스타트업
재무 기술
부동산
온디맨드 서비스
제품
아코디언 메뉴 펼치기/접기
Dropbox 아이콘
Sign
간편한 문서 전송과 서명
Dropbox 아이콘
Sign API
워크플로에 전자 서명 통합
dropbox fax 아이콘
Fax
팩스 없는 팩스 전송
dropbox 통합 아이콘
연동
여러분이 일하는 곳이라면 어디서든 구현 가능한 Dropbox Sign
관련 자료
아코디언 메뉴 펼치기/접기
블로그
워크플로 전문 지식과 제품 소식
고객 이용 후기
실제 성과를 엿볼 수 있는 실제 스토리
도움말 센터
Dropbox Sign 제품 심층 설명
자료 라이브러리
보고서, 동영상, 정보 안내서
개발자
요금
아코디언 메뉴 펼치기/접기
Dropbox Sign 요금제
가장 적합한 요금제 찾기
Dropbox Sign API 요금제
실제 성과를 엿볼 수 있는 실제 스토리
영업팀에 문의
가입
영업팀에 문의
로그인
아코디언 메뉴 펼치기/접기
Dropbox Sign
Dropbox Forms
Dropbox Fax
무료 평가판
블로그
/
개발자

Dropbox eID를 통한 전자 ID 및 서명인 인증

by 
Aniket Bhattacharyea
July 22, 2024
6
분 소요
툴팁 아이콘

새로운 이름, 변함없이 강력한 성능! HelloSign이 Dropbox Sign으로 새롭게 탄생했습니다.

닫기 아이콘

As the world steadily embraces digitization, the evolution of document signing from traditional pen and paper to digital signatures is inevitable. This shift brings notable challenges, not only in retaining the familiar signing process but, more importantly, in safeguarding the security and legal integrity of signed documents. Moreover, digital signatures need to be able to verify the identity of the signer to prevent fraud, which is where electronic ID (eID) comes in, serving as a digital form of identity verification.

Dropbox Sign can help with all these challenges seamlessly. With Dropbox Sign, you can create legally binding signatures by drawing, typing, or uploading signatures—all within seconds. With Dropbox Sign’s eID verification feature, you can verify the identity of the signers and ensure that they are who they claim to be.

In this article, you'll learn how Dropbox Sign streamlines the eID verification process and delivers a safe and secure document signing process.

‍

What is Dropbox eID

Many businesses face situations where verifying identity is crucial to avoid potential fraud and legal ramifications. For instance, companies need to be able to verify the identity of a new hire before they sign a job offer. Typically, when digitally signing a job offer, there's no way to verify that the new hire is actually the one signing the document. However, with eID, the signer must perform an identity check and verify their identity to be able to sign the document.

Different countries use different eID frameworks, but the concept of eID is always the same. With eID, every user has an electronic proof of identity that they must present to validate their authenticity. Thankfully, with the Dropbox Sign eID feature, it's easy to implement.

Dropbox Sign partners with Qualified Trust Service Providers (QTSP) in different countries to provide a streamlined eID verification process that looks like this:

  • The eID verification is enabled when you create the Signature Request.
  • The signer can proceed with signing the document.
  • The signer is asked to verify their identity.
  • The signer selects their country.
  • An eID verification method is chosen based on the country. eID verification is quick and easy, using AI-powered liveliness checks and government ID verification.
  • Once the eID is verified, the document is successfully signed.

‍

eIDAS compliance

Because eID is a critical aspect of verifying the identities of users, it's essential that proper standards are set in place to ensure the highest level of security and reliability. That's where electronic IDentification, Authentication, and trust Services (eIDAS) comes in.

eIDAS is a European Union project that was launched in 2014. It works to regulate eID frameworks across Europe.

eIDAS creates and maintains standards for eSignatures, eSeals, eTimestamps, and eID, which enables a safe and secure electronic transaction experience with the same legal validity as paper-based transactions.

eIDAS offers two levels of trust for digital signatures: advanced electronic signature (AES) and qualified electronic signature (QES).

AES requires the signer to pass identity verification by producing a valid government-issued document and/or passing a biometric check. AES provides a higher level of trust than typical signatures by verifying the government-issued proof of identity.

QES goes one step further by using a face-to-face, or equivalent, ID verification process by a QTSP. The resulting digital certificate is created with a qualified electronic signature device.

Dropbox Sign supports both AES and QES by partnering with reputed QTSPs throughout the world.

‍

Benefits of Dropbox eID

Dropbox eID provides numerous benefits for your document signing workflow, including the following:

  • ‍Mitigates risk with identity verification: eID verification with Dropbox Sign increases security and combats fraud and scams. You get a legally binding signature while also verifying the identity of the signer.
  • ‍Streamlines identity verification through simplified integration: To integrate eID verification with a document signing workflow, developers need to build integrations with two separate APIs: one for document signing and one for eID verification. However, this process can be tedious and error-prone. Dropbox Sign simplifies this process by putting both under one umbrella. Enabling eID verification is as easy as passing a single parameter to the API call, and Dropbox Sign handles the rest.
  • ‍Offers an easy-to-use system: Dropbox Sign is easy to use and offers comprehensive documentation and a responsive support team.

‍

How to use eID verification with Dropbox Sign

In this section, you'll learn how to use eID verification with Dropbox Sign. This article integrates Dropbox Sign with a Next.js project using its Node.js SDK, but you can also follow a similar process for other frameworks.

To follow along, you need the following:

  • A Dropbox Sign account. Please note that eID verification is only available with the Premium plan. To participate, you need to subscribe to that plan. eID verification cannot be used in test mode, so following along will cost you money. If you prefer not to follow along, screenshots are provided throughout to offer insights into the functionality.
  • The latest version of Node.js installed. This article uses Node.js v20.

‍

Enabling eID verification

To begin, sign into your Dropbox Sign account. Click on the user avatar in the top-right corner of your dashboard and select Admin Console.

In the Admin Console, navigate to Settings > Signature requests. In the Signature request options sections, you'll find a toggle to turn on eID:

Enabling eID

‍

When you turn eID on, you'll be asked to confirm your decision. Click on Yes, I'm sure to enable eID:

Confirmation for enabling eID

‍

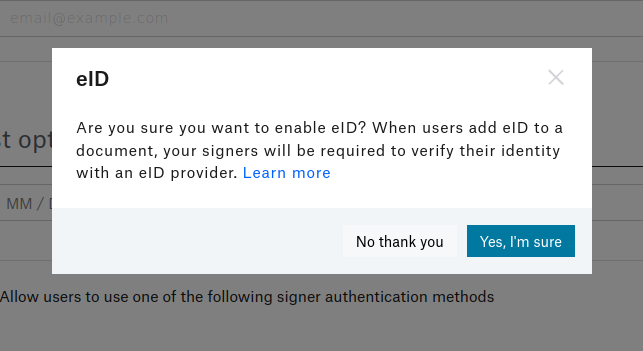
Make sure you save your settings before proceeding.

On the Dropbox Sign dashboard, click on API in the left sidebar. Then click on Generate key to create a new API key. Give the key a name (here, it's named "eID demo") and click on Generate key:

Creating a new API key

‍

Copy the newly created API key and store it in a safe place.

‍

Creating the application

For simplicity, a starter app has been created using Next.js, which you can find on GitHub. You need to clone the starter branch of this repository, which acts as the starting point for this tutorial:


git clone https://github.com/heraldofsolace/dropbox-sign-eid-demo.git -b starter
cd dropbox-sign-eid-demo

‍

Install the dependencies with npm install.

In components/CreateSignatureRequestForm.jsx, you'll find a form that helps you upload a document and create a Signature Request. Right now, the backend code is incomplete, so the form does nothing. You can confirm this by running npm run dev and visiting http://localhost:3000 in your browser:

The Create Signature Request form

‍

The form is defined in the components/CreateSignatureRequestForm.jsx file. The file looks like this:


import { useState } from 'react'

export function CreateSignatureRequestForm() {
	const [file, setFile] = useState();
	const [title, setTitle] = useState("");
	const [subject, setSubject] = useState("");
	const [message, setMessage] = useState("");
	const [signer, setSigner] = useState("");
	const [signerName, setSignerName] = useState("");
	const [result, setResult] = useState({});
const onSubmit = async (e) => {
    	e.preventDefault()
    	if (!file) return
      try {
        	const data = new FormData()
        	data.set('file', file)
        	data.set('title', title)
        	data.set('subject', subject)
        	data.set('message', message)
        	data.set('signer', signer)
        	data.set('name', signerName)
const res = await fetch('/api/signature-request', {
            	method: 'POST',
            	body: data
        	})
        	// handle the error
        	if (!res.ok) throw new Error(await res.text())
        	setResult(await res.json())
    	} catch (e) {
        	// Handle errors here
        	console.error(e)
    	}
	}
return (
	<div className="w-full max-w-xs">
    	<form className="bg-white shadow-md rounded px-8 pt-6 pb-8 mb-4" onSubmit={onSubmit}>
        	<div className="mb-4">
            	<label className="block text-gray-700 text-sm font-bold mb-2" htmlFor="title">
                	Title
            	</label>
            	<input
                	className="shadow appearance-none border rounded w-full py-2 px-3 text-gray-700 leading-tight focus:outline-none focus:shadow-outline"
                	id="title"
                	name="title"
                	type="text"
                	placeholder="Title"
                	required
                	onChange={(e) => setTitle(e.target.value)} />
        	</div>
<div className="mb-4">
            	<label className="block text-gray-700 text-sm font-bold mb-2" htmlFor="title">
                	Subject
</label>
            	<input
                	className="shadow appearance-none border rounded w-full py-2 px-3 text-gray-700 leading-tight focus:outline-none focus:shadow-outline"
                	id="subject"
                	name="subject"
                	type="text"
                	placeholder="Subject"
                	required
                	onChange={(e) => setSubject(e.target.value)} />
        	</div>
        	<div className="mb-4">
            	<label className="block text-gray-700 text-sm font-bold mb-2" htmlFor="title">
                	Message
            	</label>
            	<textarea
                	className="shadow appearance-none border rounded w-full py-2 px-3 text-gray-700 leading-tight focus:outline-none focus:shadow-outline"
                	id="message"
                	name="message"
                	type="text"
                	placeholder="Message"
                	required
                	onChange={(e) => setMessage(e.target.value)} />
        	</div>
<div className="mb-6">
            	<label className="block text-gray-700 text-sm font-bold mb-2" htmlFor="signer">
                	Signer Email
            	</label>
            	<input
                	className="shadow appearance-none rounded w-full py-2 px-3 text-gray-700 mb-3 leading-tight focus:outline-none focus:shadow-outline"
                	id="signer"
                	name="signer"
                	type="email"
                	placeholder="Signer Email"
                	required
                	onChange={(e) => setSigner(e.target.value)} />
        	</div>
        	<div className="mb-6">
            	<label className="block text-gray-700 text-sm font-bold mb-2" htmlFor="signer">
Signer Name
            	</label>
            	<input
                	className="shadow appearance-none rounded w-full py-2 px-3 text-gray-700 mb-3 leading-tight focus:outline-none focus:shadow-outline"
                	id="name"
                	name="name"
                	type="text"
                	placeholder="Signer Name"
                	required
                	onChange={(e) => setSignerName(e.target.value)} />
        	</div>
        	<div className="mb-6">
            	<label className="block text-gray-700 text-sm font-bold mb-2" htmlFor="file">
                	Document
            	</label>
            	<input
                	type="file"
                	name="file"
                	accept='application/pdf'
                	required
                	onChange={(e) => setFile(e.target.files?.[0])}
            	/>
        	</div>
        	<div className="flex items-center justify-between">
<button
                	className="bg-blue-500 hover:bg-blue-700 text-white font-bold py-2 px-4 rounded focus:outline-none focus:shadow-outline"
                	type="submit">
                	Submit
            	</button>
            	{result.success? <p className="text-green-500 text-xs italic">Success</p> : null}
        	</div>
    	</form>
	</div>
  )
}

‍

Pay special attention to the onSubmit method. It extracts the values from the form and makes a POST request to /api/signature-request. Next, you'll write the handler for this API route.

‍

Writing the API handler

Start by creating a file named .env in the root of the project and add the following code:


DS_API_KEY=<YOUR_API_KEY>

‍

Replace <YOUR_API_KEY> with the API key you generated in the previous section.

Inside the pages directory, create a new api/signature-request directory. Create an index.js file inside this newly created directory.

This file is responsible for taking the contents of the form and making requests to the Dropbox Sign API.

Now, you need to define the handler for the `/api/signature-request` route. You also need to turn off bodyParser because you'll be using formidable to parse the form contents:


import formidable from 'formidable';
import fs from 'fs';
export const config = {
	api: {
    	bodyParser: false,
	},
}
export default async function handler(request, response) {
}

‍

Inside the handler function, the first step is to make sure it responds only to POST requests:


export default async function handler(request, response) {
	if(request.method !== 'POST') {
    	return response.status(400).json({ success: false, message: 'Invalid request method' });
	}
}

‍

Then you need to parse the submitted form and extract the fields:


export default async function handler(request, response) {
	if(request.method !== 'POST') {
    	return response.status(400).json({ success: false, message: 'Invalid request method' });
	}
	const form = formidable({ uploadDir: "./uploads", keepExtensions: true });
    
	let fields, files;
try {
    	// Parse the fields
    	[fields, files] = await form.parse(request);
	} catch(error) {
    	console.error(error);
    	return response.status(400).json({ success: false, message: error })
	}
	const { title, subject, message, signer, name } = fields;
// Return if fields are missing
if(!title || !subject || !message || !signer || !name || !files) {
    	return response.status(400).json({ success: false, message: 'Missing required fields' })
	}
}

‍

Install the Dropbox Sign Node SDK by running npm install @dropbox/sign.

Now, you need to configure an instance of the SignatureRequestApi class from the Dropbox Sign SDK. This class is responsible for making the request to the Dropbox Sign SDK.

Begin by importing the class:


import { SignatureRequestApi } from "@dropbox/sign";

‍

Then instantiate an object of the SignatureRequestApi class:


const signatureRequestApi = new SignatureRequestApi();

‍

And configure the options for the signature request:


const requestData = {
	title: title[0],
	subject: subject[0],
	message: message[0],
	signers: [ { emailAddress: signer[0], name: name[0] } ],
	files: [ fs.createReadStream(files.file[0].filepath) ],
	signingOptions: {
    	draw: true,
    	type: true,
    	upload: true,
    	phone: true,
    	defaultType: "draw",
	},
	isEid: true,
}

‍

Here, you're setting the title, subject, and message of the Signature Request by using the form content. The signers option sets the name and email ID of the signer. An email notification is sent to the signer at this email address.‍

Please note: If you're enabling eID, you're not allowed to have more than one signer.

The files option attaches the document that needs to be signed, and the signingOptions option specifies how the signer can sign the document. In this case, you're allowing drawing, typing, and uploading the signature, as well as allowing a mobile signature.

The final parameter, isEid, is the one that tells Dropbox Sign that the signer must verify their identity using eID before they can sign the document.

Note: If you're using the Dropbox Sign API directly, this parameter is named is_eid.

Finally, make the request:


try {
	const result = await signatureRequestApi.signatureRequestSend(requestData);
	return response.json({ success: true, message: result.body })
} catch (error) {
	console.error(error);
	return response.status(400).json({ success: false, message: error })
}

‍

The entire file looks like this:


import { SignatureRequestApi } from "@dropbox/sign";
import formidable from 'formidable';
import fs from 'fs';

export const config = {
	api: {
    	bodyParser: false,
	},
}
export default async function handler(request, response) {
	if(request.method !== 'POST') {
    	return response.status(400).json({ success: false, message: 'Invalid request method' });
	}
	const form = formidable({ uploadDir: "./uploads", keepExtensions: true });
    
	let fields, files;
try {
    	// Parse the fields
    	[fields, files] = await form.parse(request);
	} catch(error) {
    	console.error(error);
    	return response.status(400).json({ success: false, message: error })
	}
	const { title, subject, message, signer, name } = fields;
// Return if fields are missing
if(!title || !subject || !message || !signer || !name || !files) {
    	return response.status(400).json({ success: false, message: 'Missing required fields' })
	}
const signatureRequestApi = new SignatureRequestApi();
signatureRequestApi.username = process.env.DS_API_KEY;
	const requestData = {
    	title: title[0],
    	subject: subject[0],
    	message: message[0],
    	signers: [ { emailAddress: signer[0], name: name[0] } ],
    	files: [ fs.createReadStream(files.file[0].filepath) ],
    	signingOptions: {
        	draw: true,
        	type: true,
        	upload: true,
        	phone: true,
        	defaultType: "draw",
    	},
    	isEid: true,
	}
try {
    	const result = await signatureRequestApi.signatureRequestSend(requestData);
    	return response.json({ success: true, message: result.body })
	} catch (error) {
    	console.error(error);
    	return response.status(400).json({ success: false, message: error })
	}
}

‍

Testing the app

To test the app, start the Next.js server with the following command:


npm run dev

‍

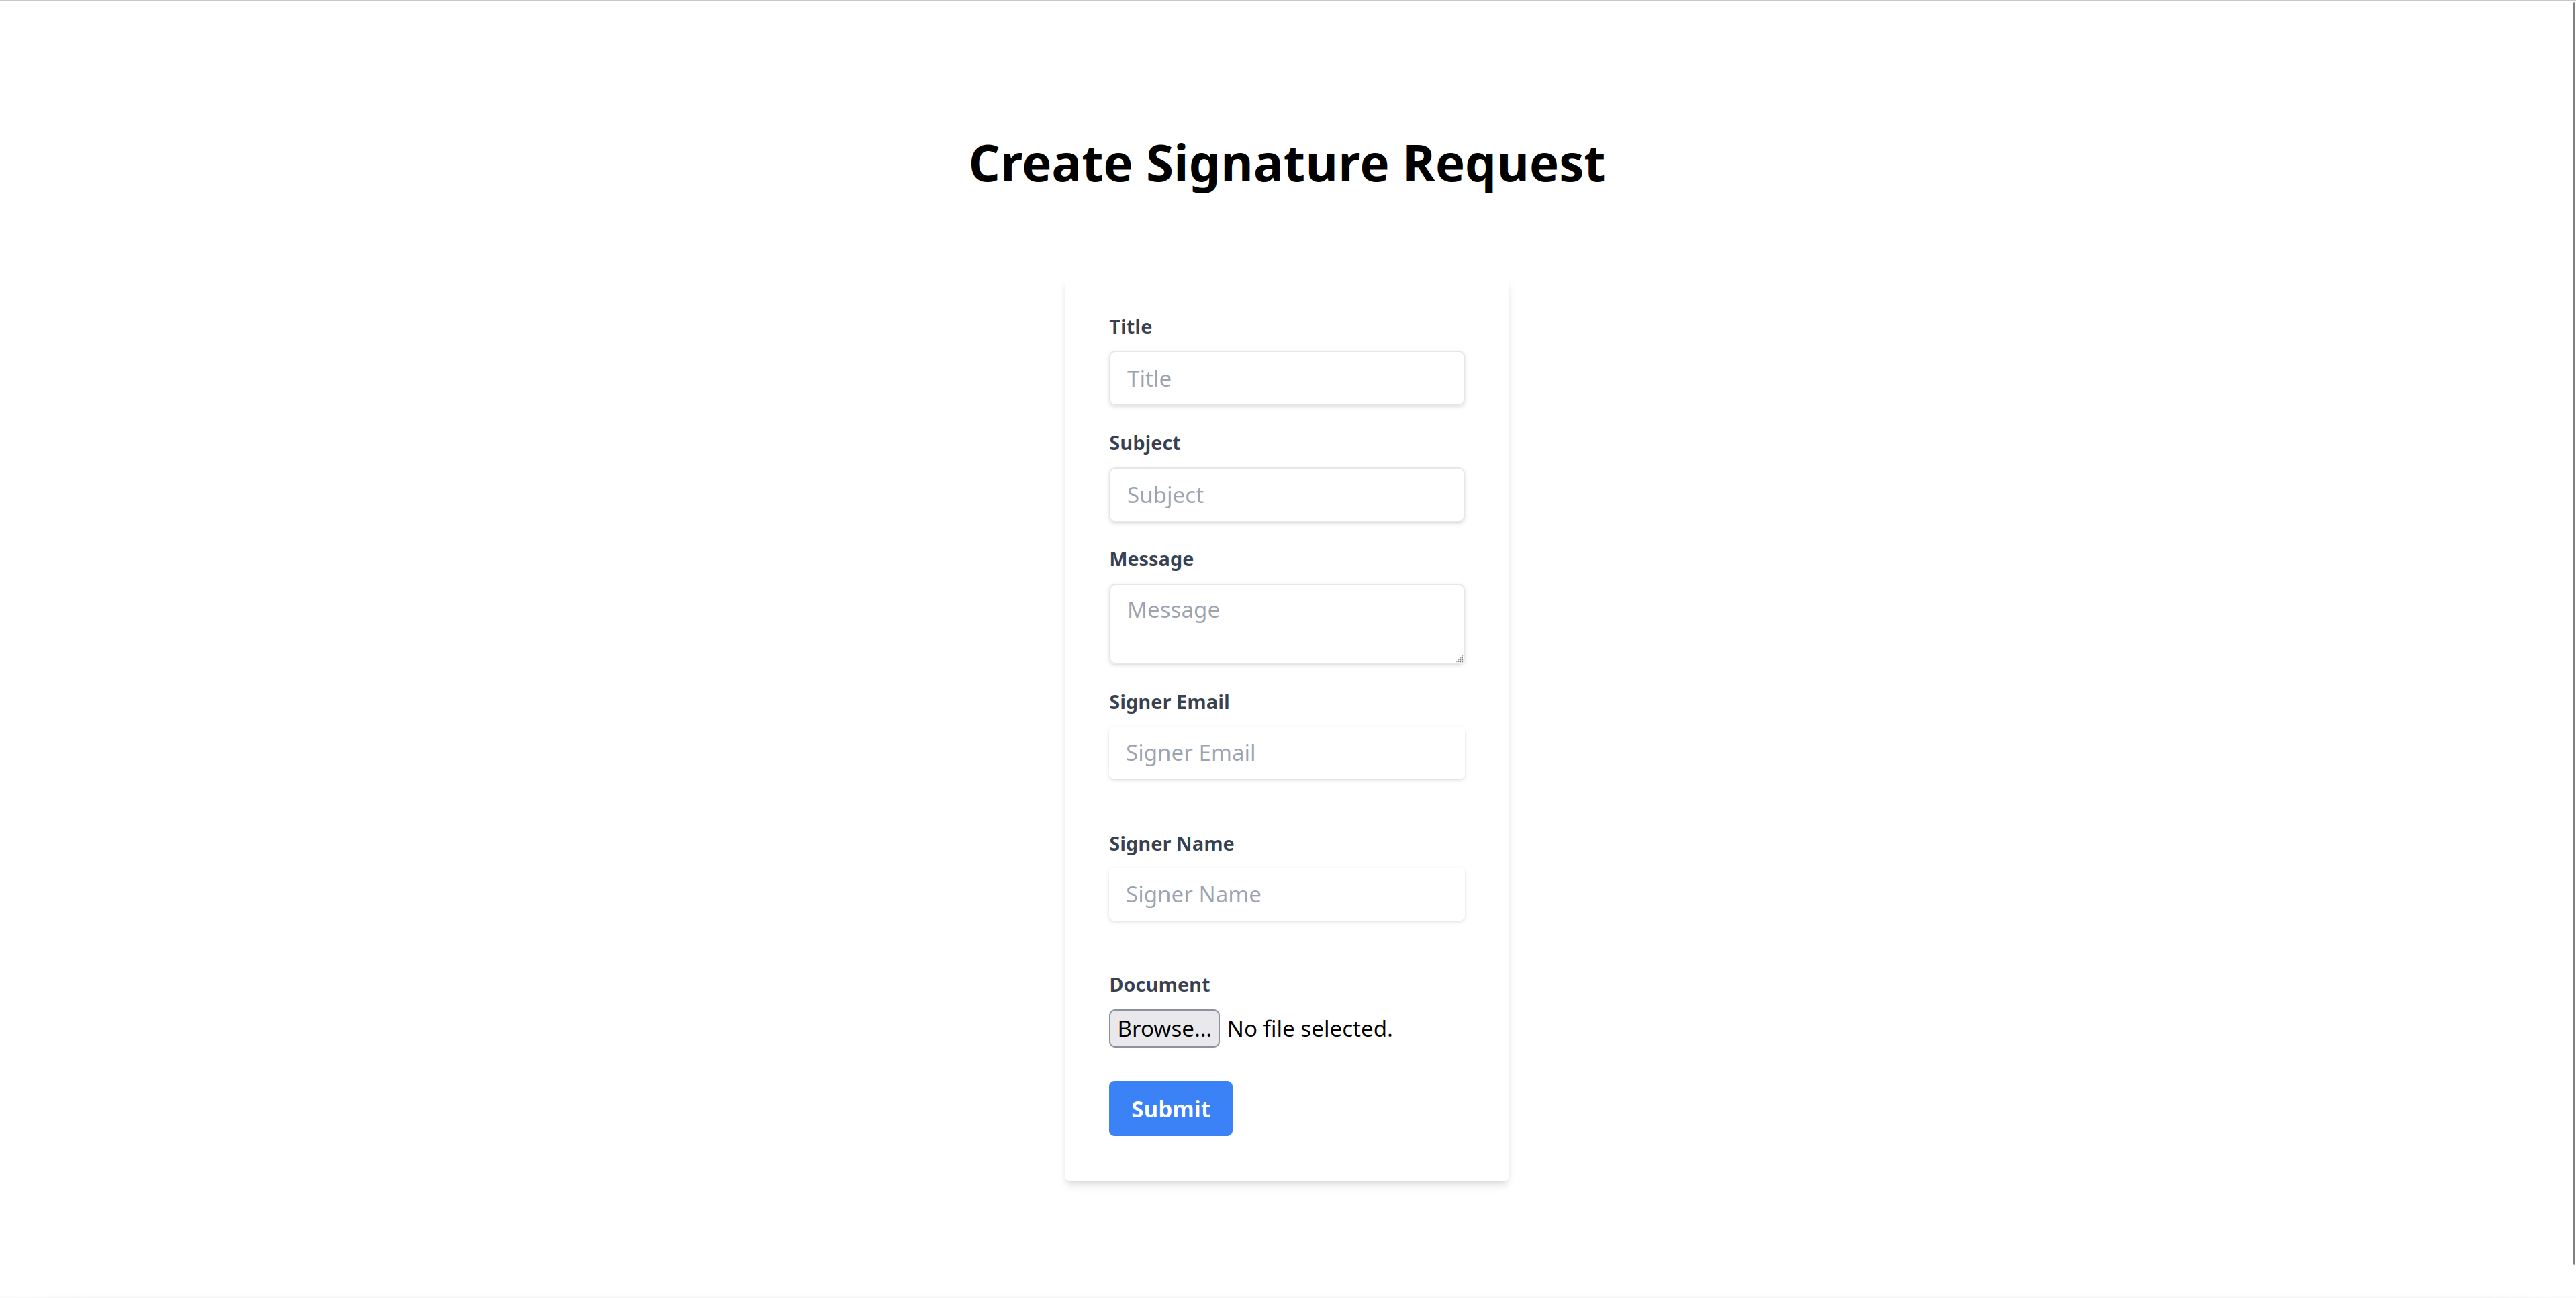
Open http://localhost:3000 in your browser. You should see the Create Signature Request form.

Fill up the fields, attach a document, and click on Submit:

Filling up the form

‍

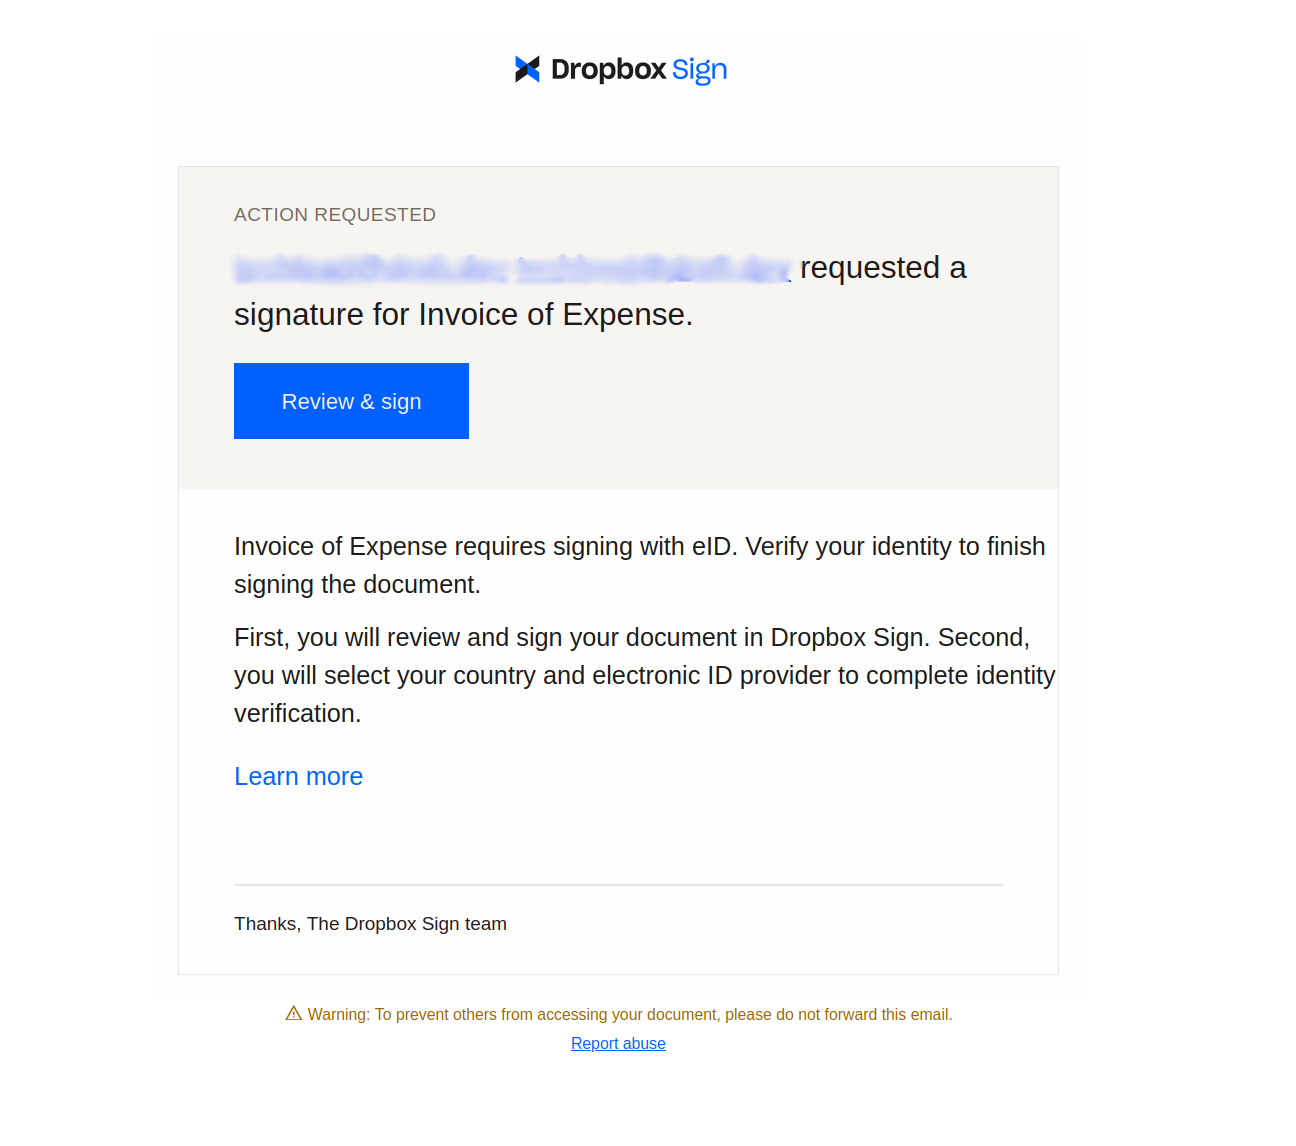
You'll receive an email asking you to sign the document:

Email asking for signature

‍

When you click on Review & sign, you'll be taken to a preview of the document, with a new page appended to it. There, you have an option to add a signature:

The signature page

‍

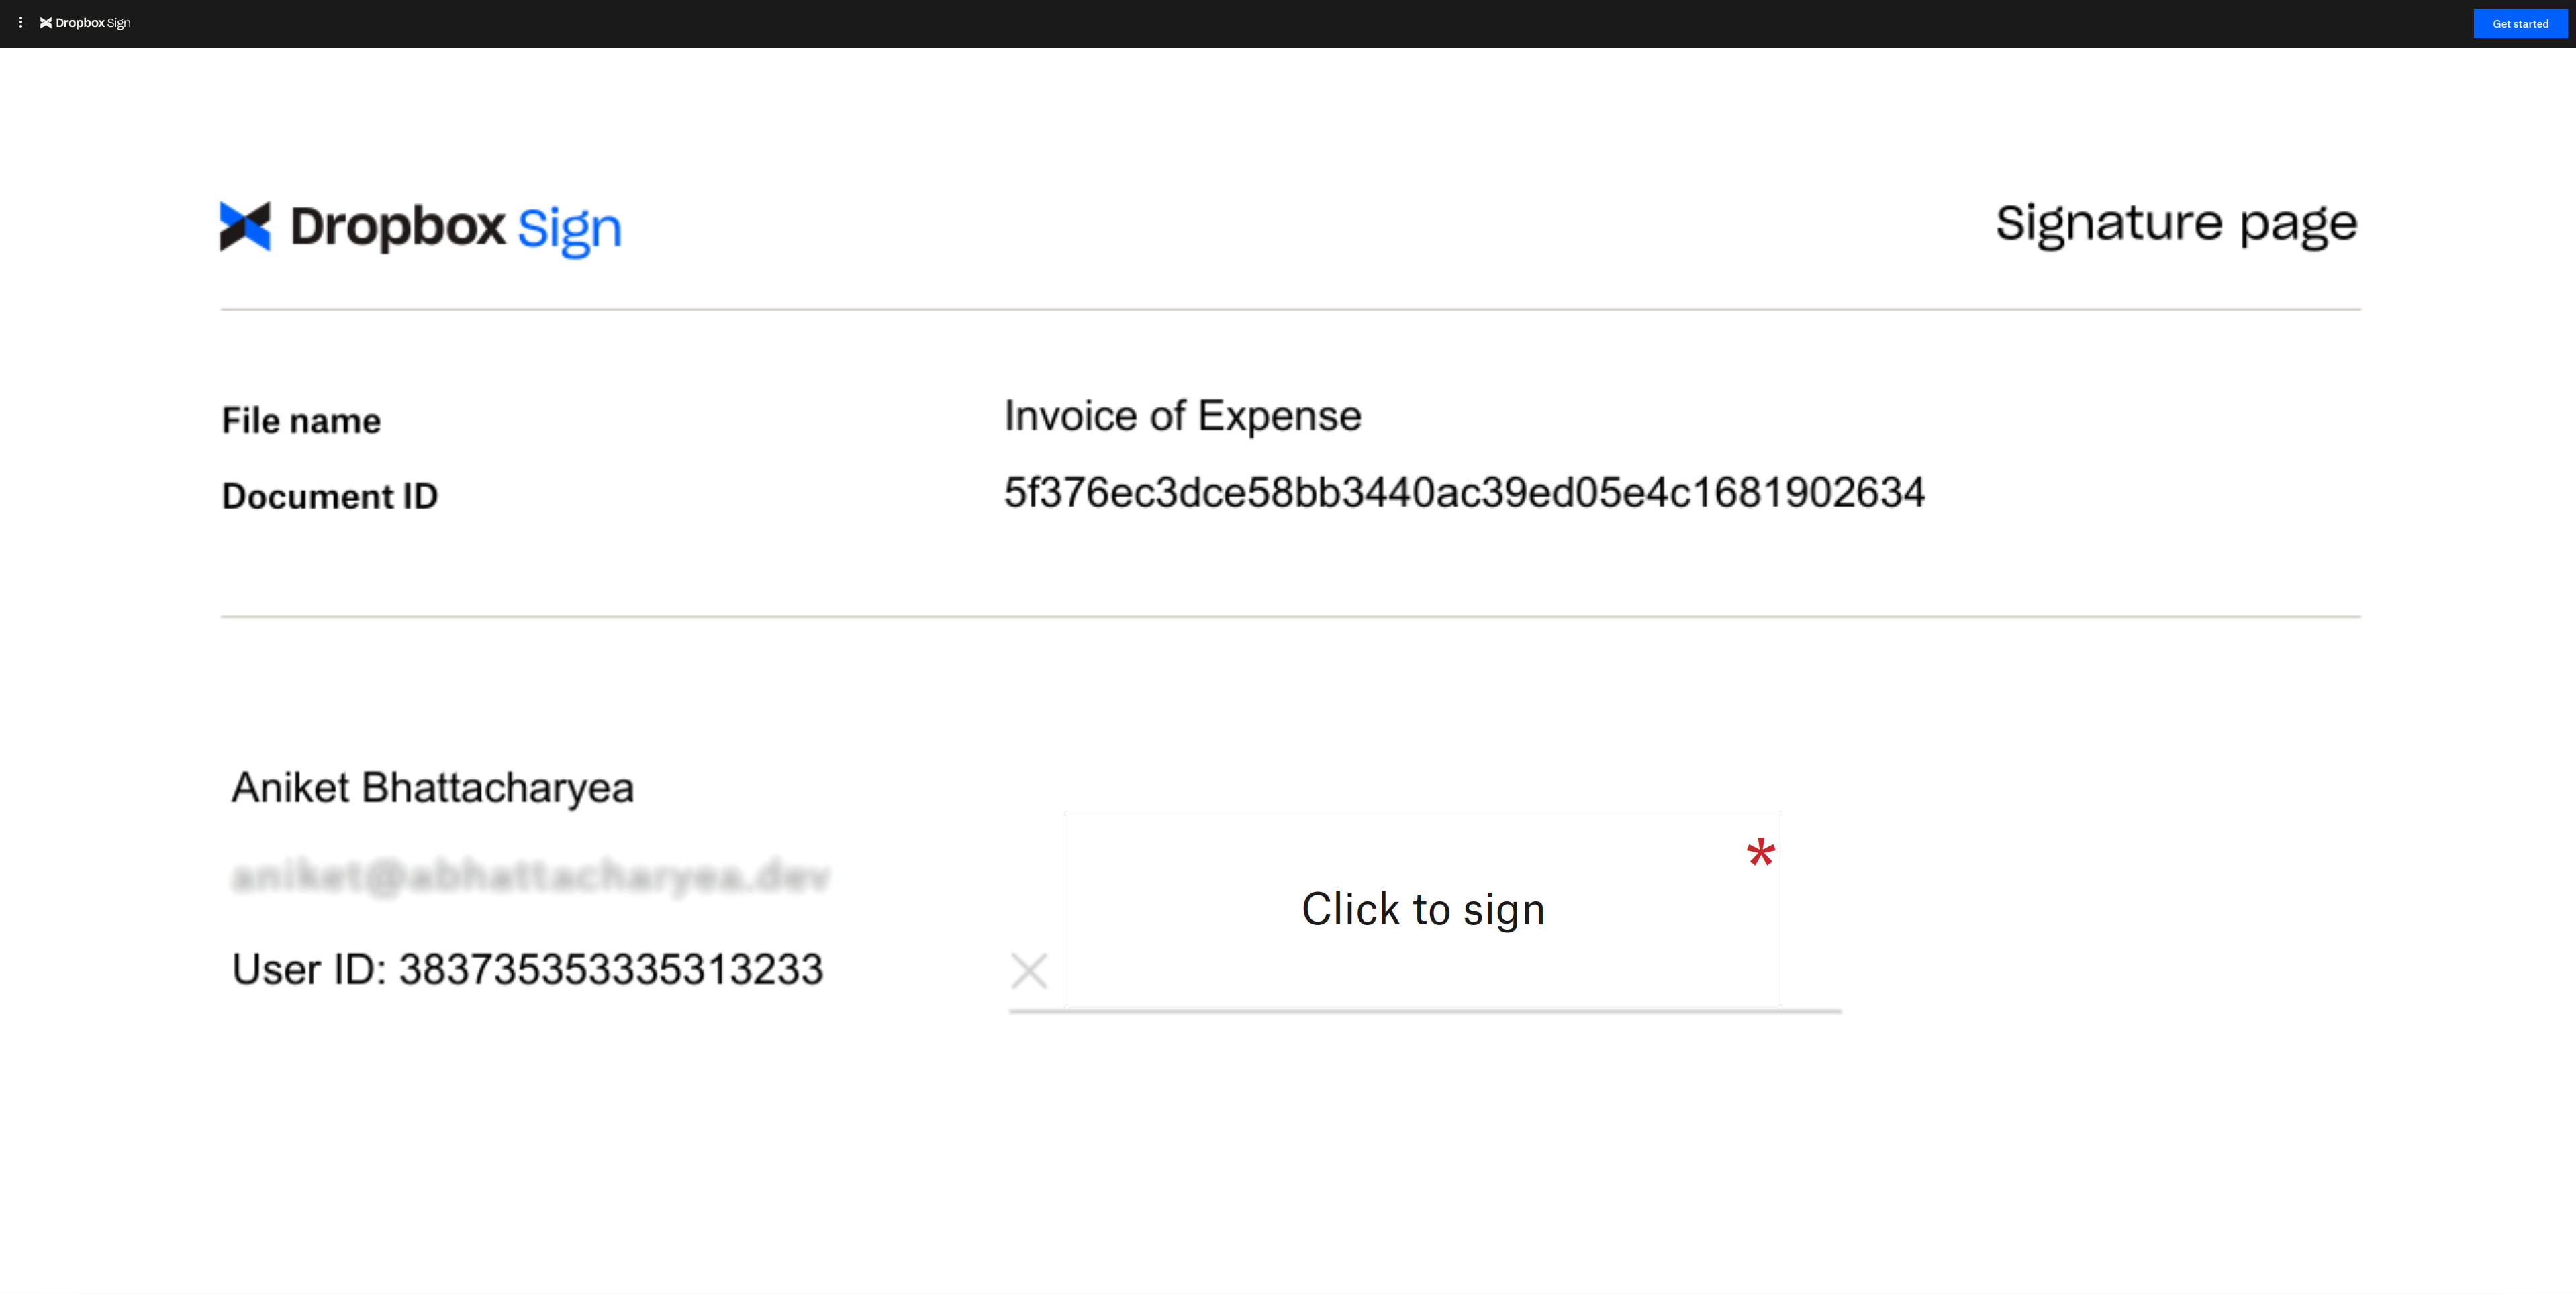
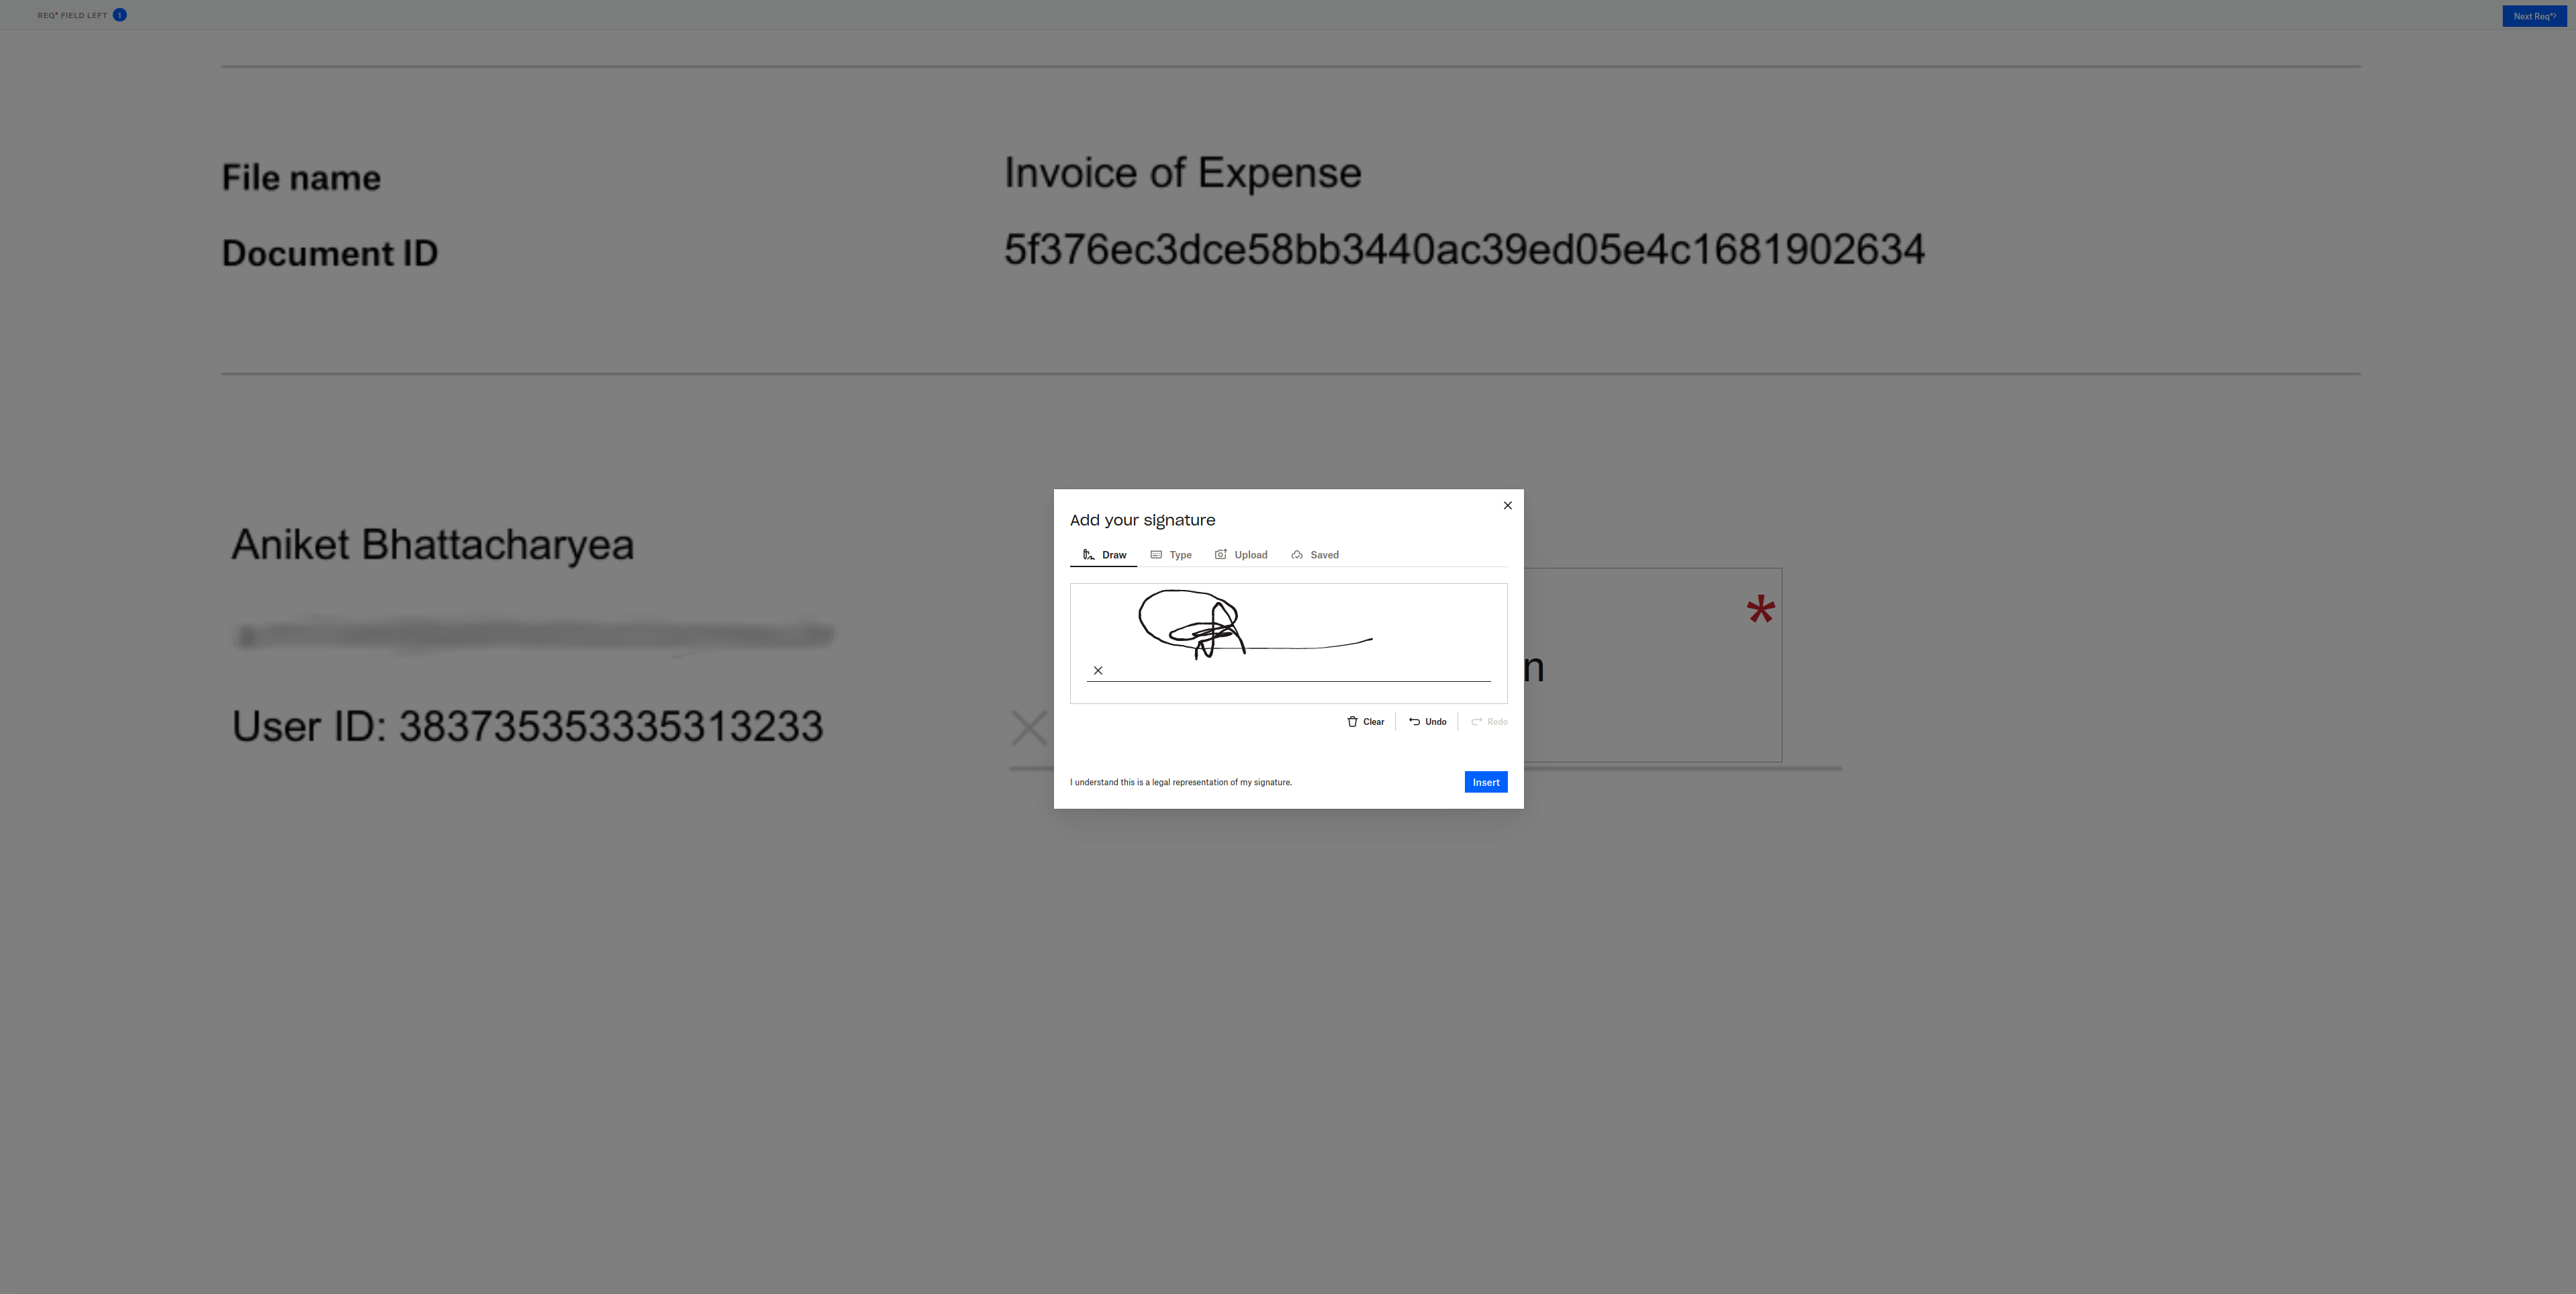
Select Click to sign, and you are given the option to draw, type, or upload a signature:

Sign the document

‍

When you click on Next, you'll receive a confirmation dialogue for starting eID:

Confirmation for starting eID verification

‍

When you click on Continue, the eID verification will begin. You need to choose your country and the method of verification. The process varies based on your location. Follow the prompts. Once the verification is done, the signature is complete.

You can find the final code in the main branch of this GitHub repo.

‍

Conclusion

eID is a crucial tool for identity verification. It adds an extra layer of security for document signing workflows by ensuring the signers are who they say they are.

In this article, you explored the eID feature of Dropbox Sign and learned how to use eID verification with Dropbox Sign. Dropbox Sign offers an easy-to-integrate eID verification flow with the help of QTSPs that are AES and QES compliant.

‍

진행 상태 확인

모두 완료되었습니다! 받은 편지함을 확인하세요.

Thank you!
Thank you for subscribing!

Lorem ipsum

Lorem ipsum dolor sit amet, consectetur adipiscing elit. Suspendisse varius enim in eros elementum tristique. Duis cursus, mi quis viverra ornare, eros dolor interdum nulla, ut commodo diam libero vitae erat. Aenean faucibus nibh et justo cursus id rutrum lorem imperdiet. Nunc ut sem vitae risus tristique posuere.

Lorem ipsum
오른쪽 방향 화살표 아이콘
닫기 아이콘

Up next:

현대 디지털 서명 솔루션을 나타내는 수기 서명의 클로즈업 일러스트레이션.
개발자
15개
분 소요

Dropbox Sign과 Ruby on Rails 통합: 단계별 튜토리얼

현대 디지털 서명 솔루션을 나타내는 수기 서명의 클로즈업 일러스트레이션.
개발자
15개
분 소요

Dropbox Sign vs. SignNow for developers

보고서

2022년 전문 서비스 업계 동향

제품
Dropbox SignDropbox Sign APIDropbox Fax연동
Dropbox Sign이어야 하는 이유
전자 서명문서에 서명PDF 작성과 서명온라인 계약전자 서명 만들기서명 편집기Word 문서 서명
지원
도움말 센터영업팀에 문의지원팀에 연락쿠키 관리시작하기: Dropbox Sign시작하기: Dropbox Sign API
관련 자료
블로그고객 이용 후기자료 센터합법성 지침신뢰 센터
파트너
전략적 파트너파트너 찾기
회사
함께 일하기이용 약관개인정보 보호
Facebook 아이콘Youtube 아이콘

사용 가능한 결제 수단

Mastercard 로고Visa 로고American Express 로고Discover 로고
CPA 컴플라이언스 배지HIPAA 컴플라이언스 배지Sky High Enterprise Ready 배지ISO 9001 인증 배지

Dropbox Sign 전자 서명은 미국, 유럽연합, 영국을 비롯해 전 세계 많은 국가에서 법적 구속력을 발휘합니다.
더 자세한 정보는 이용 약관과 개인정보처리방침에서 확인할 수 있습니다.