.svg)


새로운 이름, 변함없이 강력한 성능! HelloSign이 Dropbox Sign으로 새롭게 탄생했습니다.
If you've ever done any sort of development work for a company of any size, you know that almost all companies send and receive information in more or less the same way: via PDF files.
Whether you're sending out newsletters or invoices, they're all delivered in PDF format, and just about every personal computing device on the planet has a PDF reader installed on it to be able to access these files.
For businesses, the ability to dynamically generate invoices based on sales data extracted from a database eliminates the rush to dispatch all invoices at the end of the month. Alternatively, a template-type PDF can be filled in with accurate information for specific users who've indicated that they're only interested in receiving newsletters for certain categories, like monthly specials.
In this article, you'll learn all about generating PDFs in a Python, a versatile scripting language. You'll be introduced to two popular PDF generation libraries for Python and learn how to leverage these libraries to generate your own PDF files. Additionally, you'll explore Dropbox Sign, an API that can be used to digitally sign PDF files using legally binding eSignatures.
Methods to generate a PDF in Python
Before you review specific tools/libraries for generating a PDF in Python, you need to prepare a Python project.
Set up a virtual environment
It's good practice to set up your Python project using virtual environments. While it's possible to run your Python script under the global Python interpreter, your global environment can end up cluttered if you keep installing packages that your project needs under the global system packages.
Additionally, if you package your virtual environment with your project, you can ensure that the installation process is smooth when you want to use the same project on another system.
When you upload your project to a code-sharing platform site like GitHub, it also simplifies virtual environment setup for other users who want to clone your project on their local systems.
There are all kinds of ways to set up a virtual environment. This tutorial uses an advanced package tool (APT)–based package manager, which means it may differ from your system. So adjust your commands accordingly.
The commands used in this tutorial are all run inside a terminal window on a Linux-based computer. Run the following commands:
Finally, activate your virtual environment using the newly supplied shell script:
You should see that your prompt gets modified to show you that you're working inside a virtual environment for your Python project:
You can deactivate the virtual environment by entering deactivate:
If you want to install any project-specific modules, you should do so while your project's virtual environment is activated. This ensures that the module is only available to your project and not the global Python interpreter.
From here, you can also set up a Git repository for your project if that's how you normally do things, but this step is beyond the scope of this tutorial.
Now, it's time to create your first PDF using ReportLab.
Use ReportLab to create a PDF
ReportLab is a PDF library that lets you create PDF files using the Python language.
To include the ReportLab module in your project, remember to activate your virtual environment and run the following:
And that's it! That's all you need to do to include the module as part of your Python project.
Create a PDF with ReportLab
To create a PDF, start with a skeleton for your main script:
This program will run as is, but it doesn't do anything except output "nothing to do! (yet)" to the console.
It's time to start modifying the code so that you can create a PDF file. ReportLab supports multiple methods for creating a PDF file, but you can start by using the Canvas class:
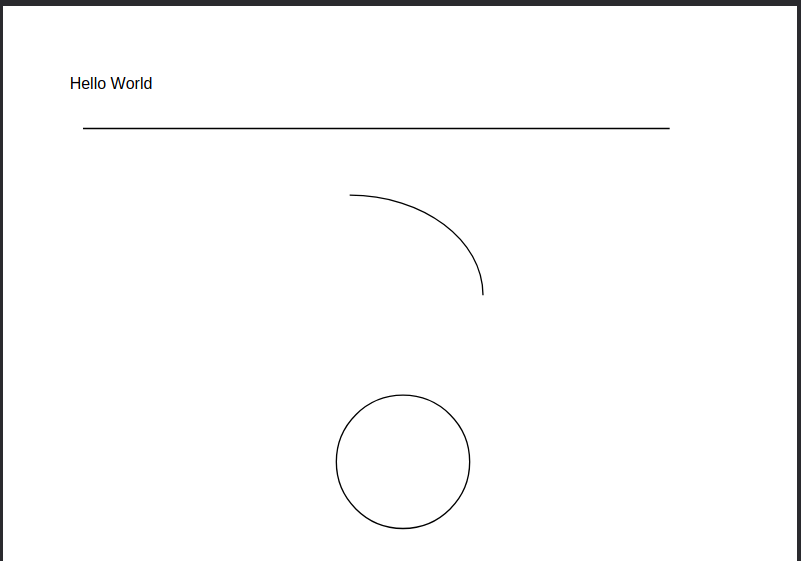
Once you've run this code, you should have a hello_world.pdf file waiting for you in your project directory. Open it up, and you should see something like this:
As you can see, it worked! Now, it's time to expand the code and see what other options are available.
Draw shapes with ReportLab
Once you've created your PDF, you can modify your code to draw shapes using the ReportLab library. The following code is the entire main.py with all the necessary changes you need to draw some shapes on your canvas object:
This code draws a few shapes onto the canvas before saving it as a PDF:
Change fonts with ReportLab
Next, try changing the font of your string. For this, you're going to need a fonts directory in the root of your project path, and you'll need to drop a TrueType Font file (TTF) in that directory. There are plenty of free and open source TrueType fonts on the internet, and you can try any that you like. Here, Inter is used.
Once you've downloaded a font and extracted the TTF file to the fonts directory, take a look at the following code:
Look carefully at these lines:
Make sure to set these values according to the font file you downloaded and extracted to the fonts directory.
Run the script to confirm that the font has changed:

Other things to try with ReportLab
ReportLab has a lot more features available. If you're interested in learning more, check out their documentation to find out more about features such as the following:
ReportLab also has a ReportLab PLUS library, which is a paid library that supports creating PDF files using a templating language called Report Markup Language (RML). This allows you to create PDF files using a structure similar to HTML.
The code for this example project is available on GitHub.
PDFKit
PDFKit is another popular Python package that can generate PDF files. However, it has a different methodology when it comes to creating PDFs. Instead of manipulating a blank canvas, it allows you to take standard HTML pages and convert them to PDF.
This approach works wonderfully for developers who might already be well versed in HTML, while others might find the clean slate approach that ReportLab offers more appealing.
Follow the same instructions for preparing a Python project as before but in a separate directory and virtual environment. Additionally, create the same skeleton script as was used previously.
Then install PDFKit into your activated virtual environment using the following command:
PDFKit also requires the wkhtmltopdf binary to be installed on the system.
On an APT-based system, install it like this:
If you're struggling to install it on your system, please consult the wkhtmltopdf documentation to try to resolve your issue.
Use PDFKit to create a PDF
There are multiple ways you can generate a PDF using PDFKit. You can even generate a PDF from an existing URL. However, for this tutorial, you're going to create your own HTML file.
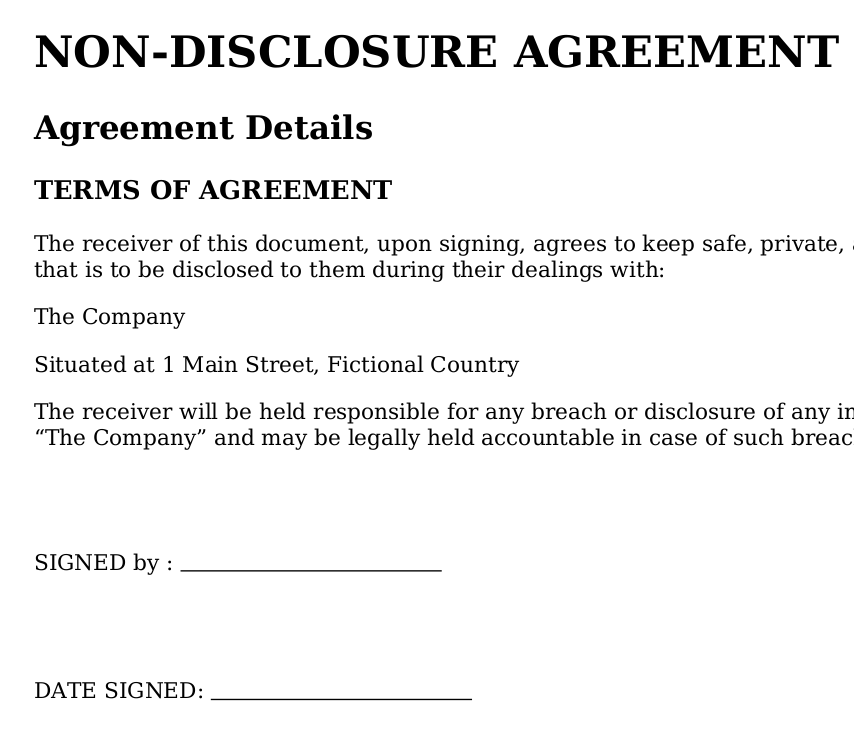
A common business use-case might be something like a Non-disclosure agreement or an NDA. The basic HTML file looks like this:
Name this file contract.html and place it in the root of your project.
Then modify the skeleton script to look like this:
Once you run this code, you should have a PDF file in the root of your project directory that looks like this:
Add options with PDFKit
You can pass an options object to the main method to set parameters like margin and page size to make sure the HTML fits nicely on the page. To do so, modify the main() method like this:
For a list of the options that you can set, consult the documentation.
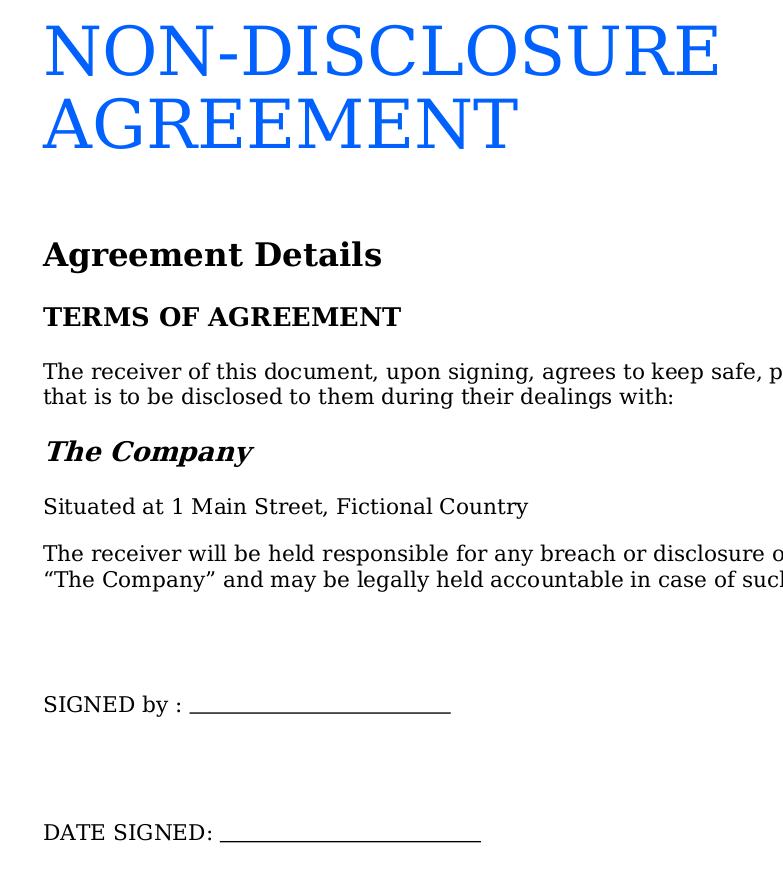
Add color with PDFKit
Currently, the contract looks a bit bland, but just like with normal HTML, it's something you can remedy using CSS.
Create a basic CSS file that changes the color of the <H1> heading and changes the icon of the bulleted list:
Save this file as style.css in the root of your project directory.
Now modify the following line in main.py to use your newly created CSS file:
Run the command again to see what your new contract looks like:
As you can see, PDFKit is fairly flexible if you're familiar with HTML and CSS. Anything you can dream up in HTML can be converted to a PDF file.
All the code examples for this project are available in this GitHub repository.
Dropbox Sign
Dropbox Sign is a service from Dropbox that allows you to digitally sign your PDF files. It helps you streamline any business workflow that might require a signature on the customer's end.
This removes the hassle that most customers experience when they need to physically sign a form, like having to print, sign, and finally, scan the document in order to send it back. Additionally, the signatures are considered to be legally binding signatures.
In this section, you’ll explore a common use case for using a service like Dropbox Sign.
You've been tasked by your employer, “The Company”, to streamline the sending of NDAs to prospective third-party developers who might be on-boarded from time to time as needed.
Sign up for the Dropbox Sign API
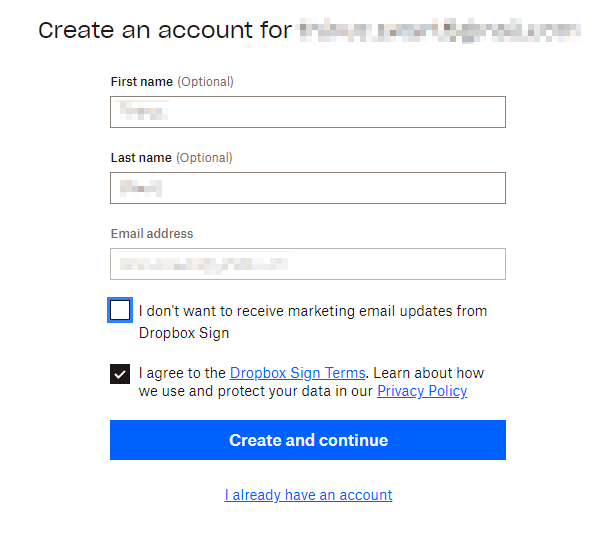
If you're a Dropbox customer already, you can skip this step. If not, you'll need to sign up for a Dropbox account.
Once you've selected which account you want to sign up with, you need to accept the terms and conditions:
Depending on your needs, you'll be asked which plan you want to sign up for. If you're only testing the service for possible future use, you can select the Start free trial button on any of the plans:

Even if you're only using the free trial, you still need to provide your credit card details. Don't worry, as long as you cancel before the trial period is up, you won't be charged:

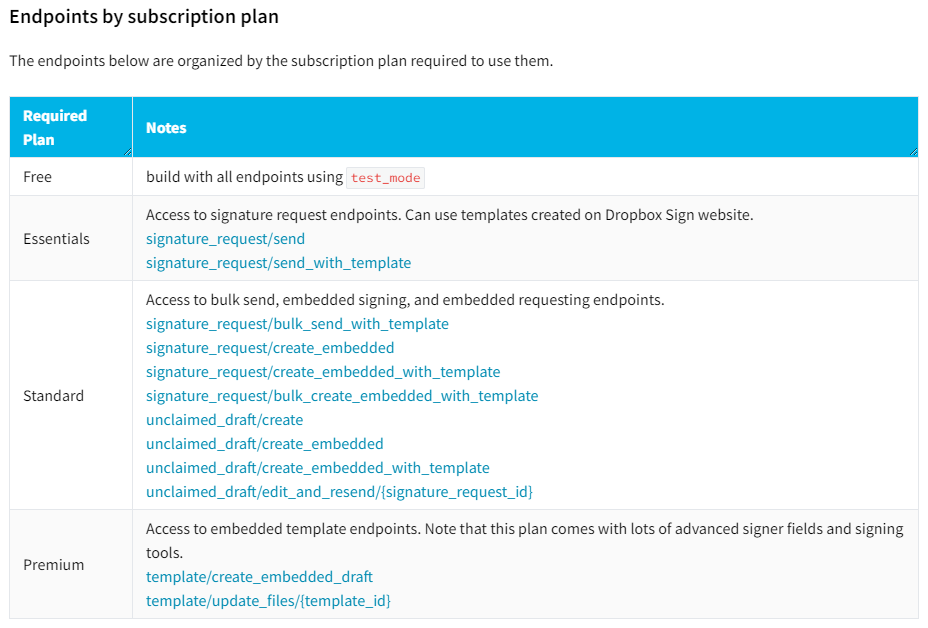
Note that there are differences in what you can do with the API depending on which plan you sign up for:
Once you've signed up, you'll be logged into the main application page:

Prepare your first document template with Dropbox
To prepare your first document template, click the Create a template button on the home page to get started.
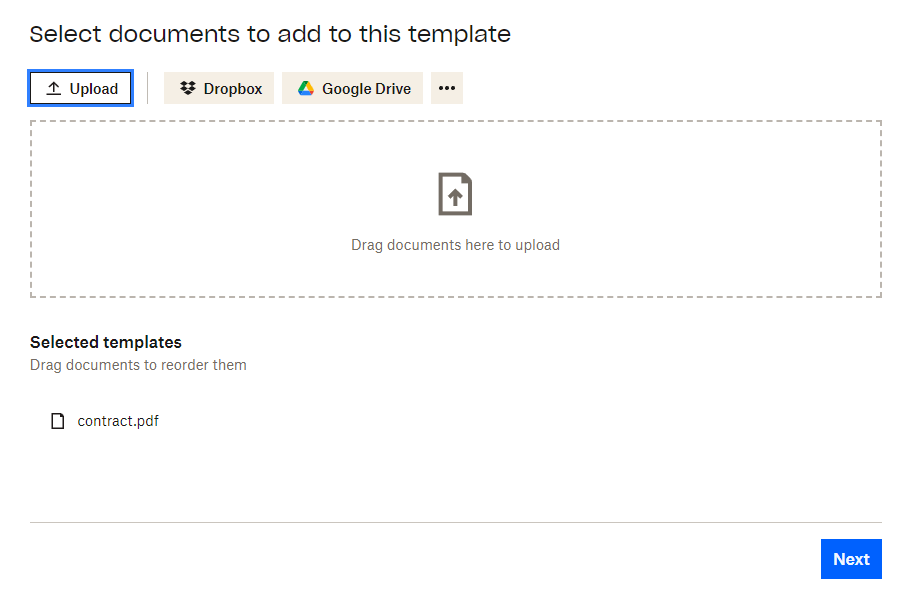
While you can use any PDF, this tutorial will use the contract.pdf file that was created in the previous example. Upload that file to the template and click Next:
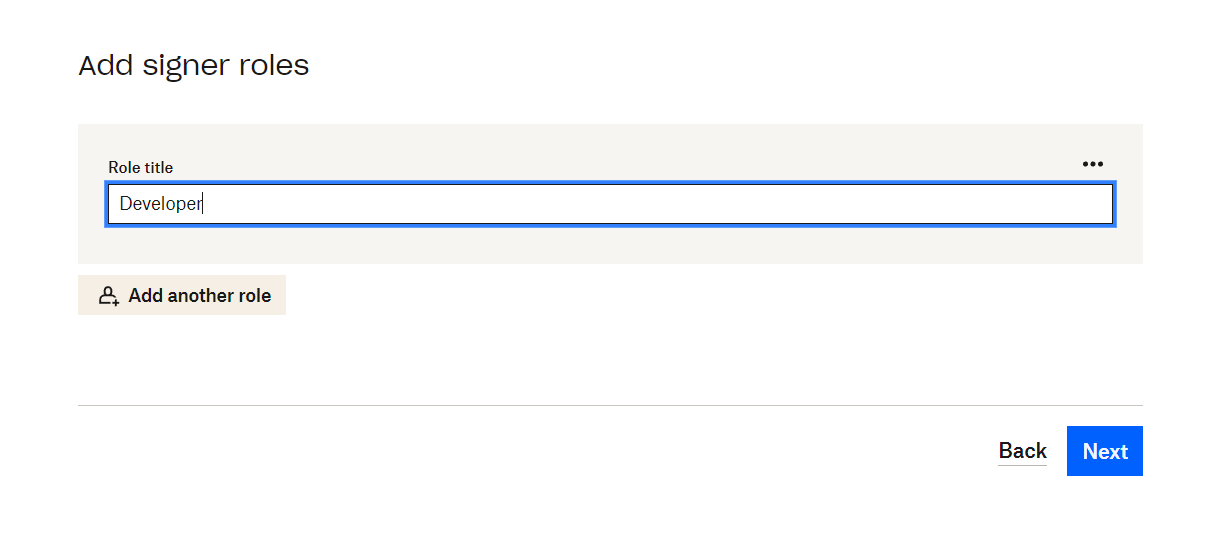
Next, you'll need to create a signer role. In this example, call the role Developer and click Next:
You should be greeted by the template designer, where you can add all sorts of fields to your PDF file:
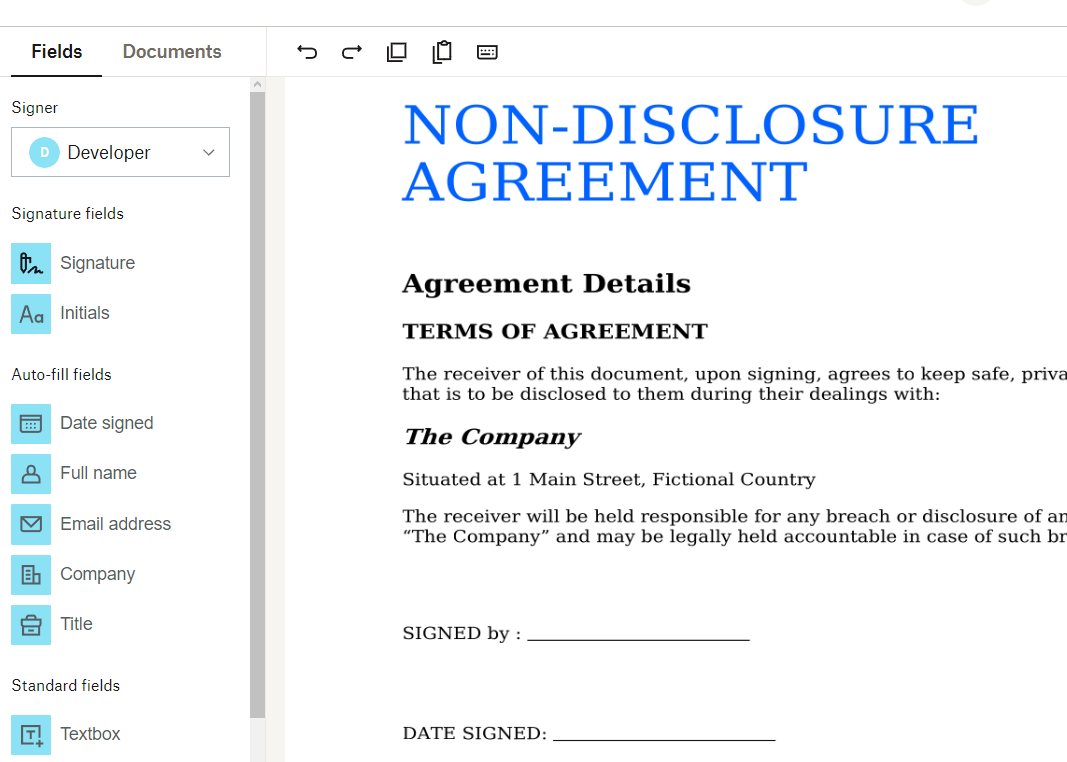
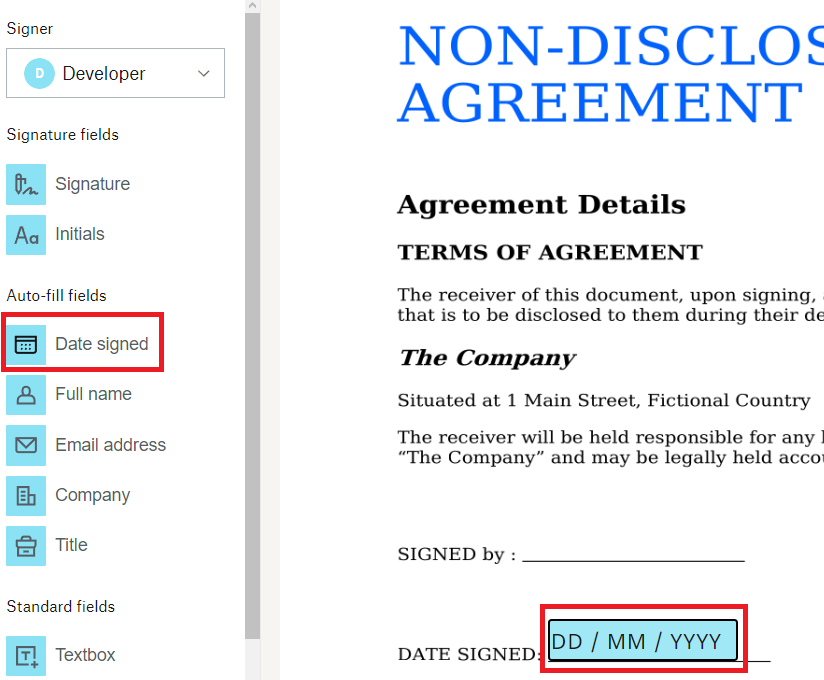
Some fields can be automatically filled when a signature request gets generated. The “Date Signed” field is a good spot to do this. Drag a “Date signed” field from the “Auto-fill fields” section on the left to the location on the PDF where you would like the date to appear:
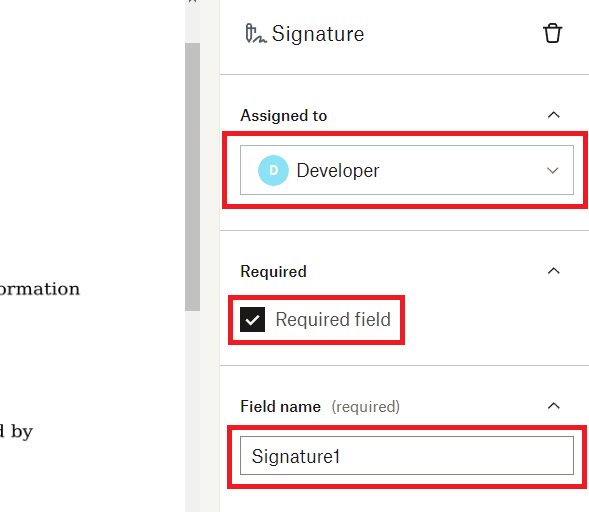
Next, drag a “Signature” field from the left sidebar to the position where you would like it to appear on the template:

With the field selected, check the right sidebar for field options and make sure the field is set to Required and the right signer role has been selected. Also, note the field name, as you will need to reference that name in your Python code later:
Once completed, click Next.
Review, give your template a name, and save it:

Now, you're ready to integrate this into your Python workflow to send a signature request to your friend.
Create an API key
For your Python project to authenticate to the Dropbox Sign API, you need to create an API key.
Navigate to the Settings page and then click API:

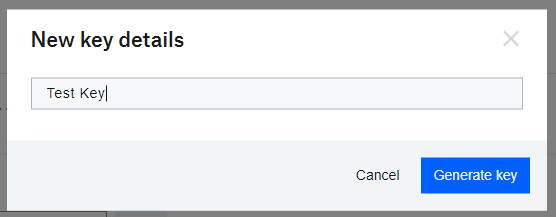
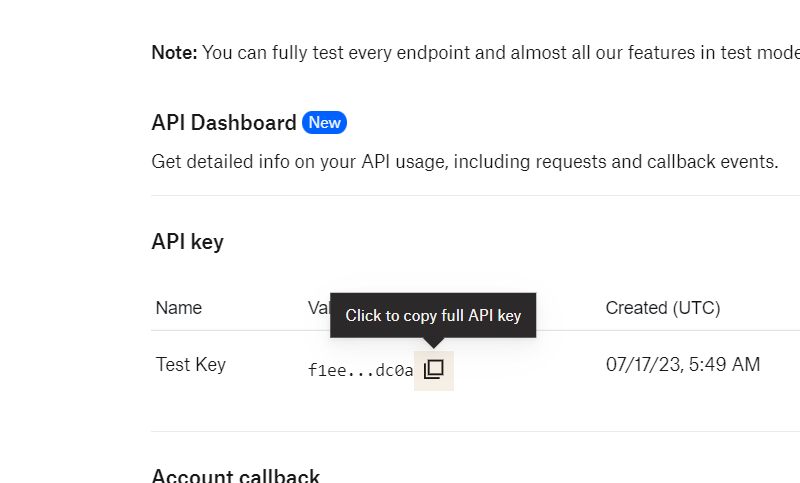
Click Generate Key and give your API key a name:
Lastly, copy the key by clicking the copy icon on the newly generated key:
Prepare your project
Prepare your Python project in the usual manner:
- Create a project directory.
- Create a virtual environment in that directory using
python3 -m venv .venv. - Create a
main.pyfile with the normal bare-bones skeleton. - Create an empty
config.pyfile that will store your API credentials.
Finally, don't forget to install the Dropbox API module in your virtual environment:
Set up API access
To set up API access, you need to fill out the script with the basics:
And config.py should look like this:
Once you run that, you should get an output that gives you a few statistics regarding your account:
This means you've successfully connected your Python script to the API.
Next, you'll want to send the template you created previously to your friend for signing. To do so, modify the main script like this:
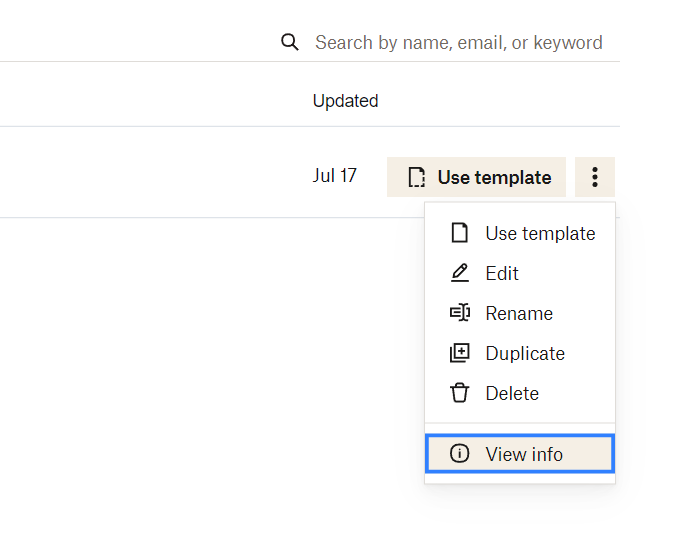
You'll notice that your data object requires a value for the template_ids variable. You'll need to fetch the template ID for the document template you created.
Navigate to the Templates page and view the information for the template you created:
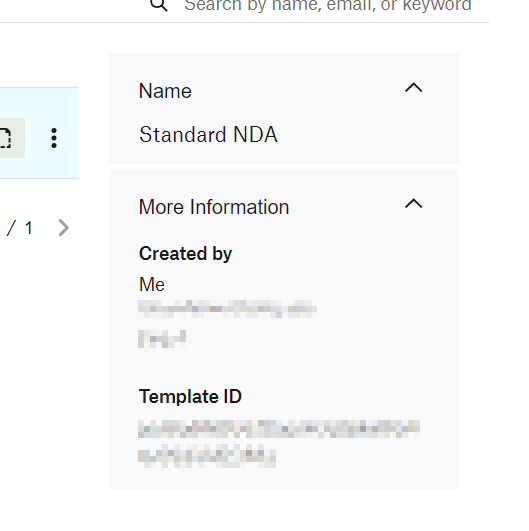
Modify config.py to include the Template ID:
Replace all the placeholder values in config.py with the correct ones. Notice that TEMPLATE_IDS is a Python list because the signature_request_send_with_template method supports sending multiple document templates with a single request.
Also, note that your data object has test_mode set to True. While test_mode is True, the documents are not considered legally binding. This is a good setting to have while you are in a testing phase. For the production code, you would need to set that to False.
Now, run your code.
If all goes well, you should receive a response like this:
Success! The rockstar developer you found on LinkedIn should have the contract waiting in their inbox, ready to be signed.
Sign the document
The email that the prospective developer receives will look like this:

Once your friend clicks the Review & sign button, they'll be taken to a page where they can sign the document.
The signature field looks like this:
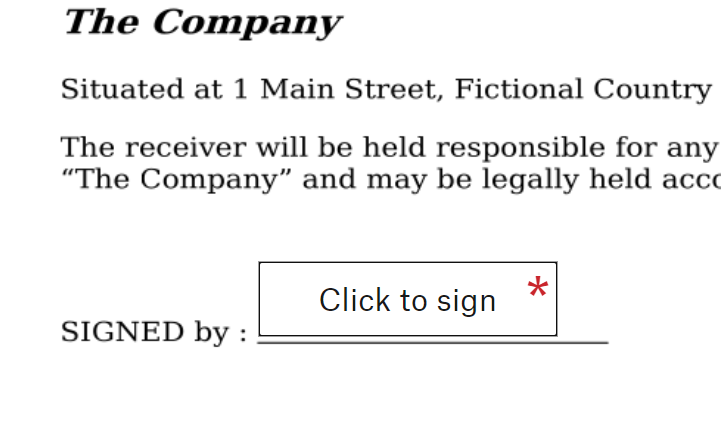
Clicking on that field gives you the signature widget, where you can digitally sign the document:

Once you click Insert, the signature will be embedded in the document.
The prospective developer can now click Continue in the top right-hand corner, review the Dropbox Terms of Service, and then click I agree.
Once the signature has been submitted, the signer will be greeted by the last page:

Confirm the signed document
On your Dropbox Sign home page, navigate to the Documents tab on the left sidebar. You should find a signed copy of the contract here:
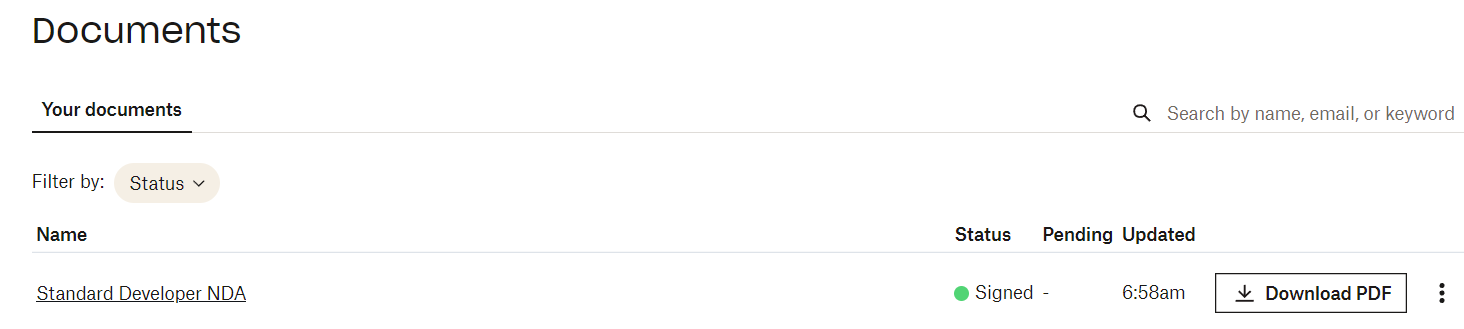
Download the PDF to see your (soon-to-onboarded) developer’s signature on the document:
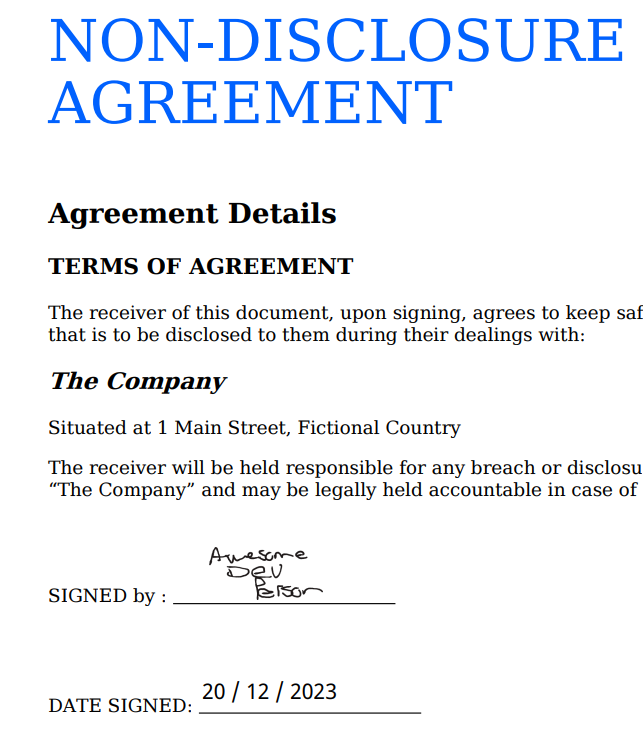
And you're done!
All the code used for this example is available in this GitHub repository.
Conclusion
In this tutorial, you learned how to do the following:
- Create PDF files from scratch using ReportLab
- Convert HTML files to PDF files using PDFKit
- Create an entire workflow from start to finish using the Dropbox Sign Python SDK
And that's only scratching the surface of what's possible with these tools. You could streamline all kinds of business processes including accepting quotes and estimates, signing contracts, and signing school permission slips.
If you're planning on using PDFs in your business processes, Dropbox Sign could be the perfect automation tool to save you time and effort.
진행 상태 확인
Thank you!
Thank you for subscribing!


