.svg)


새로운 이름, 변함없이 강력한 성능! HelloSign이 Dropbox Sign으로 새롭게 탄생했습니다.
eSignatures are quickly becoming the primary way of signing important documents like non-disclosure agreements(NDAs), financial contracts, and onboarding documents digitally and remotely.
The Dropbox Sign API is an advanced, customizable eSignature API service that makes implementing digital signatures in your app a breeze. To learn more about what Dropbox Sign (formerly known as HelloSign) can offer you, check out their Dropbox Sign developer portal.
This article will show you how to use the Dropbox Sign API to implement an eSignature flow in your Vue.js app. If you want to, you can follow along with this GitHub repo.
Implementing a custom eSignature flow
If you’re running a software development company and want to hire remote employees or freelancers to grow the business, you’ll need a way for people to sign documents like NDAs and employment contracts. That’s where the Dropbox Sign API can help. With it, you can easily integrate eSignatures into your Vue.js frontend, creating a cohesive, centralized app for all your paperwork.
Initial setup
To get started, make sure you have the most recent versions of Node.js (>=8) and a package manager like npm, Yarn, or pnpm installed. Then, create both backend and frontend folders to house your app.
The backend for this eSignature flow is a simple Express app that uses the Dropbox Sign Node.js SDK. To install the necessary dependencies, go to the backend folder and run:
The frontend is powered by Vite and Vue.js. This means the resulting app will perform well and allow for fast development. In addition to that, you’ll use the HelloSign Embedded library to embed the HelloSign form.
In the frontend folder, initiate a Vite project and install the necessary HelloSign dependency with the following commands:
Dropbox Sign API key
Before getting into the code, you’ll have to create your Dropbox Sign account and obtain your API key.
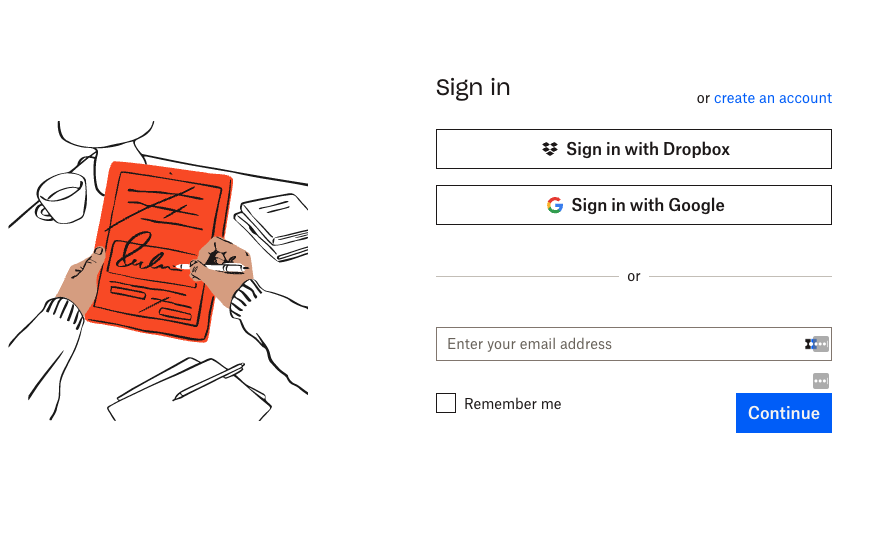
If you don’t already have one, create a Dropbox Sign account and sign in.
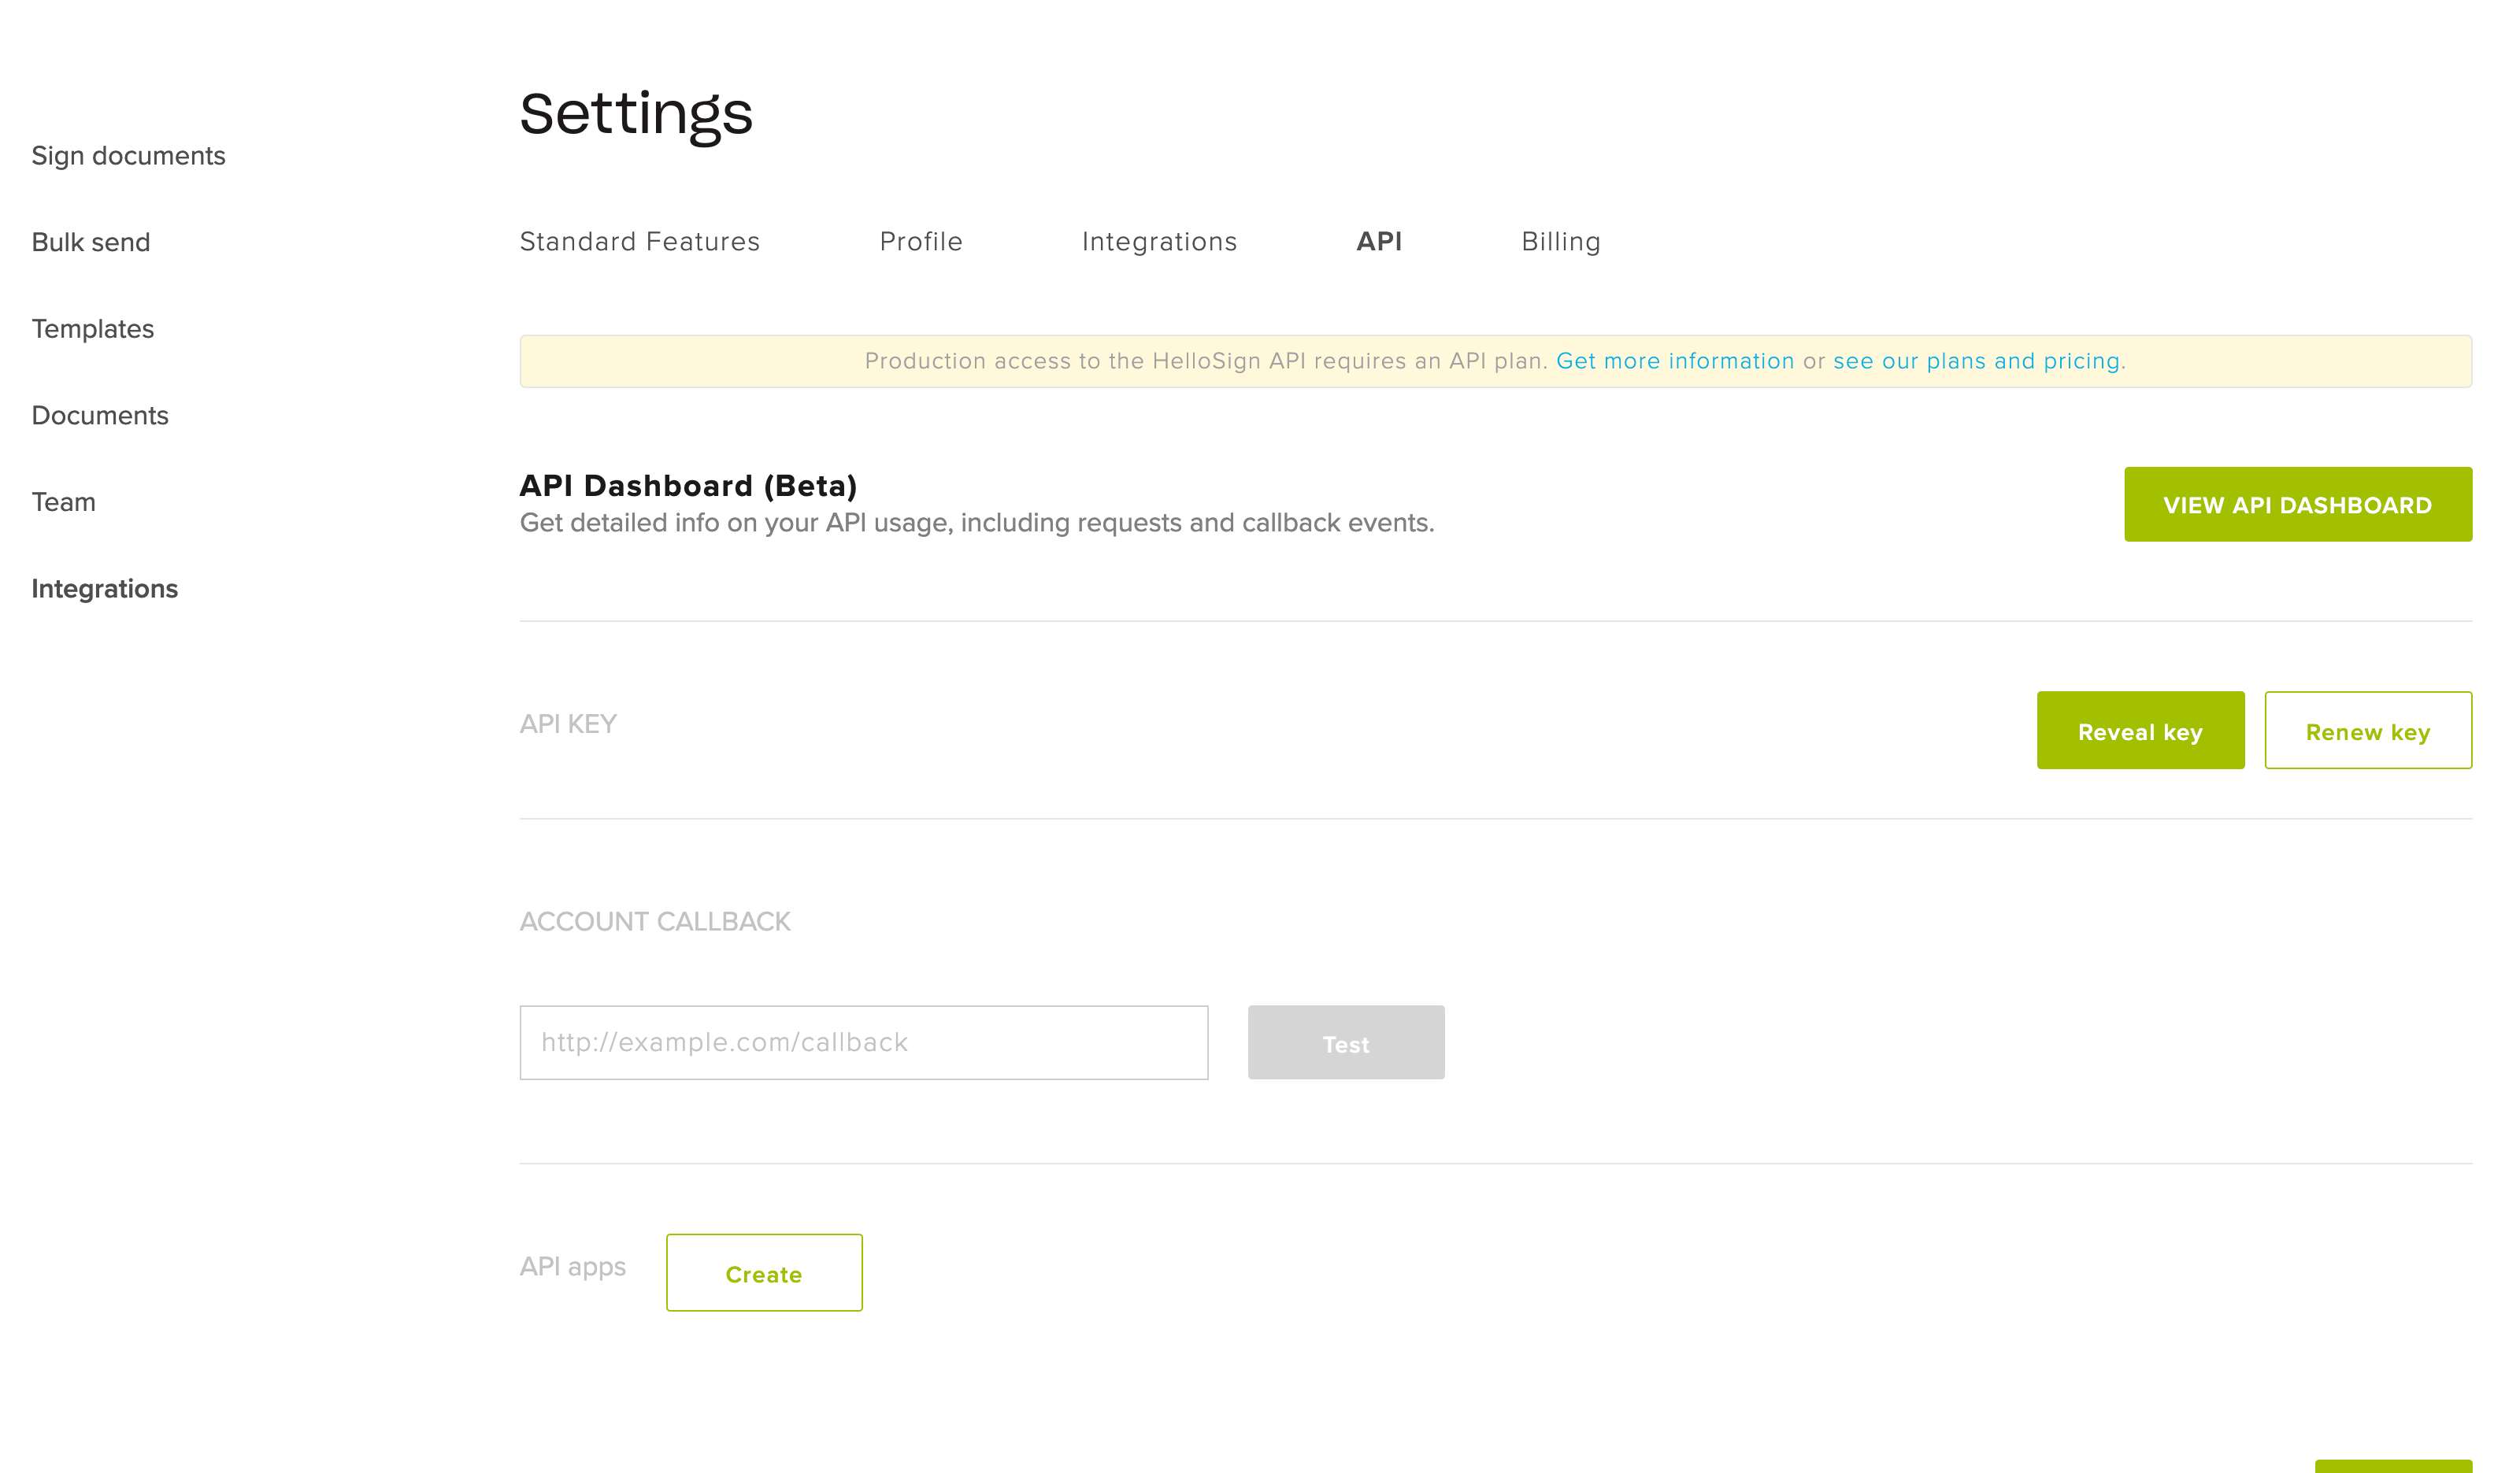
Inside the dashboard, go to the Integrations section > API tab to retrieve your API key. You’ll use it to connect to Dropbox Sign from the backend.
Integrating Dropbox Sign with the backend
With the API key available, you can start working on the backend.
First, create an `index.js` file and initiate the Dropbox Sign Node.js SDK, providing your API key:
Using the SDK and its `signatureRequest.send()` method, you should be able to upload and send any document that needs to be signed.
If you’re still in the testing phase, make sure to include the `test_mode: 1` property in the config object. It indicates that the integration is currently being tested (signing is not legally binding) and you can test all of the platform’s features freely before moving to production.
To test the code above, ensure you’ve got an example `nda.pdf` file in the backend folder and run it with the `node index.js` command. If the test was successful, the signature request would be sent to the provided email, and API response would be outputted to the console. Additionally, the document will appear in your Dropbox Sign dashboard in the Documents section.
The `signatureRequest.send()` method sends the locally-stored document for signing to recipients’ emails with the provided details. This is the simplest approach to sending an eSignature request, however, it won’t scale well or look good. The document file will have to be uploaded every time a signature is requested and the signature area will be loosely added at the end of the document.
To improve on that, you can use Dropbox Sign Templates.
Dropbox Sign Templates
Templates are reusable documents for multiple signings. Not only that, you can use them with the Dropbox Sign editor, which lets you set the location of the signature as well as other fields.
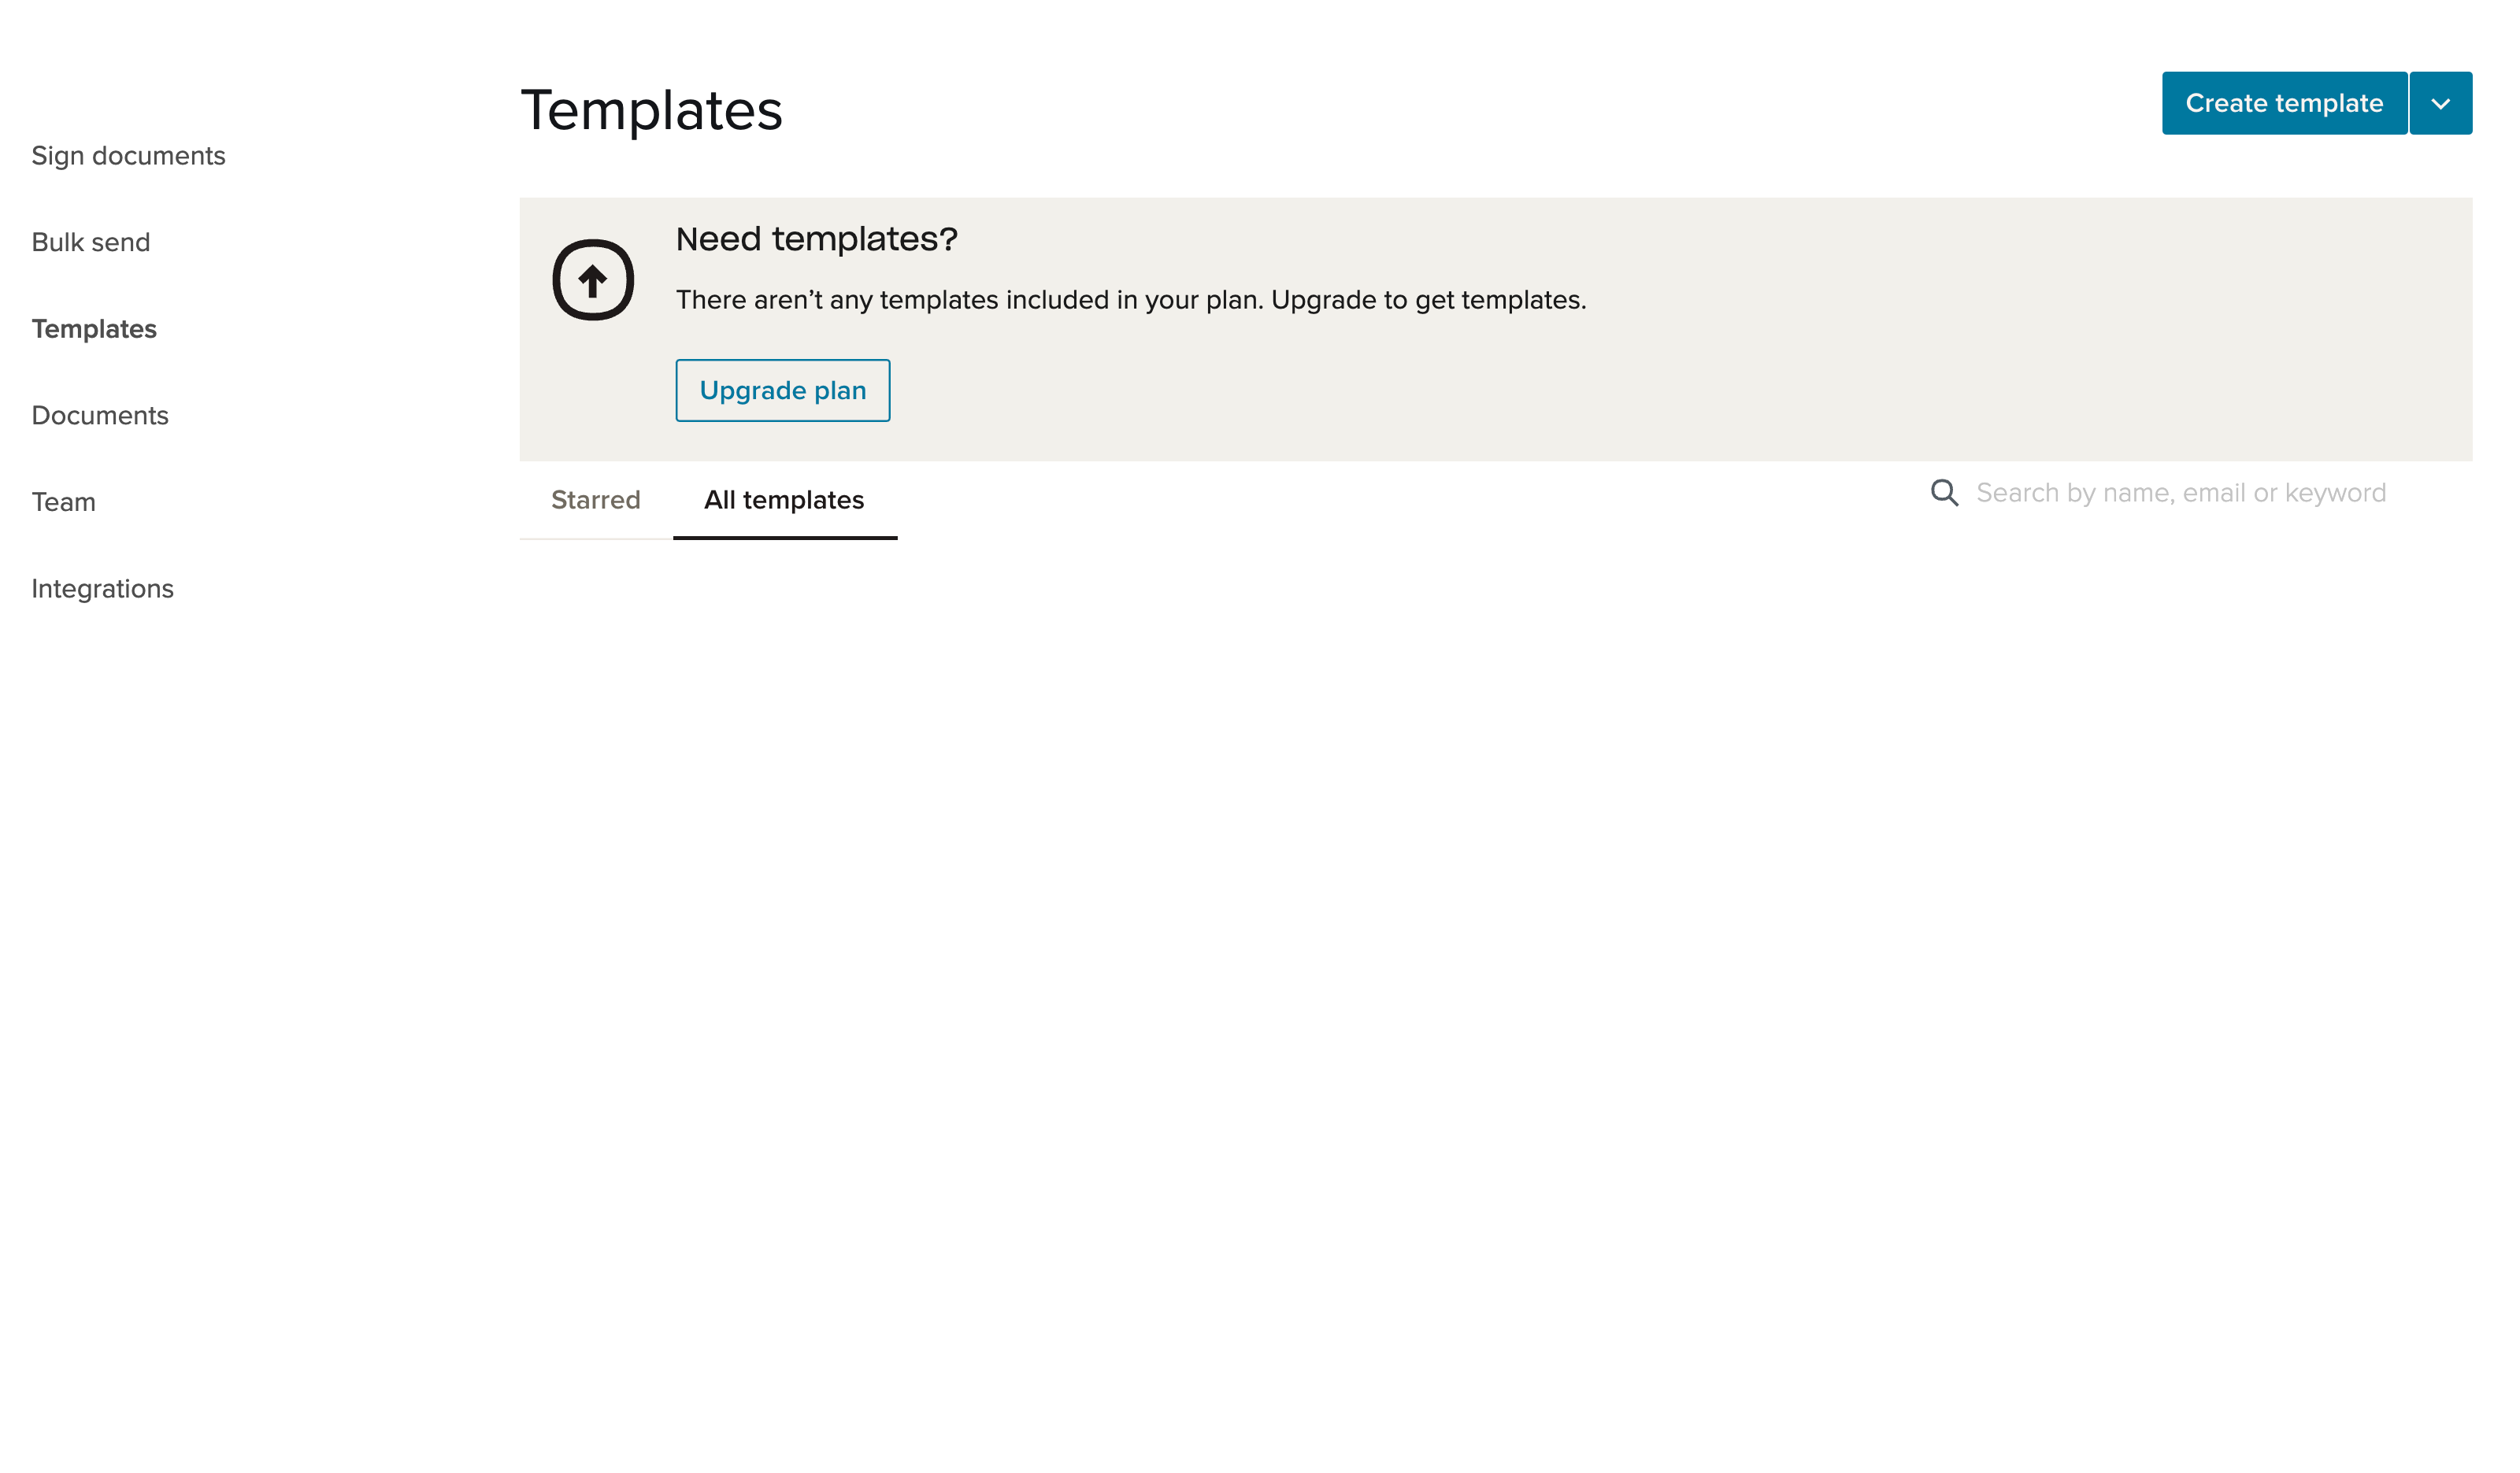
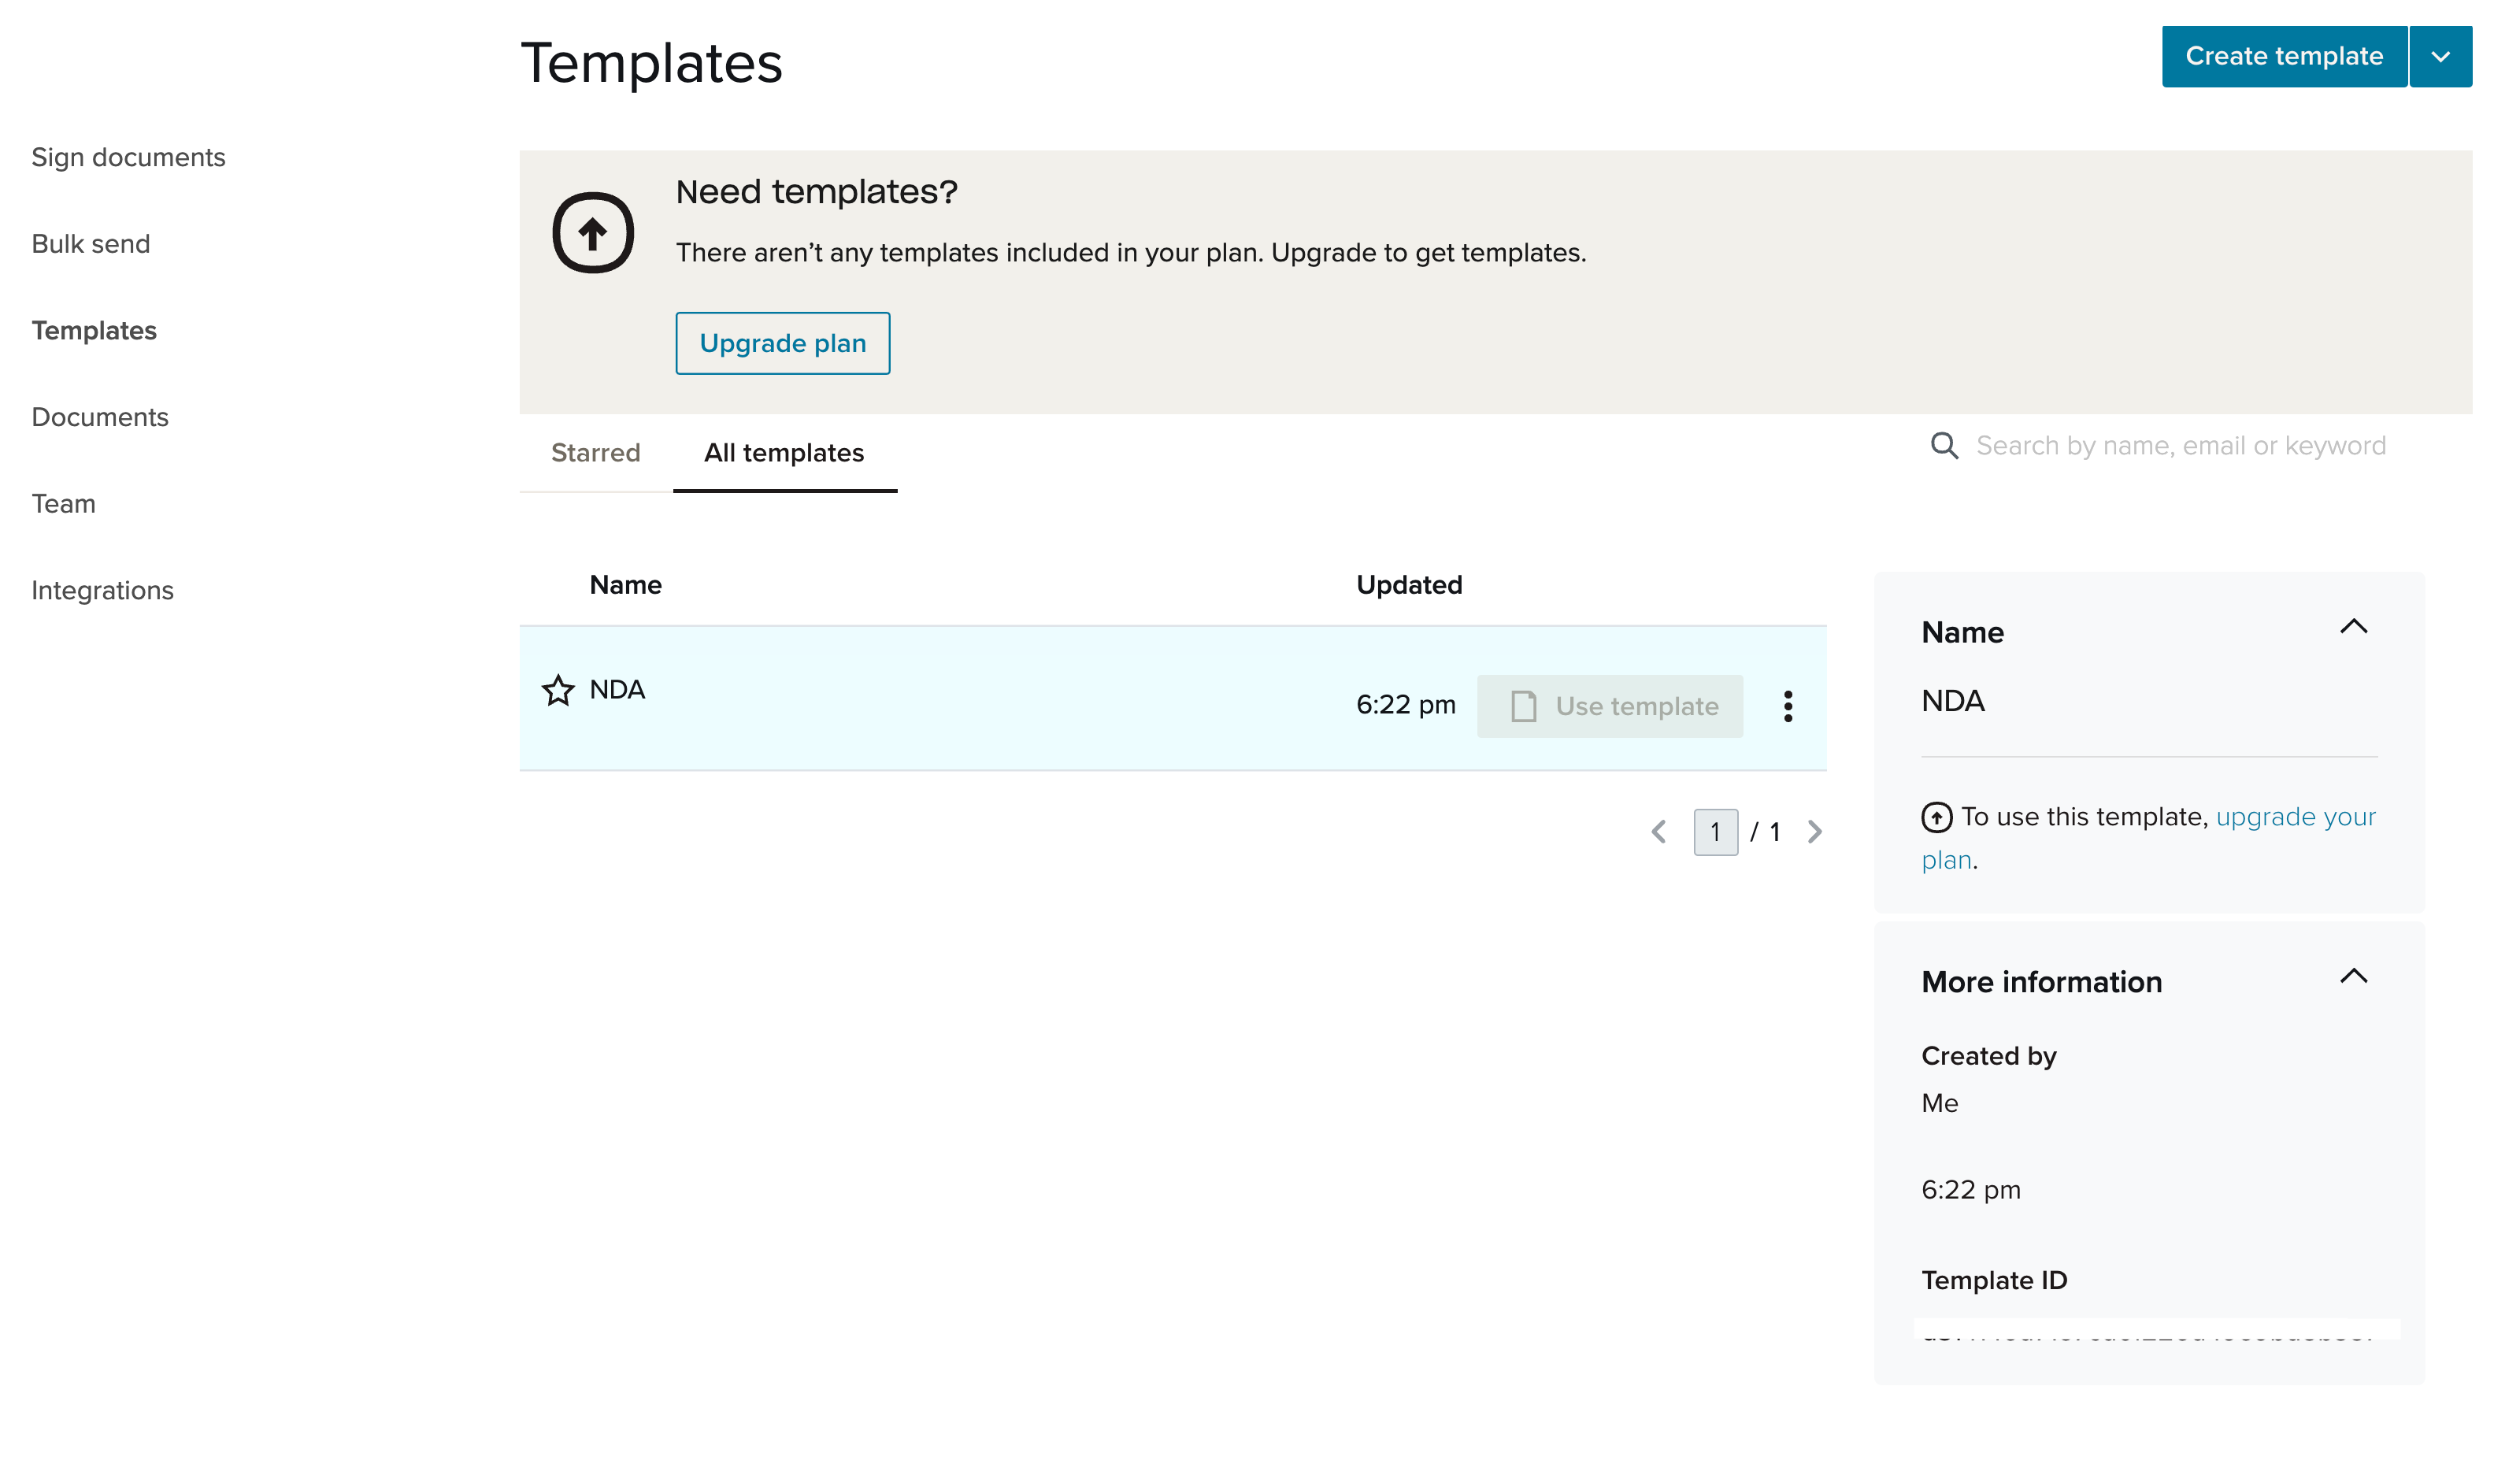
To create a template, from the side menu, go to the Templates section and click Create template.
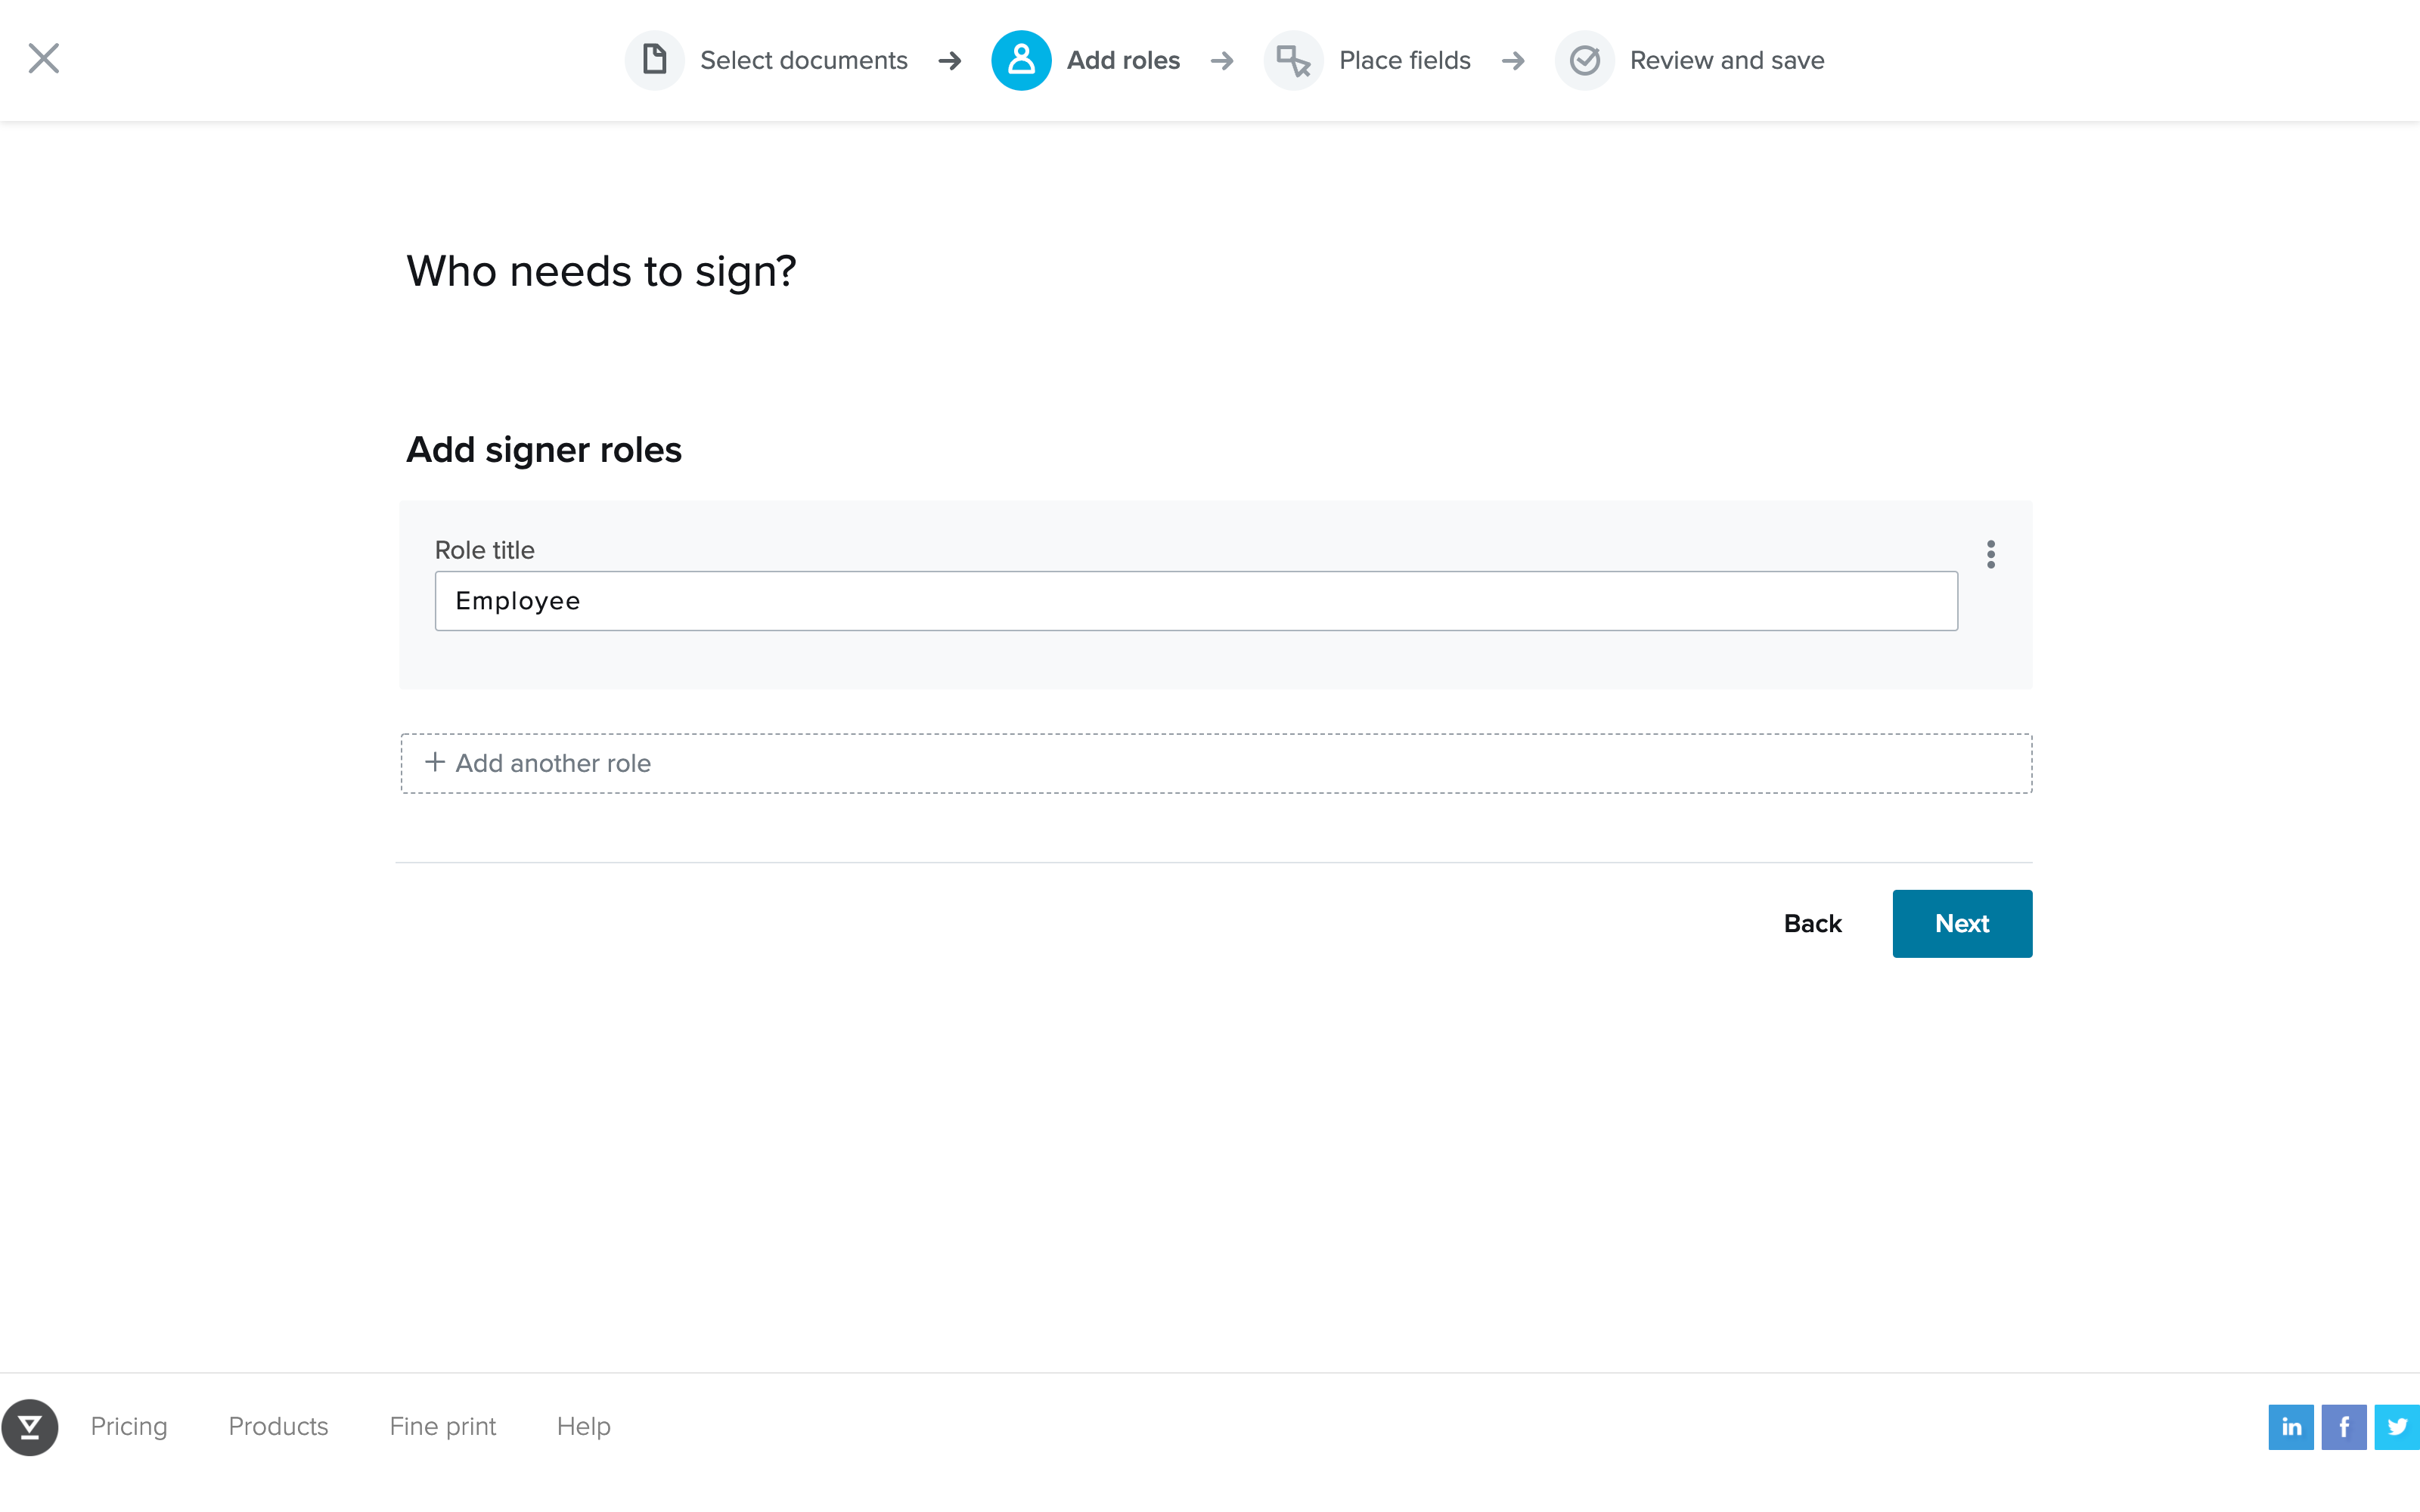
Upload your document and go through the template setup process. Pay close attention to the Who needs to sign? panel, as the provided role(s) will be used later with the API.
When you’re done, return to the dashboard and retrieve the template ID:
With the template ready, return to the backend and adjust the code:
To send a signature request using a template, you’ll have to use the `signatureRequest.sendWithTemplate()` method. Also, inside the config object, make sure to include the `template_id` and `signers.role` properties from the Dropbox Sign dashboard. The `files` property is no longer needed, since this time you don’t upload any files.
With this change, your signature requests are now more scalable and reusable. They’re also much cleaner, thanks to the modifications made with the Dropbox Sign editor.
However, the backend still only uses Dropbox Sign to send signature requests via email. While it’s easy and secure, it’s inherently separate to your frontend. For a more seamless, unified experience for your new employees, you should embed the eSignature form on your frontend with the HelloSign Embedded library.
The frontend
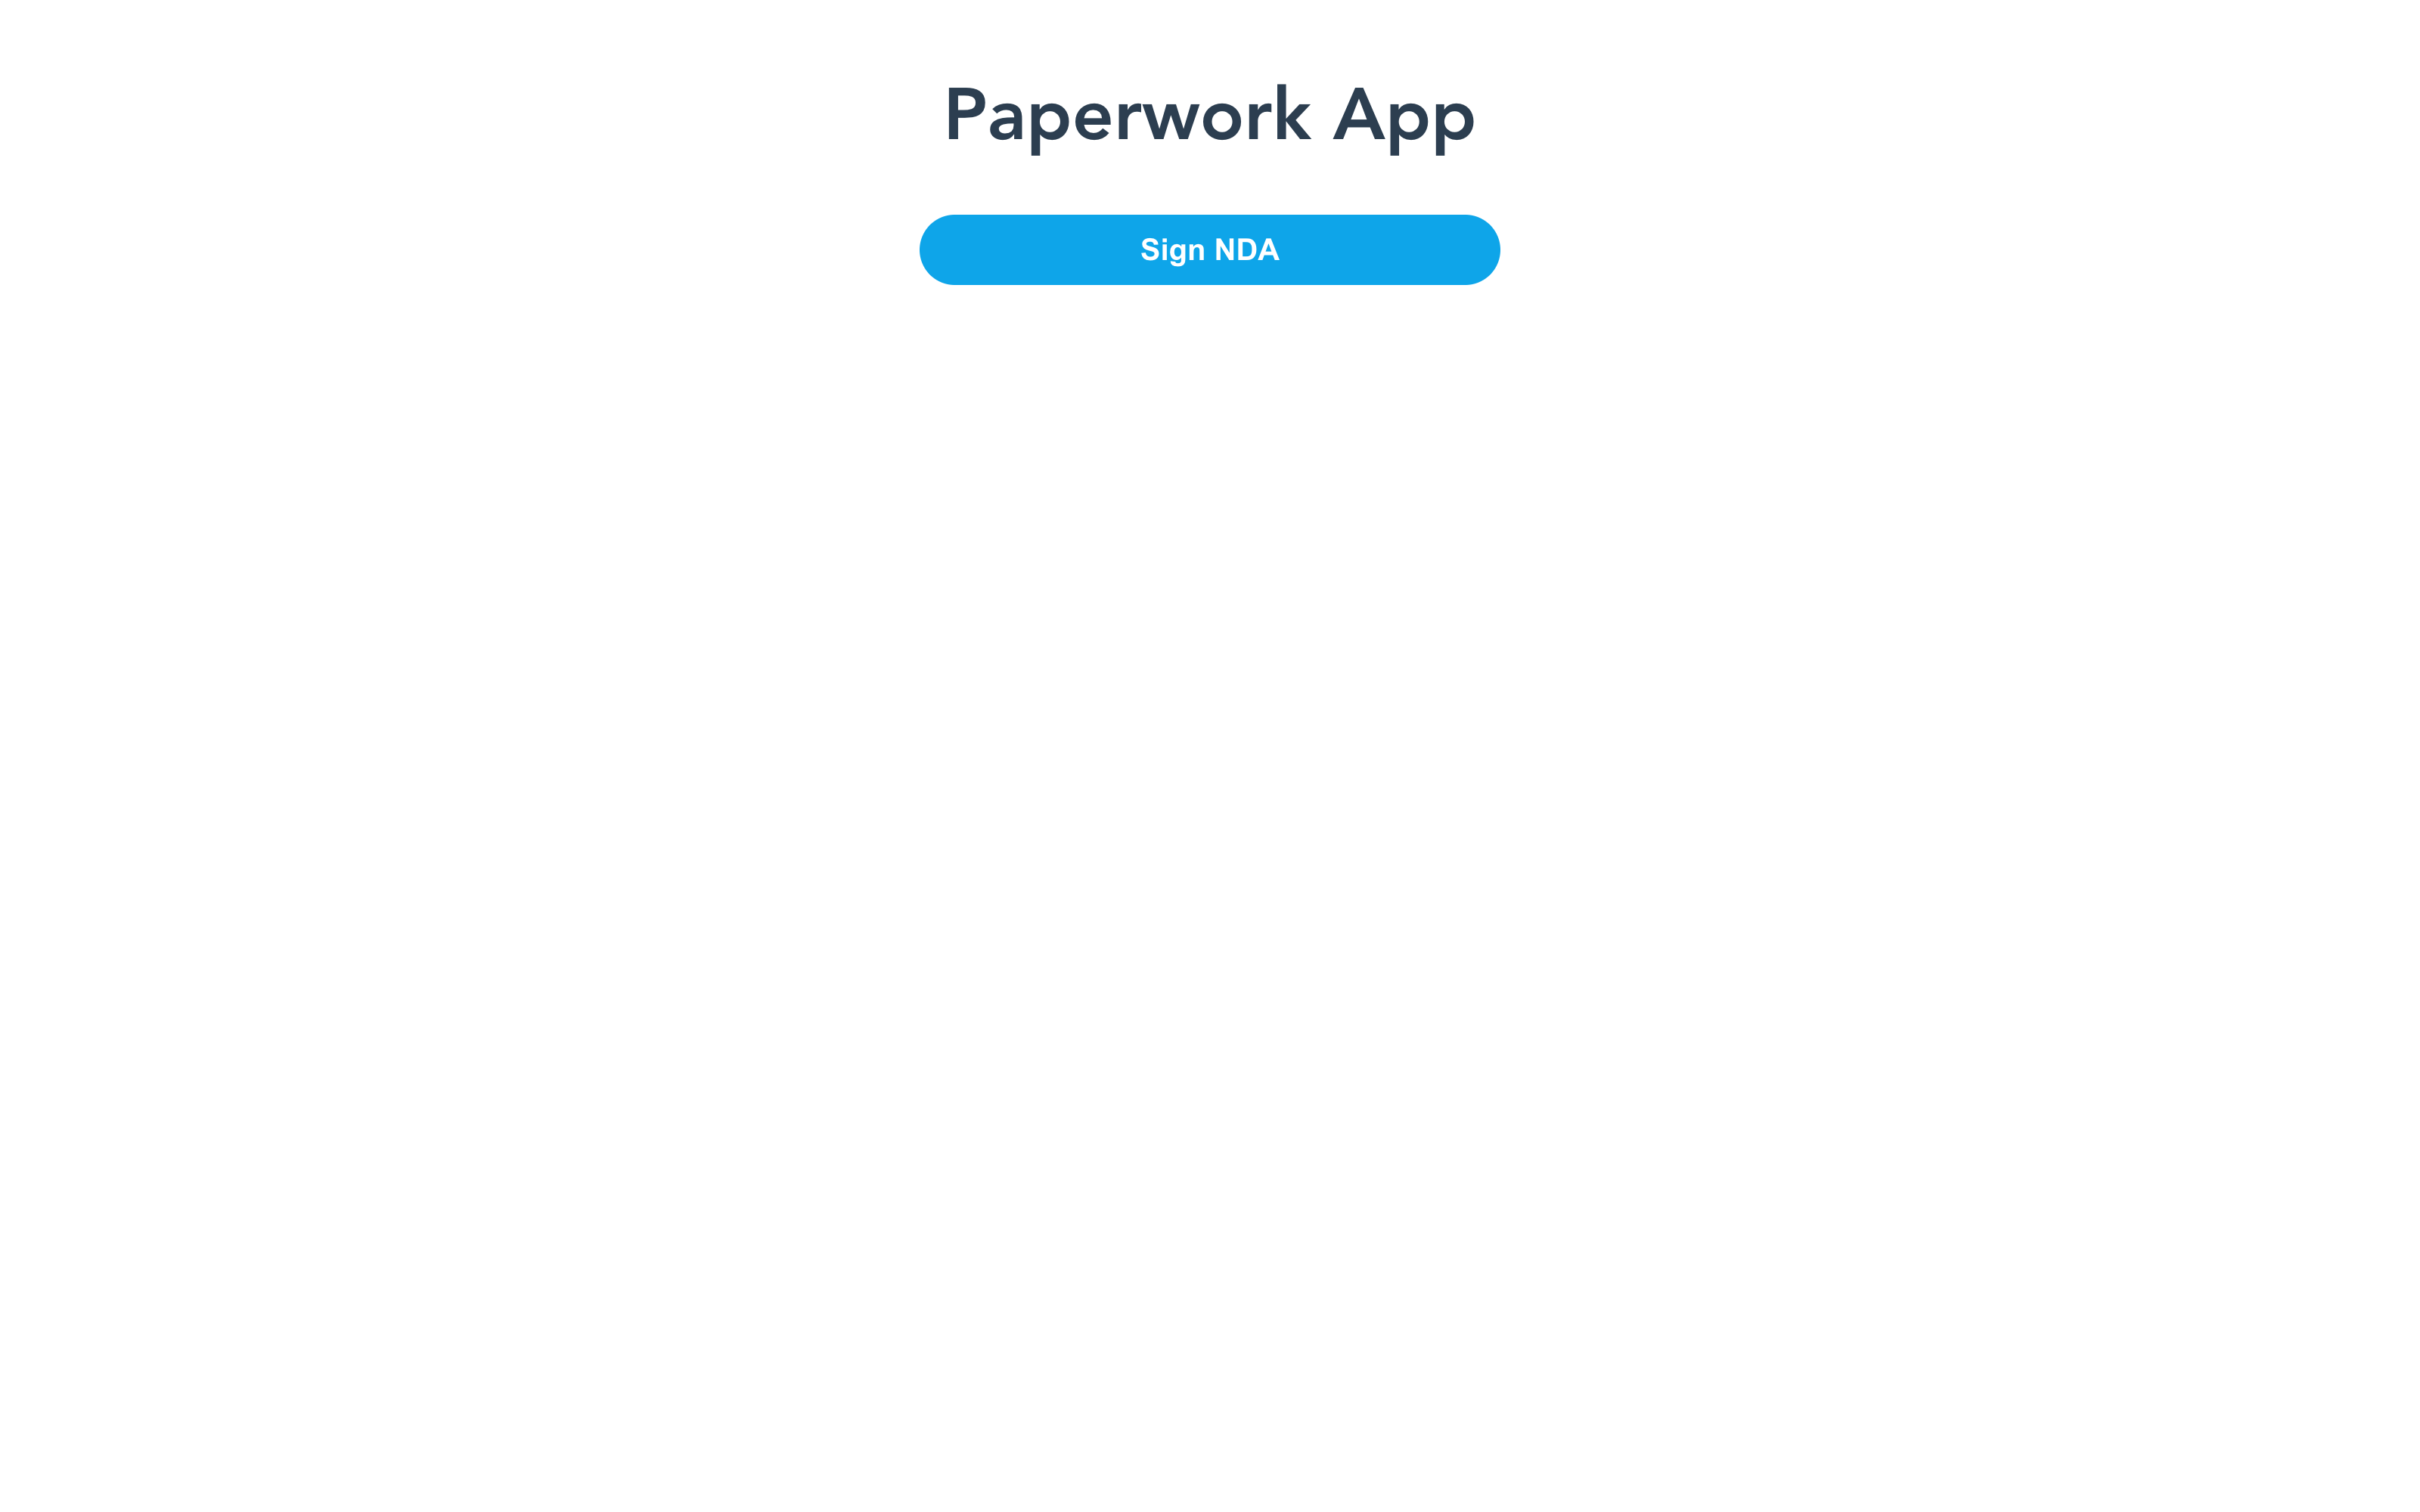
For this example, the frontend won’t be anything fancy. All the UI and frontend logic will fit into the `src/App.vue` file:
The above code sets up the app’s UI and state. Refs like `signed` are used to indicate the app’s current state, allowing for the conditional rendering of related UI elements. On top of that, to make things look prettier, some CSS was added.
To run the Vite development server, in the frontend folder run:
The result should look like the following:
Now it’s time to use the HelloSign Embedded library to implement embedded signing. This will require some configuration on both the backend and the frontend, as well as in your Dropbox Sign dashboard.
Configuring the Vite Proxy
First, you’ll have to connect the frontend with the backend to be able to access them both from a single host. For development purposes, it’s recommended to use Vite’s built-in proxy to avoid any issues with CORS. You can enable it from the `vite.config.js` file:
The above configuration proxies all requests to `/api/` path from your frontend to `/` path on your backend.
Creating the Express Server
Now, get back to your backend and start implementing the Express server:
Currently, all that’s needed is the `/callback` route. It’ll be provided in the Dropbox Sign dashboard as the URL to be called for every event that occurs during the signing process. In this example, the endpoint won’t be used much and it simply responds with `“Hello API Event Received”`. The Dropbox Sign API requires this string to confirm that the callback URL works correctly.
You can now start the backend and the frontend with `node index.js` and `npm run dev` commands from their respective folders.
Creating a Dropbox Sign API app
To use the HelloSign Embedded library and related API endpoints, you’ll have to create a Dropbox Sign API App and retrieve its Client ID. To do so, go back to the Integrations > API page in the Dropbox Sign dashboard. From there, click the Create button next to API apps to start configuring your app.
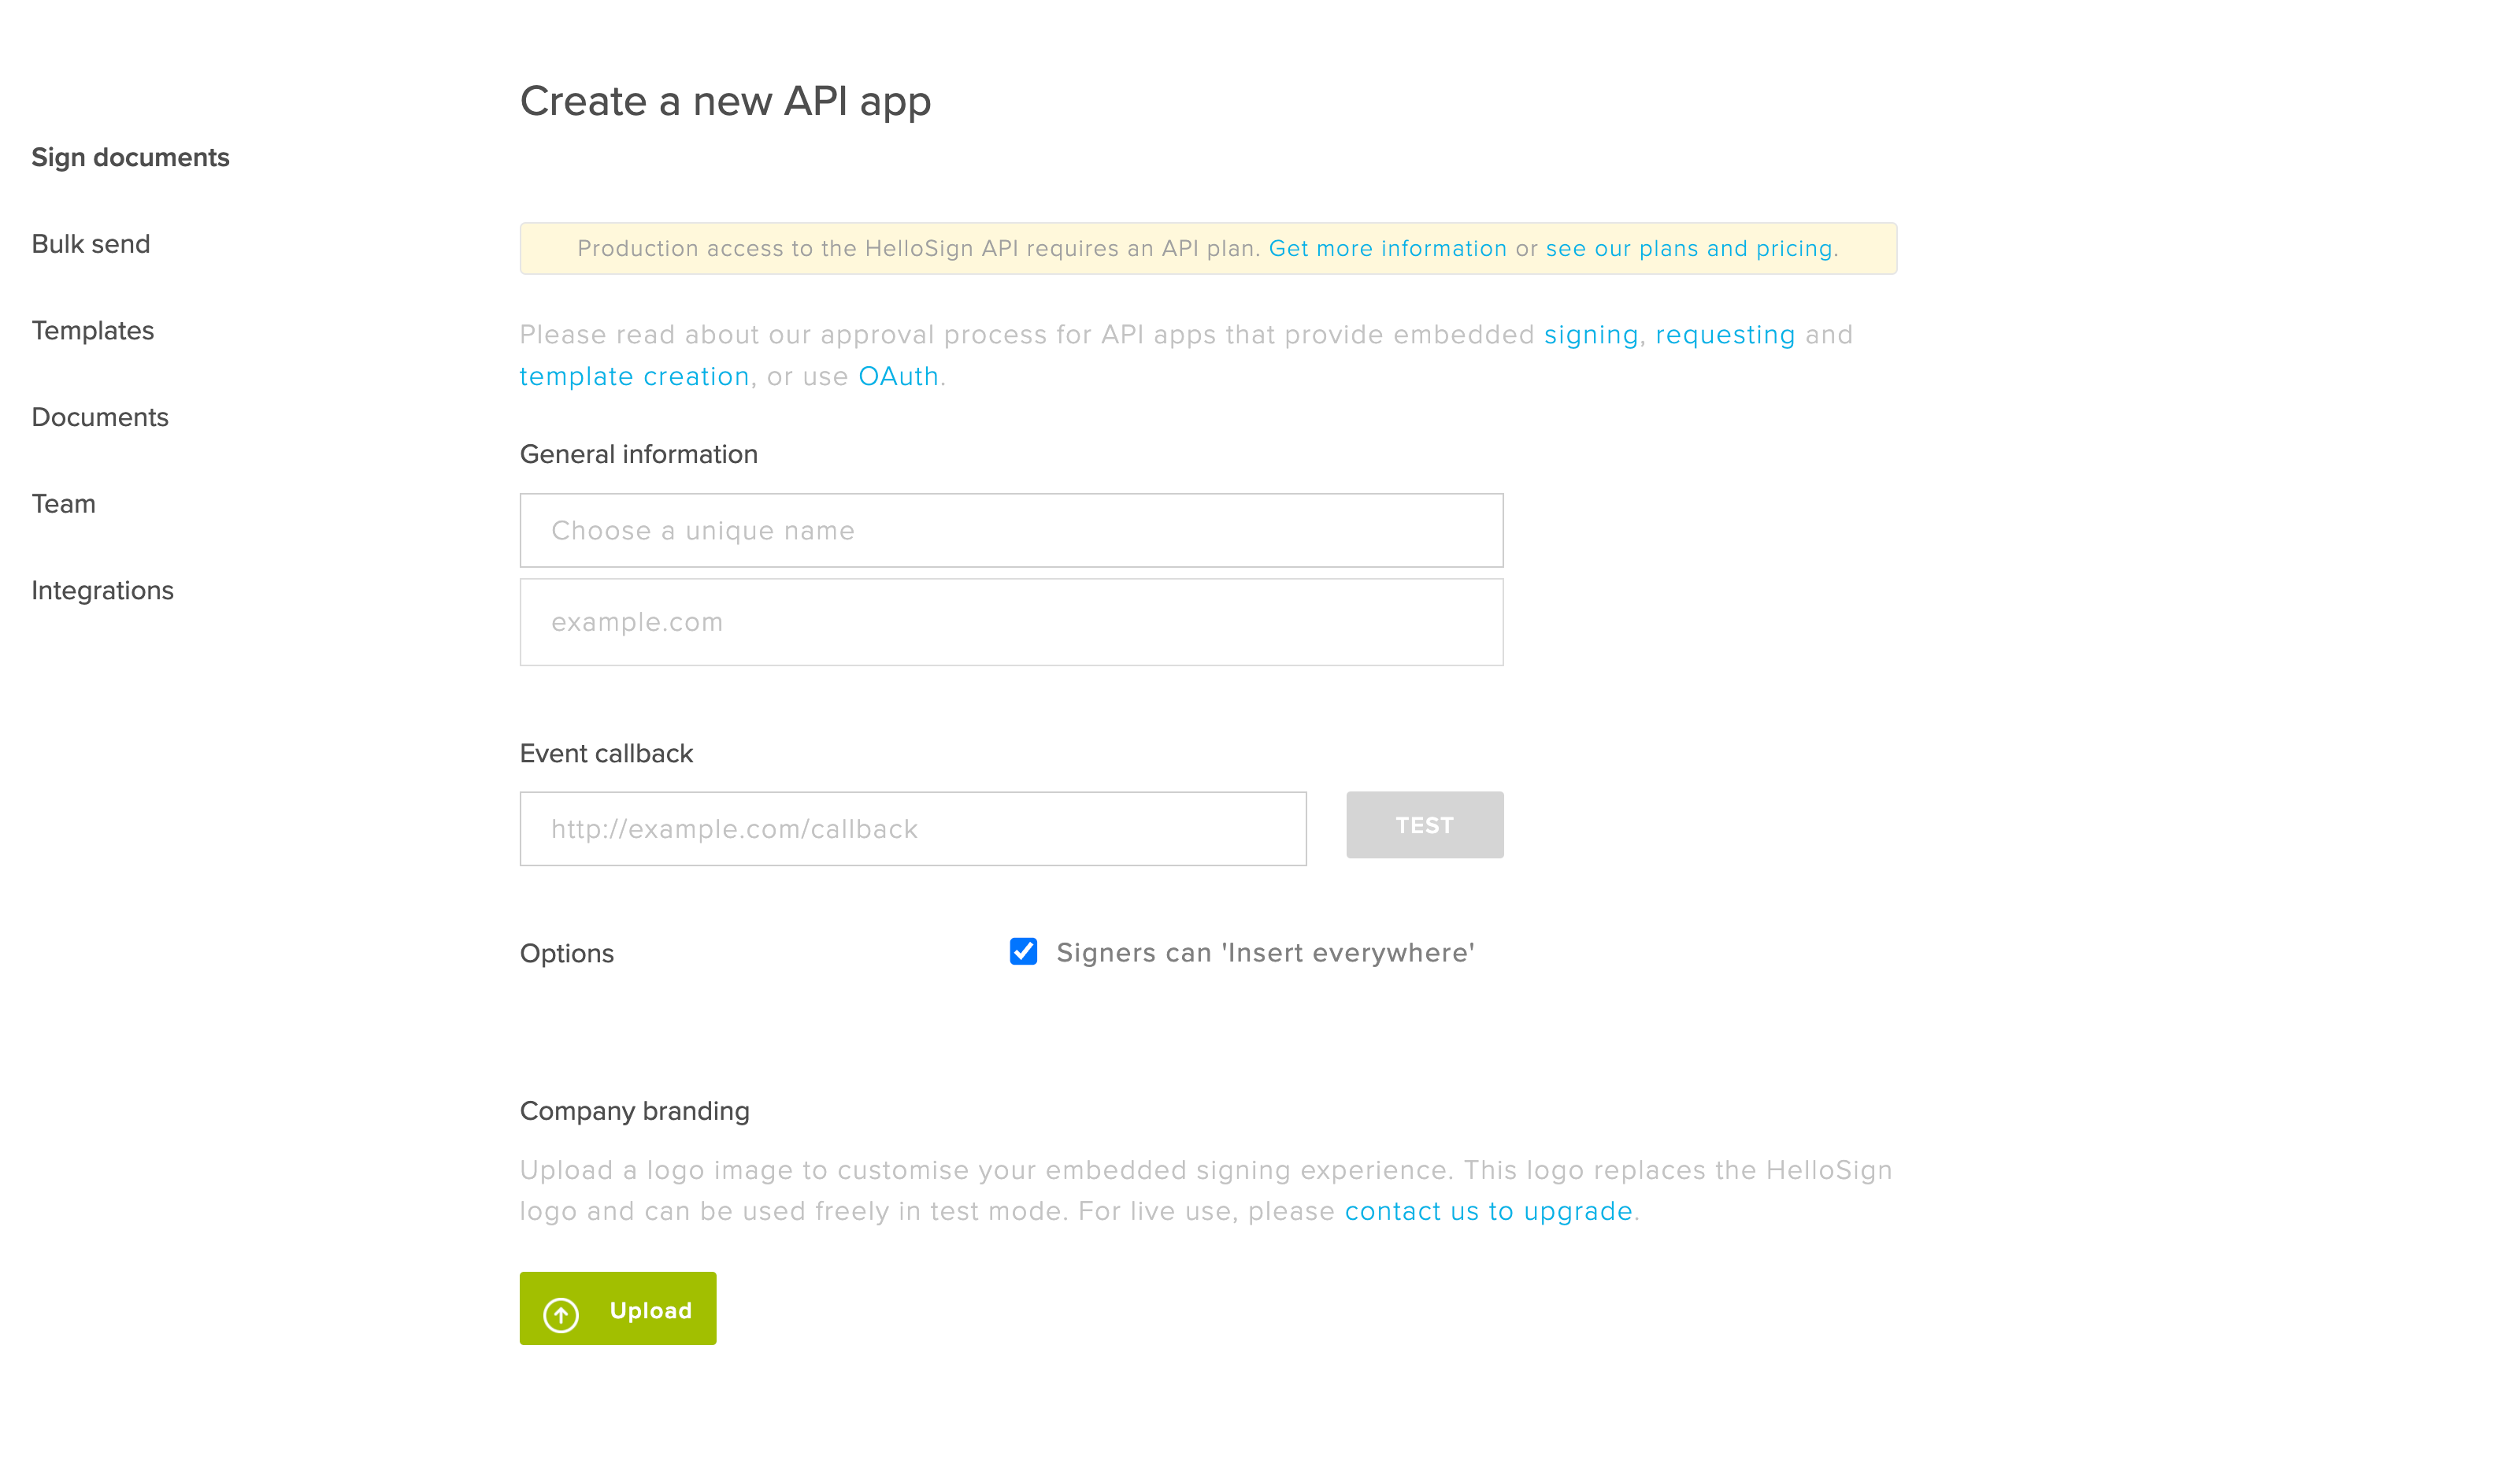
To create an API app, you’ll need a domain or subdomain and a publically accessible event callback URL. Thanks to Vite proxy, your backend and frontend are already available under a single host. However, it’s more than likely that your localhost isn’t publically available.
In this case, the best solution is to use a localhost tunnel like Ngrok. Follow Ngrok’s official setup guide and tunnel the port your Vite development server is running on. With binary downloaded, the whole process comes down to just two commands:
The first command above authenticates you with your Ngrok account, while the second one tunnels the selected port(`3000` being the default port for Vite).
With the tunnel running, enter its address followed by /api/callback/ subpath in the Event callback field.
Customize other aspects of your API app like branding or the app’s name and click Create Application. The app should now be listed on the API page, with its Client ID next to it.
Apply branding to the API app
Retrieving the embed URL
With Client ID ready, you can now get back to your backend.
First, for the embedded signing to work, you have to initialize it on the backend and retrieve the embedded sign URL. That procedure is similar to sending a signature request through email, as you did before, with only a few changes. The method to use here is `signatureRequest.createEmbeddedWithTemplate()`:
The method receives a config object but with the required `clientId` property. Next up, the signature ID is extracted from the response. While there’s only one in the example, there will always be as many signature IDs as there are signers.
Then, the signature ID is passed on to the `embedded.getSignUrl()` method, the response of which contains the embed URL. Finally, the endpoint responds with a JSON object containing the URL.
Embedding the signature request on the frontend
Having everything set up, you can now return to the frontend to finish the integration process. In the `src/App.vue` file, import the HelloSign Embedded library and create a helper function for fetching the embed URL from the backend:
Inside `setup()`, initialize the library client with your client ID. If you’re in the development stage, set the `testMode` property to `true` to skip domain verification:
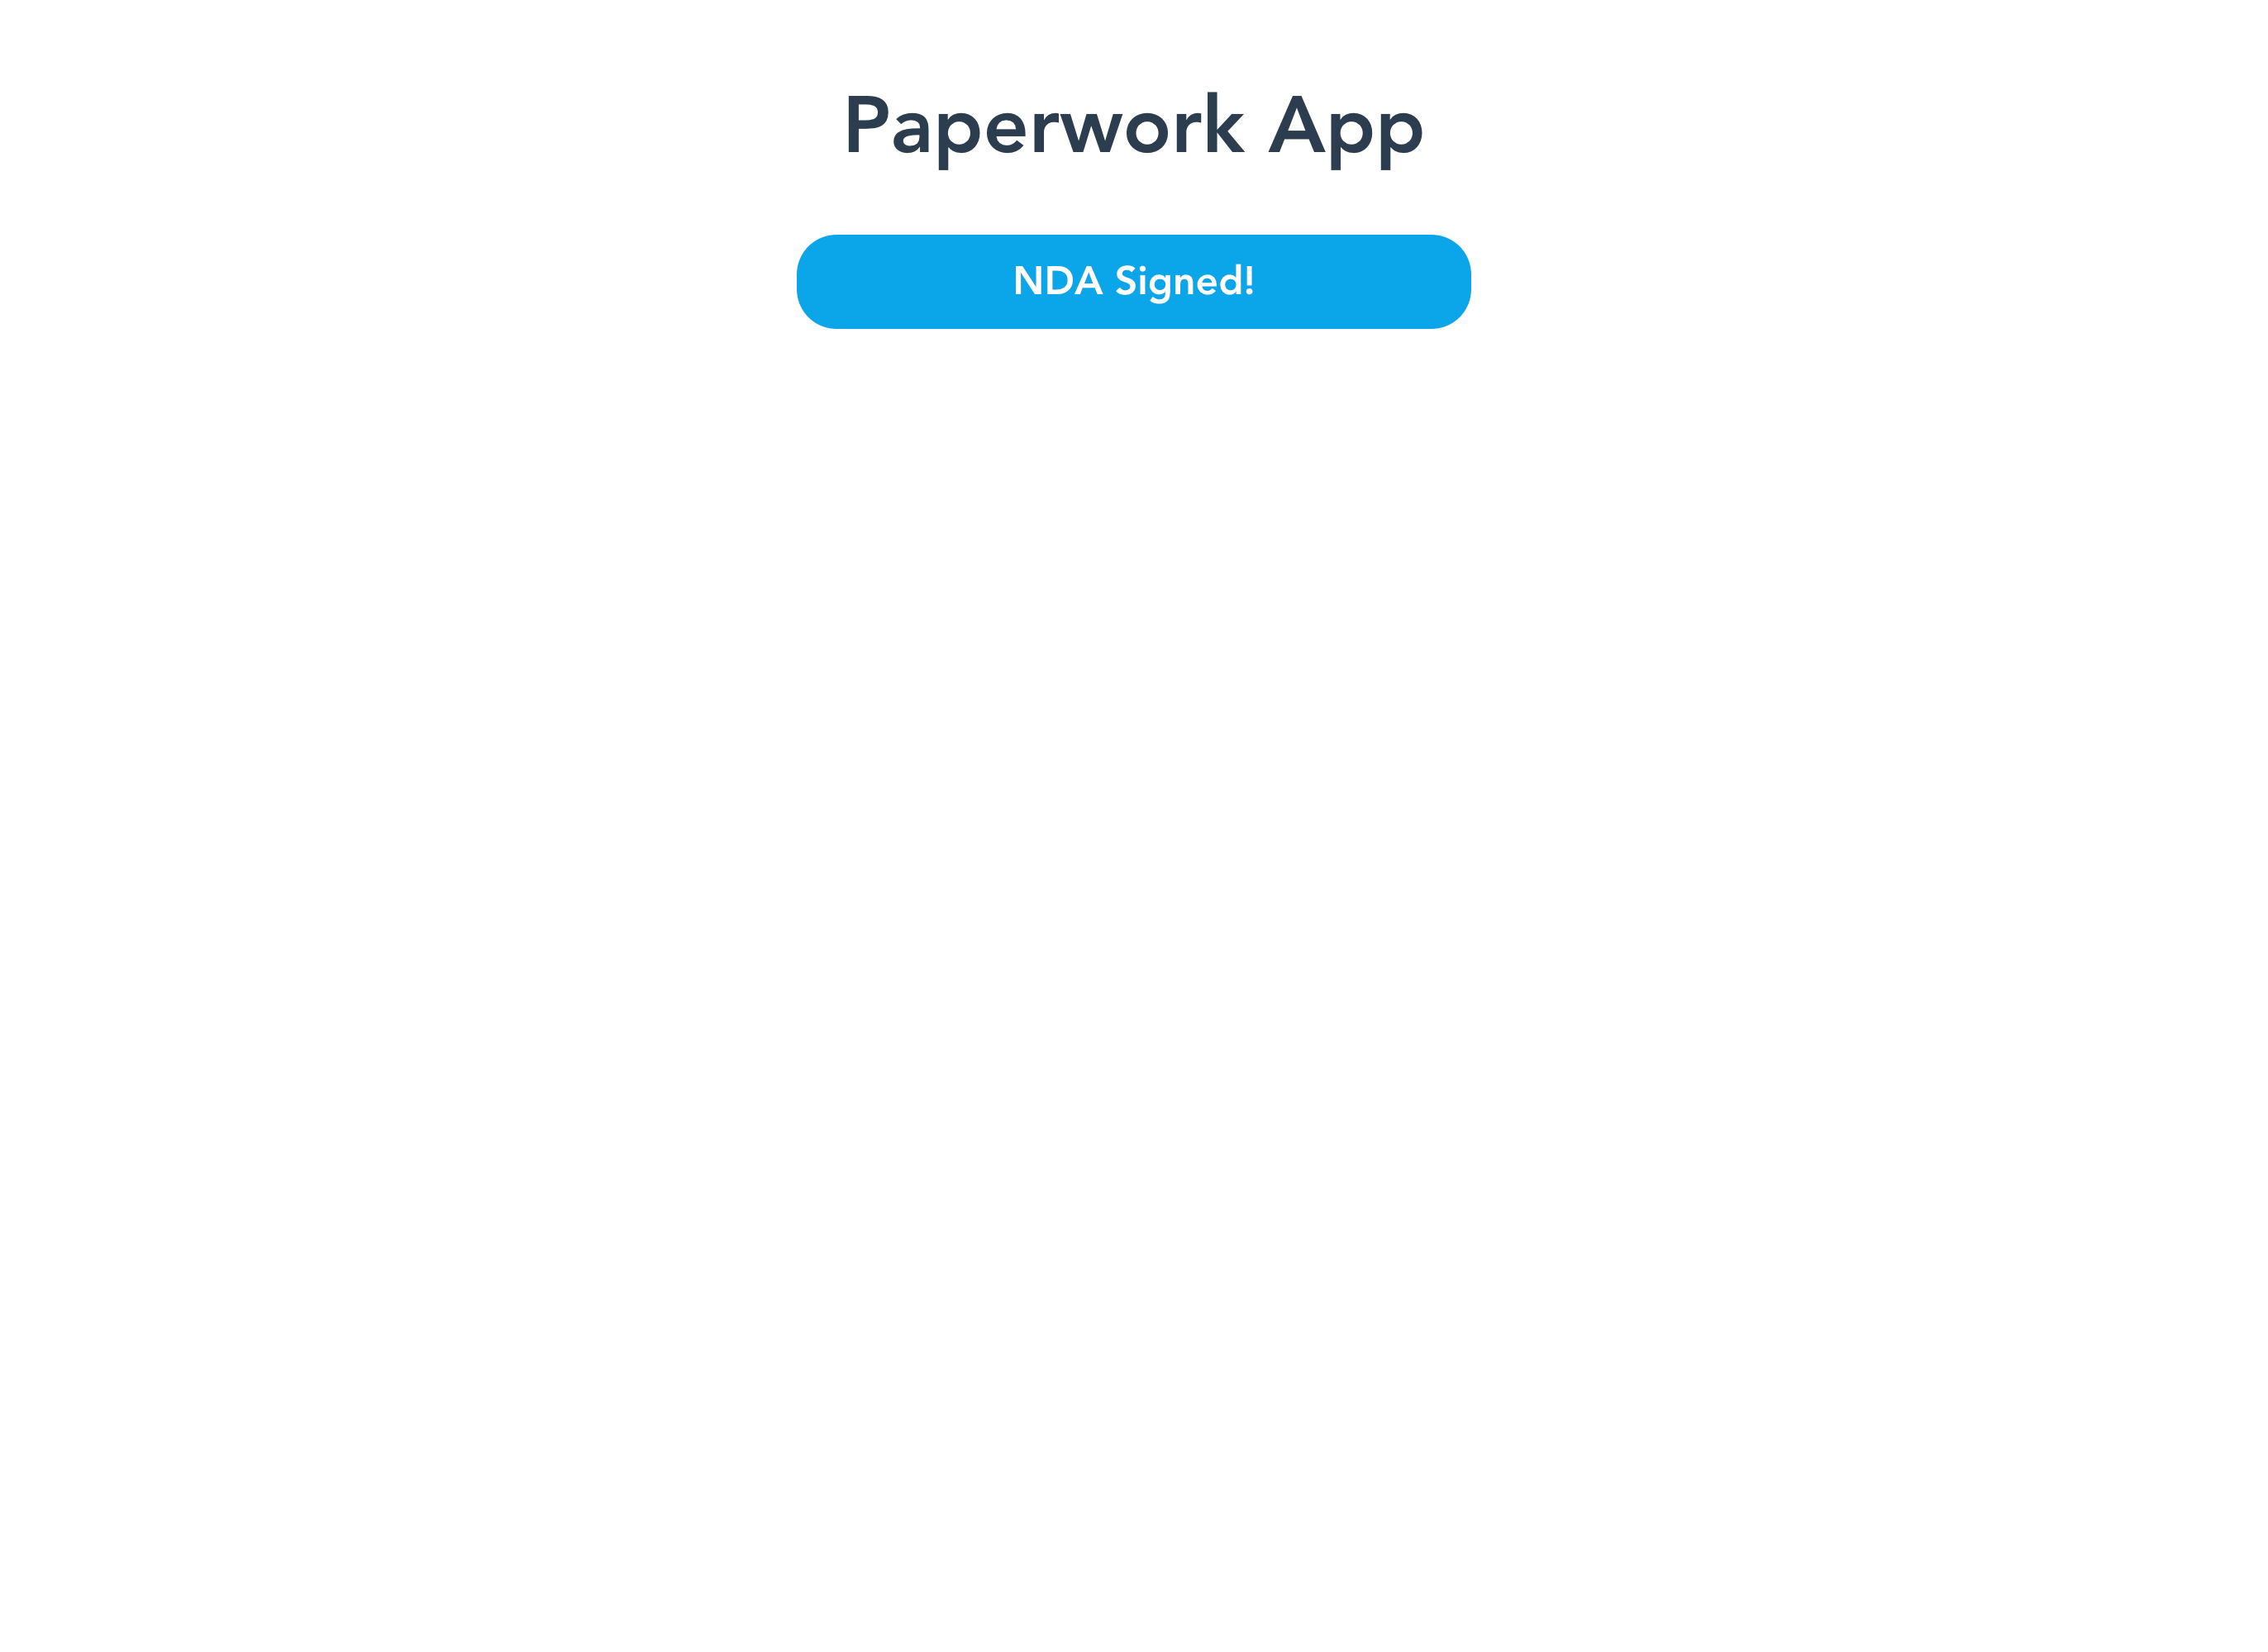
To open the embedded form, call the `open()` method on the client, passing the embed URL. The client instance also has event-emitter methods like `on()`, `once()`, and `off()`. In the example above, the `once()` method callback updates the UI when an error happens, or the signing process is completed.
The app is now integrated with the Dropbox Sign API, and you can start accepting new employees.
Keep in mind that for production use you’ll need a paid Dropbox Sign plan. On top of that, if you decide to implement an embedded eSignature flow, you’ll have to adhere to certain regulations and security guidelines. To ensure that you do so, Dropbox Sign requires you to go through an app review process before going to production.
Conclusion
In this article, you’ve learned how to implement a complete eSignature flow inside your Vue app with Dropbox Sign. You’ve explored the Dropbox Sign API and laid the groundwork for future expansion of the eSignature feature inside your app.
Dropbox Sign is a full-fledged solution for all your eSignature needs. With its API, you can implement various eSignature flows with emails, or embedded on your custom frontend, in just a couple lines of code. Try Dropbox Sign for free and explore more with the Dropbox Sign developer portal.
진행 상태 확인
Thank you!
Thank you for subscribing!


