.svg)


外观全新但功能同样出色的产品!HelloSign 现为 Dropbox Sign。
For any company, hiring is a critical process. For small—to medium-sized businesses, each potential hire can make or break the future of the business. SMBs often have multiple vacancies for one post, and they hire employees in batches, commonly known as cohorts.
However, hiring in a cohort comes with its own set of challenges. You need to send legally binding offer letters and contracts to a large number of new hires. Thanks to Dropbox Sign and its templates feature, the process becomes effortless—set up a document once, and then request signatures for multiple employees without having to format the document for each signer manually.
You can integrate Dropbox Sign with your applications using the Dropbox Sign API, which provides programmatic access to eSignature features, allowing you to integrate legally binding document-signing capabilities to your existing systems.
Numerous small businesses love the ease of use, efficiency, and accuracy of Dropbox Sign. For example, Instacart uses the Dropbox Sign API to manage their gig worker onboarding, and Greenhouse integrates the Dropbox Sign API into their application to provide their customers with seamless hiring and onboarding at scale.
In this article, you'll learn how to use templates in Dropbox Sign to send offer letters and contracts to a cohort of employees, ensuring a smooth and secure onboarding flow.
Implementing a cohort onboarding mechanism with Dropbox Sign
In this tutorial, you'll build a Next.js app where an HR team can fill out a form outlining details for a cohort of employees. The Dropbox Sign API is used to send a contract and offer letter to each employee, where they can sign the document by typing, drawing, or uploading their signature.
To follow along, you need the latest version of Node.js and a free Dropbox Sign account.
Set up a template
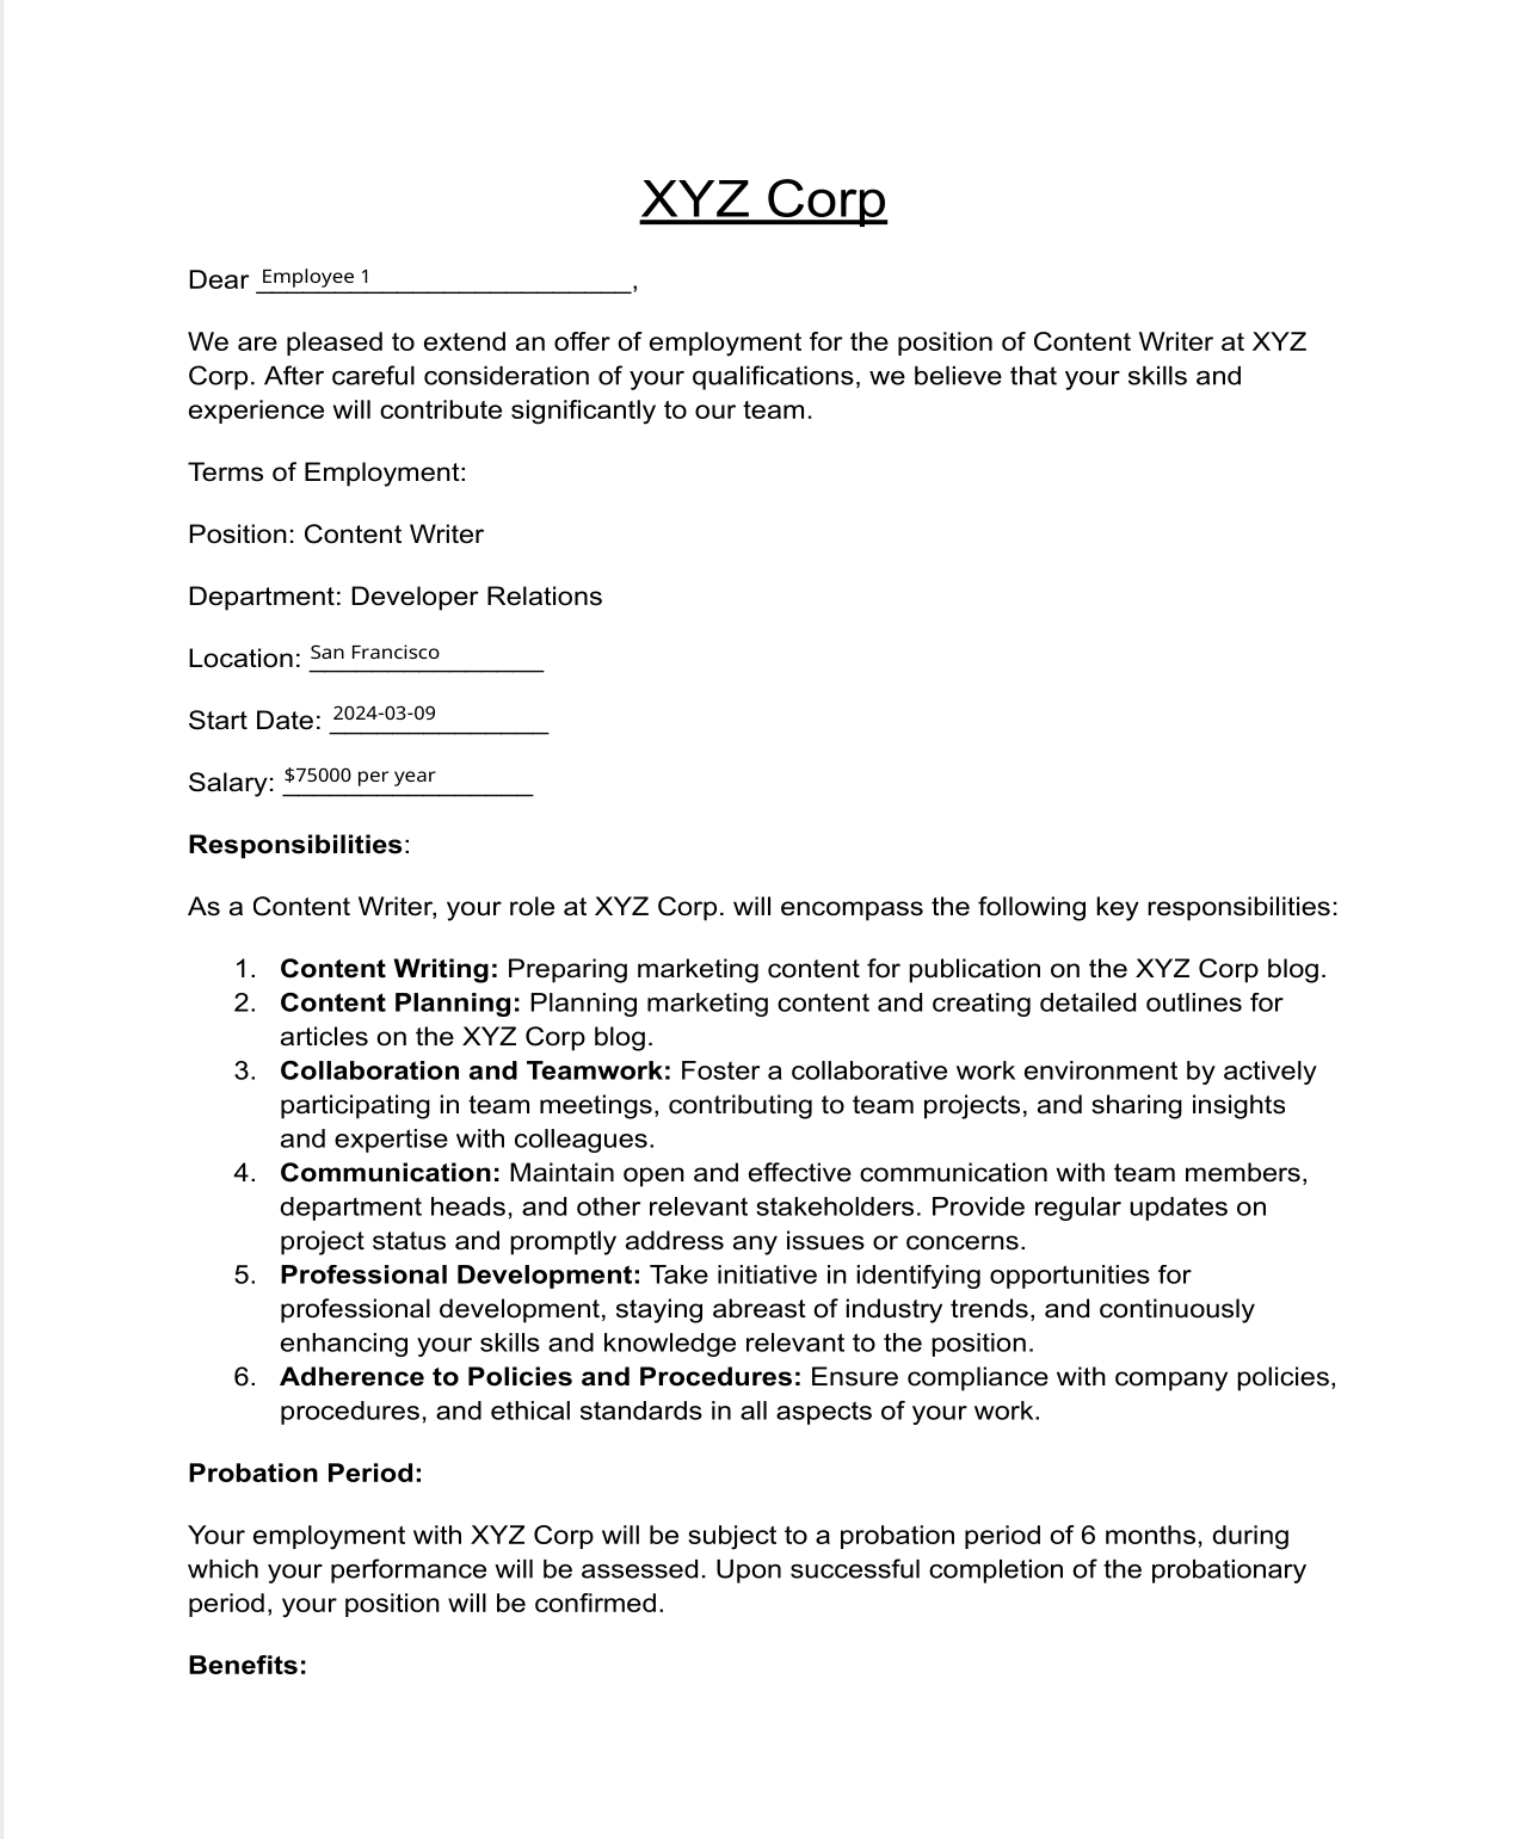
The first thing you need to do is set up the template (ie the form that will be sent to each employee). Go ahead and download this sample template, which you'll use for this tutorial.
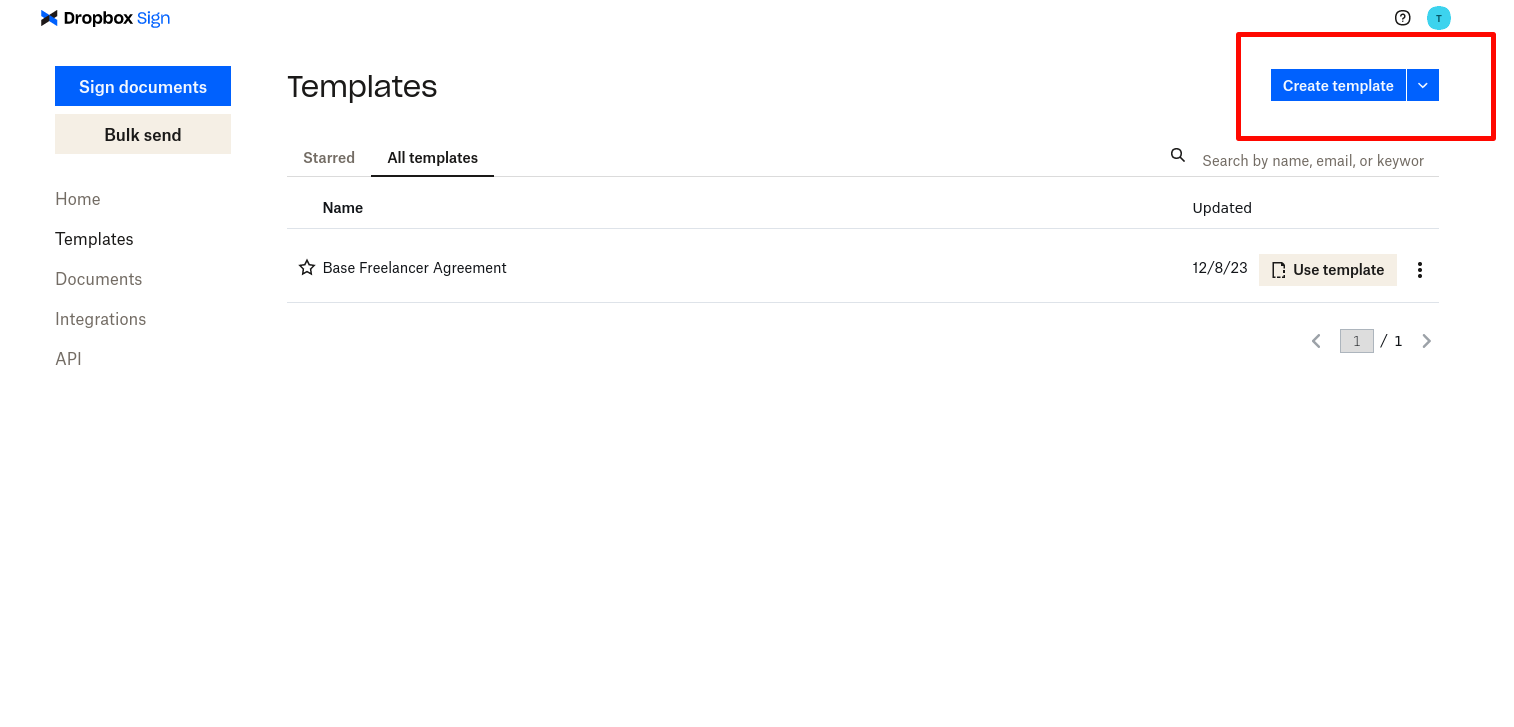
From the Dropbox Sign home page, click on Templates in the left sidebar. Then click on Create template:
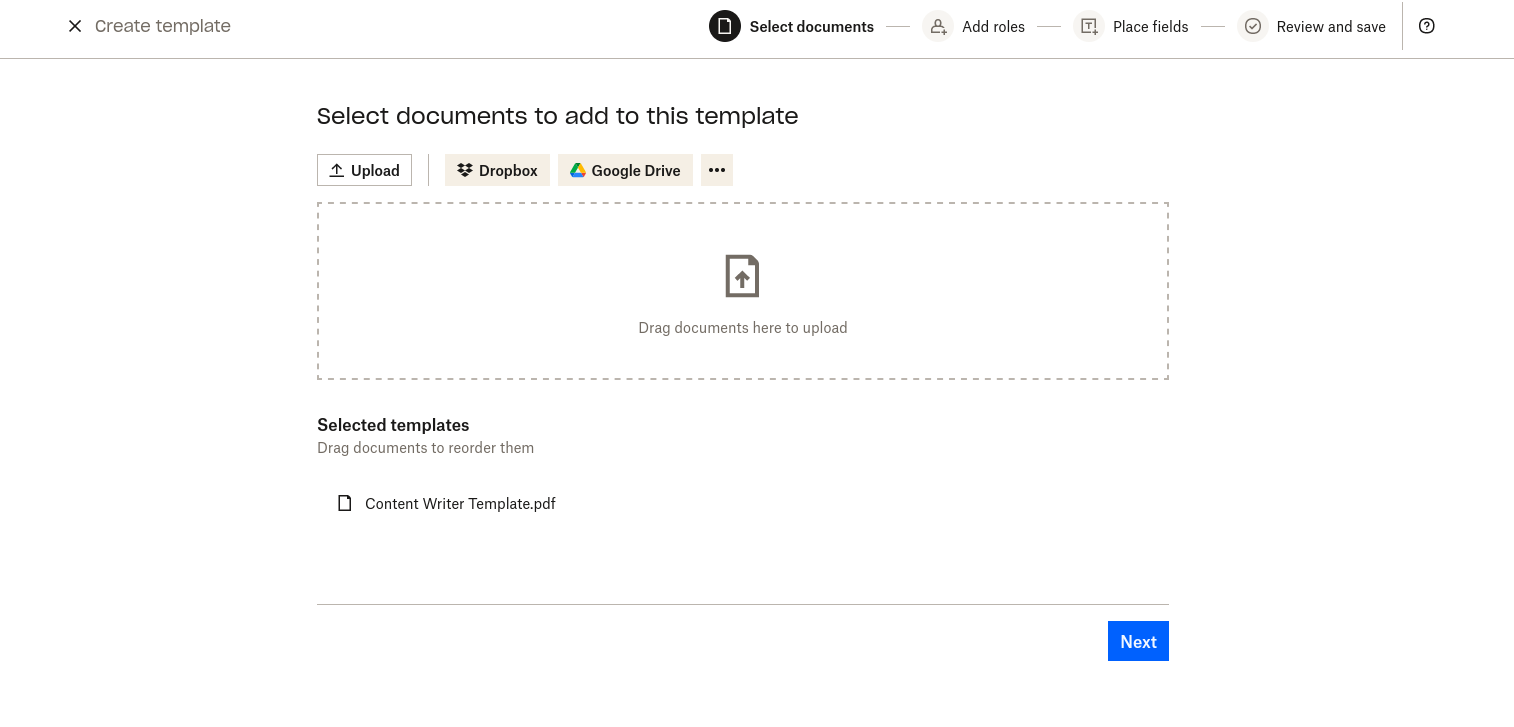
Upload the template you downloaded previously:
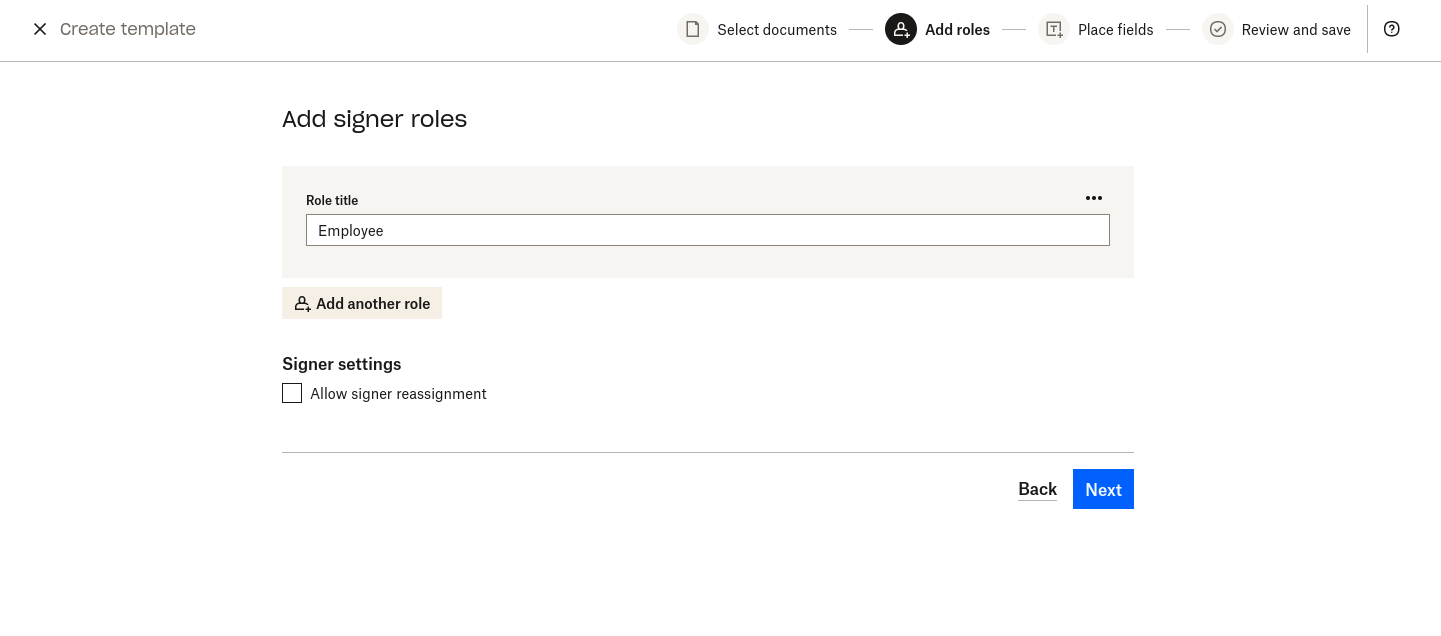
Now, it's time to add a signer role. Multiple signers can sign each file, and each signer needs to be assigned a role that represents their relationship to the document they're signing. In this case, one person (ie the employee) signs each document. So create a new role named Employee and click on Next:
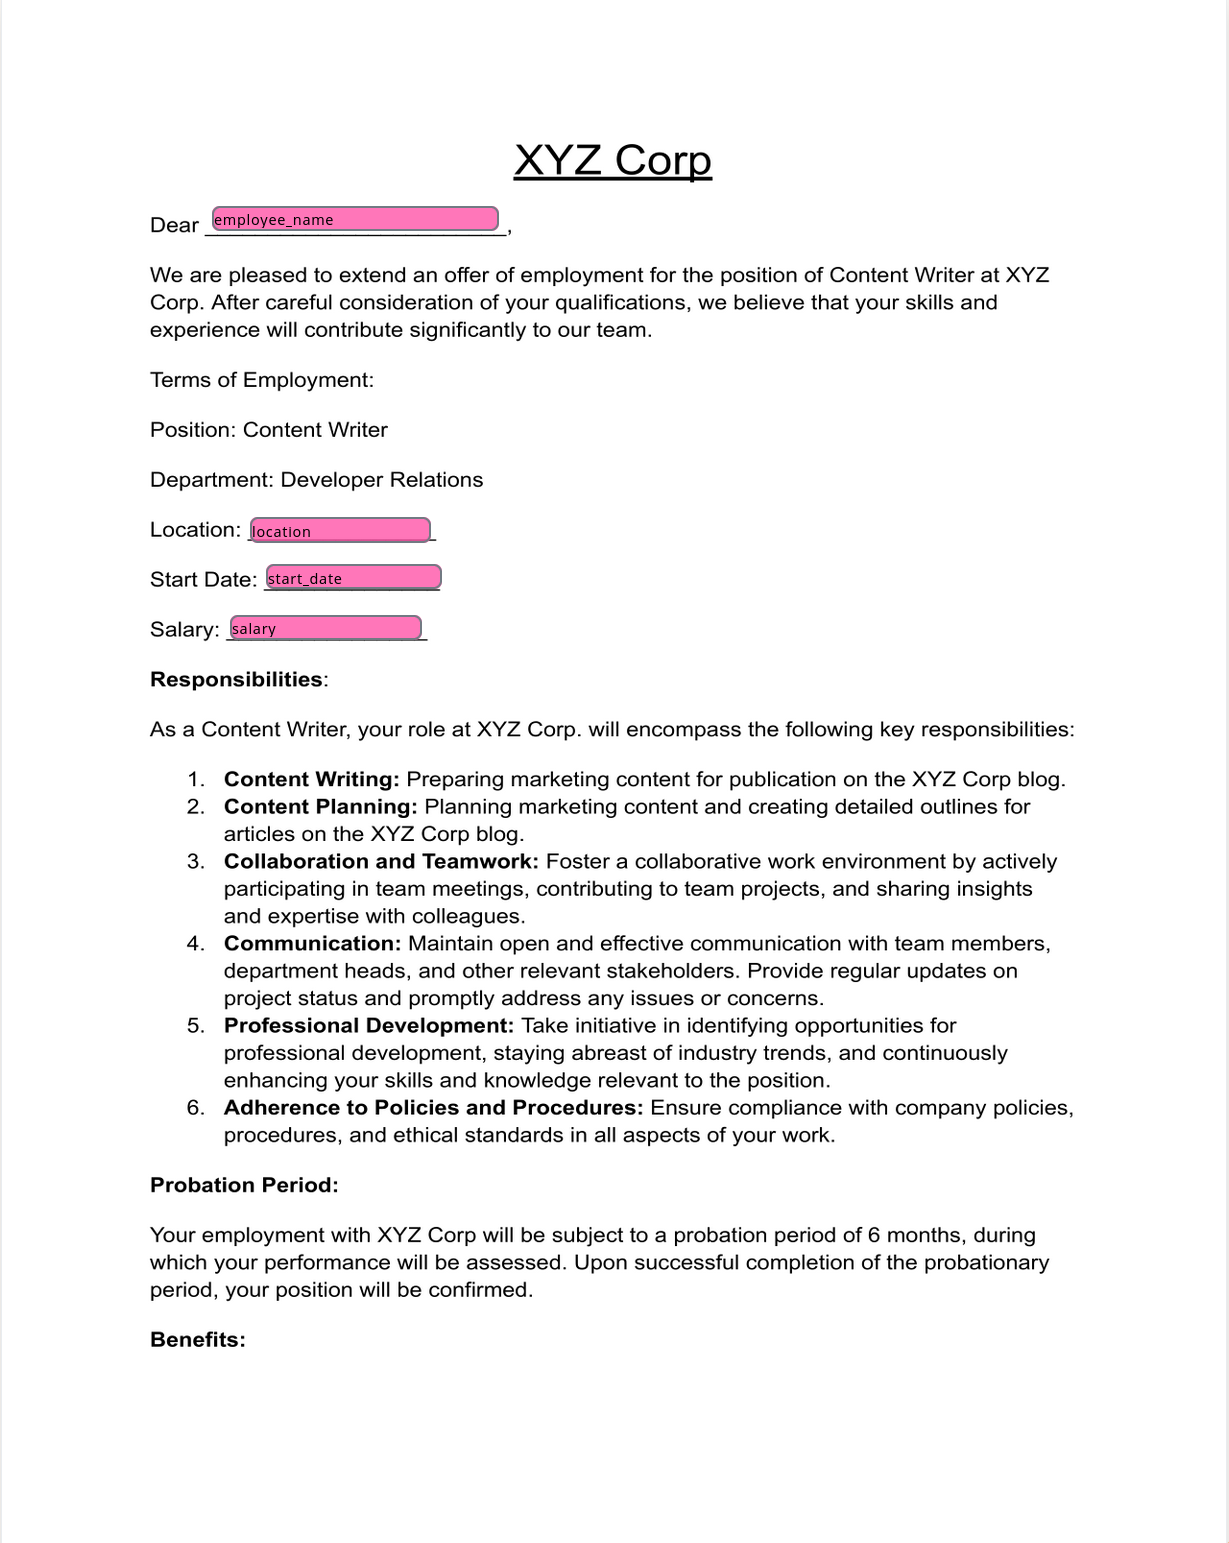
On the next screen, you can edit the fields of the template. You'll notice the template has blank spaces for data that must be filled when sent to the employees. Fields such as employee name, office location, and salary can be customized, but to do that, you need to tell Dropbox Sign where the fields are in the document and give those fields names so that you can fill them with data from the code.
On the left sidebar, select Sender from the Signer drop-down, drag a textbox, and drop it on the first blank space (next to "Dear"). Stretch the textbox to fill the blank space, and if needed, change the font and text size from the right sidebar.
In the Merge field textbox, write "employee_name". This creates a merge field with the name `employee_name` and must be filled in by the sender. You can refer to this merge field from the code using the name `employee_name` and pass data to this field:
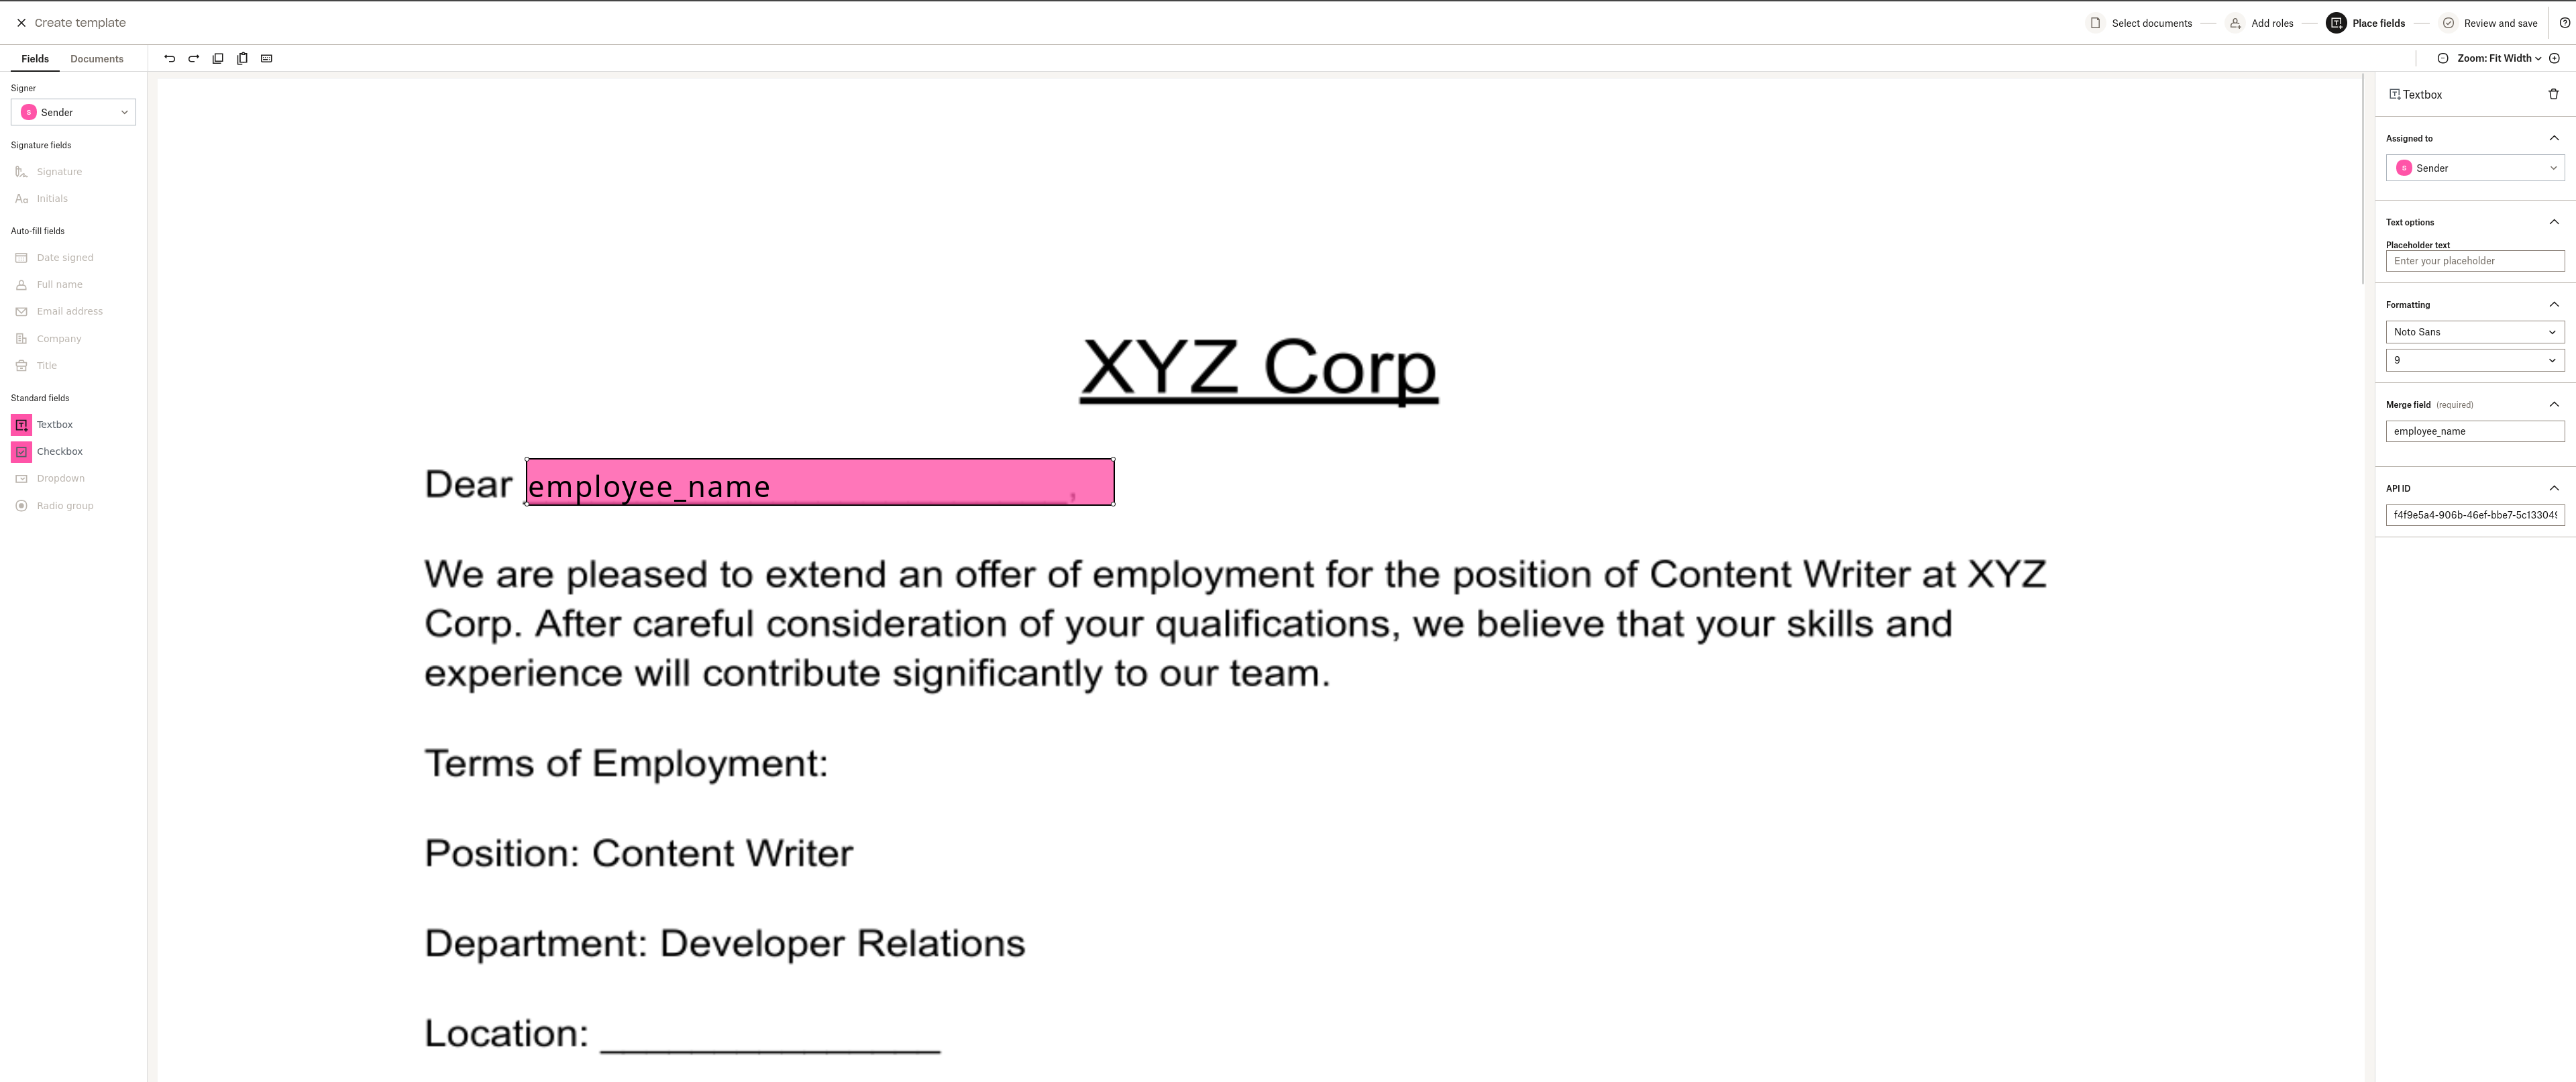
> Note: You can also use the `API ID` field to refer to merge fields.
Fill in the rest of the fields as shown in the following screenshots:
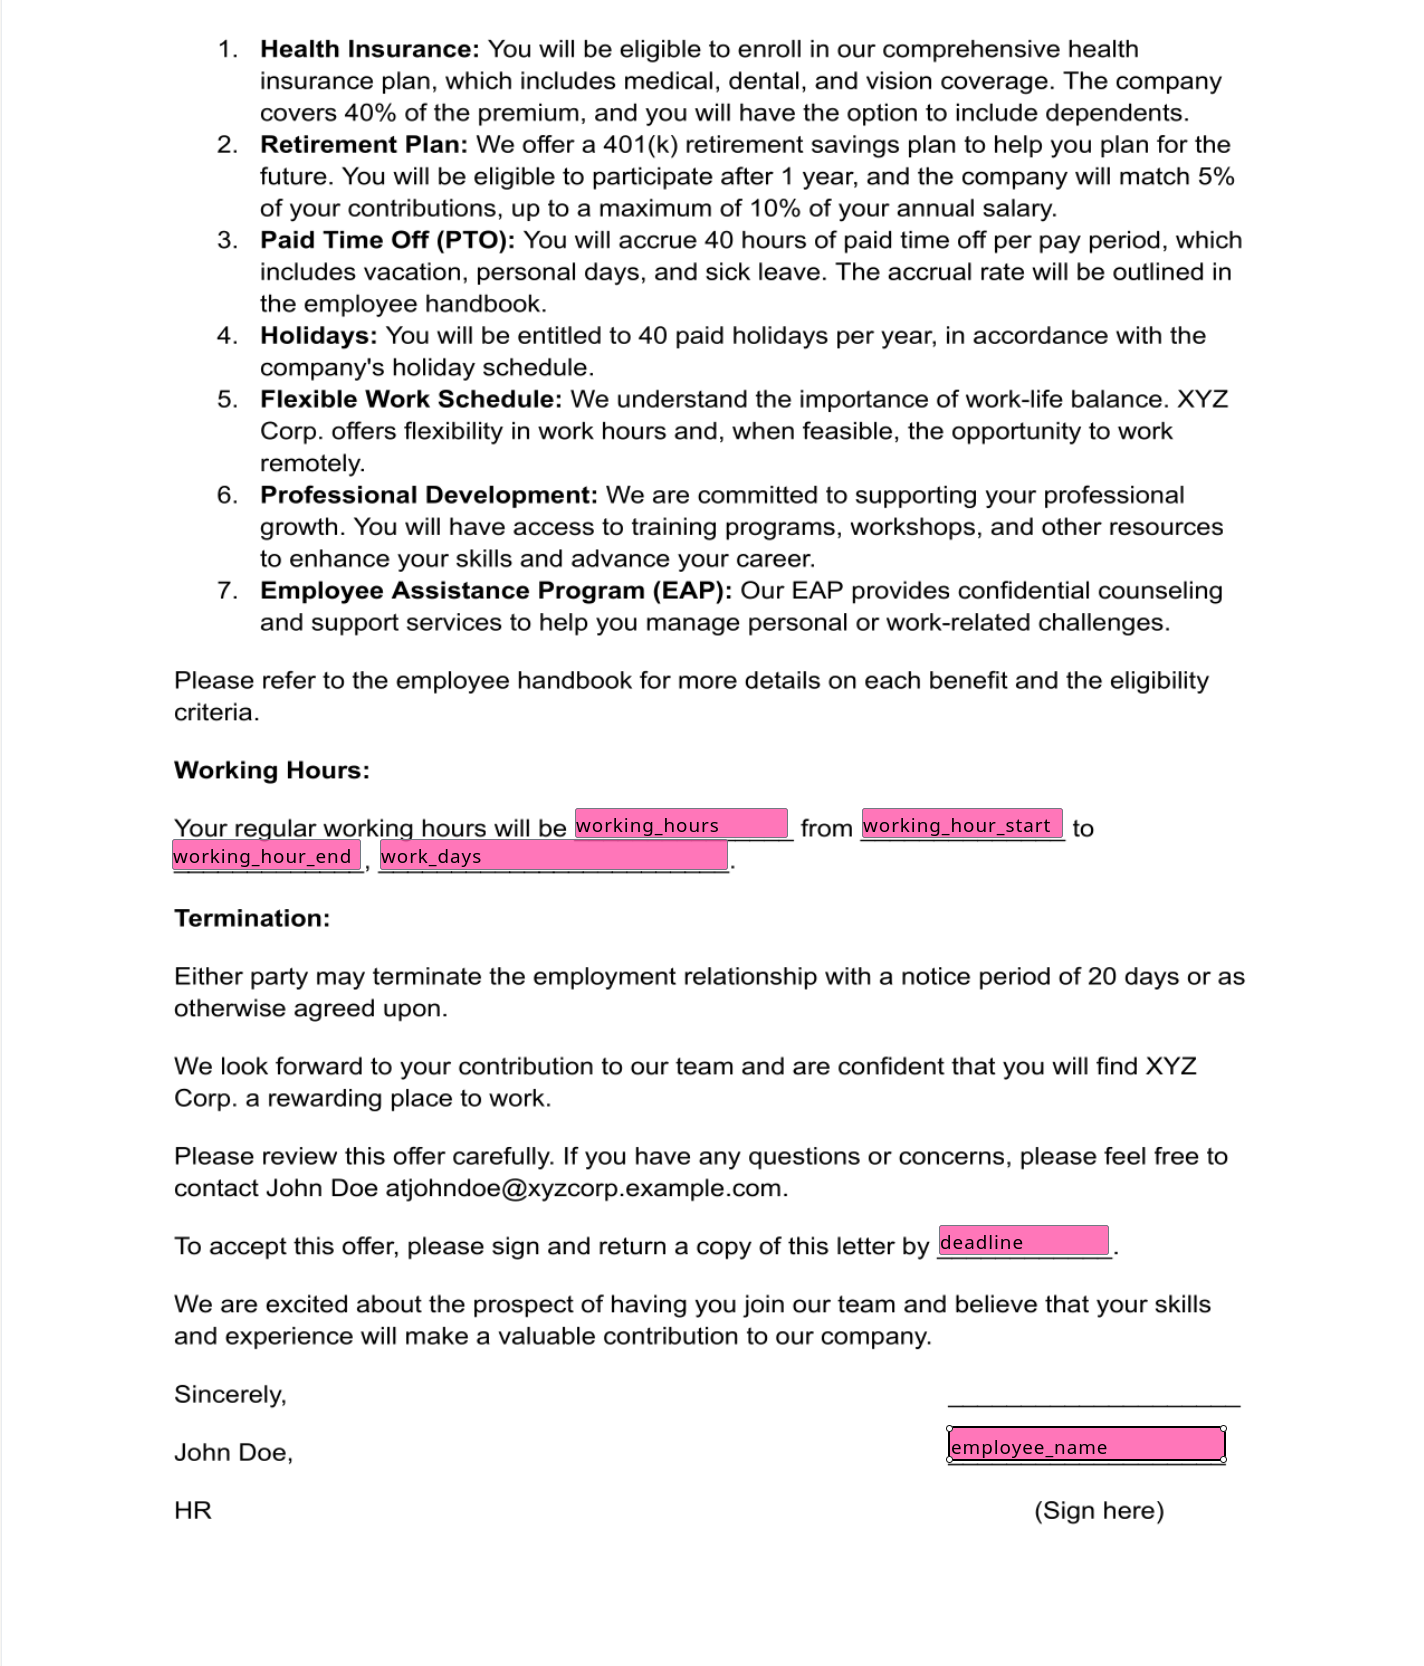
Each of these fields must have Sender as the signer.
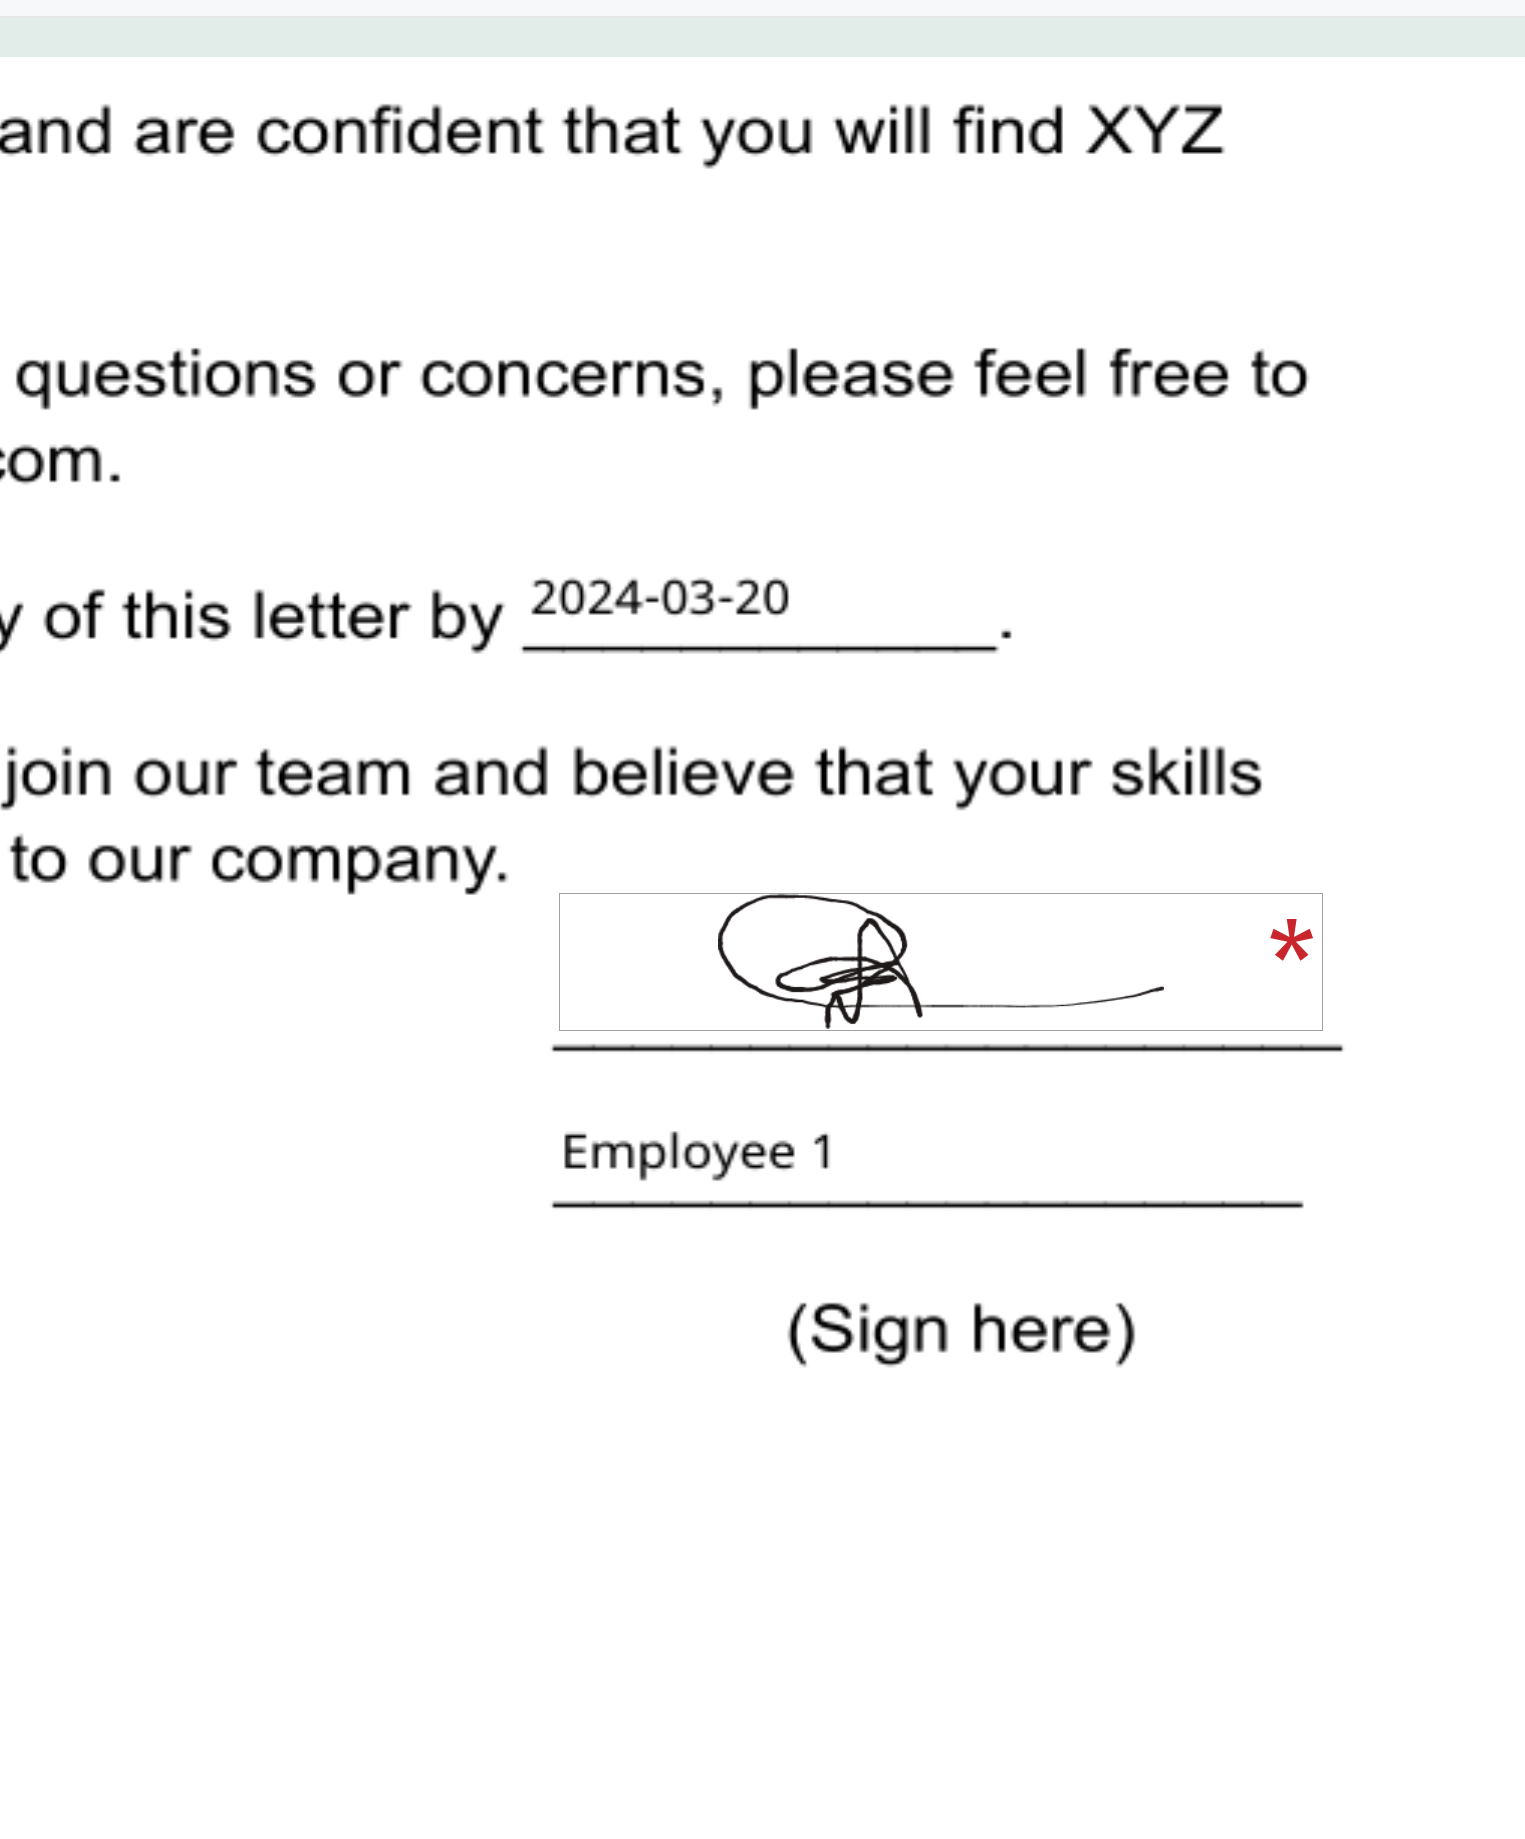
Finally, you need to create a space for the employee to sign. Choose Employee from the Signer drop-down and drag a Signature field to the remaining blank space. Rename it "employee_signature". Because this field is tied to the Employee role, it will be left blank so that the employee can sign it:

Click on Next and provide a name for the template to save it. You'll be shown a template ID, which you'll need for the code:
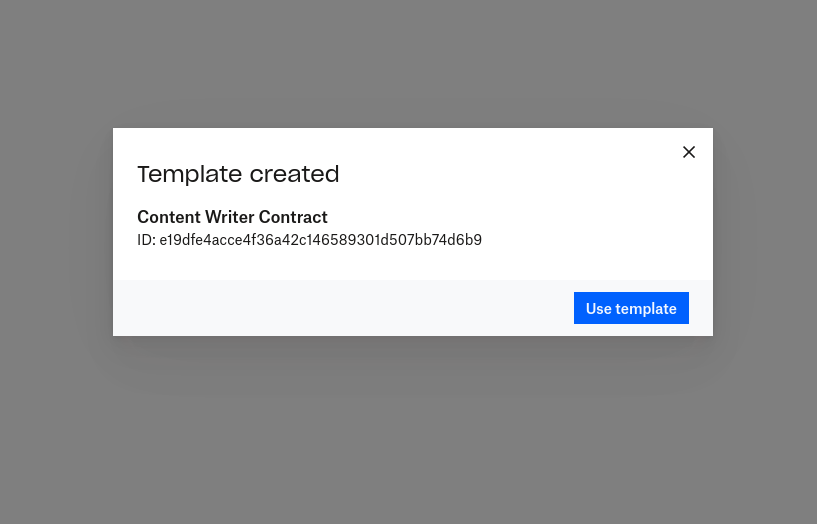
Save the template ID somewhere safe. However, you can look up the template ID any time by clicking on the three vertical dots next to your template, selecting "View Info", and selecting the "More Information" dropdown.
On the Dropbox Sign dashboard, click on API in the left sidebar. Then click on Generate key to create a new API key. Give the key a name and click on Generate key:
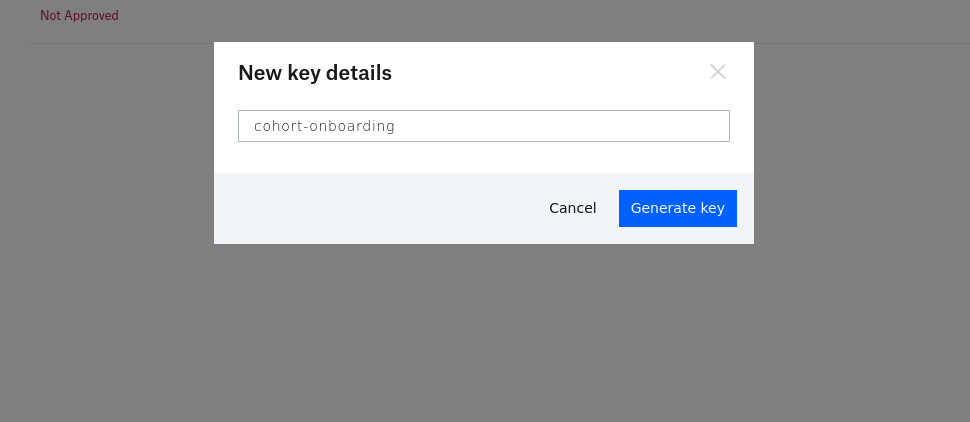
Copy the newly created API key and store it in a safe place.
Write the application
To keep things simple, a starter version of a Next.js app is available on GitHub. The app's frontend is built, and you'll use the Dropbox Sign Node SDK to complete the backend.
Go ahead and clone the repo and install the npm dependencies:
Then run `npm run dev` to start the server, and navigate to http://localhost:3000. You should see the following screen:
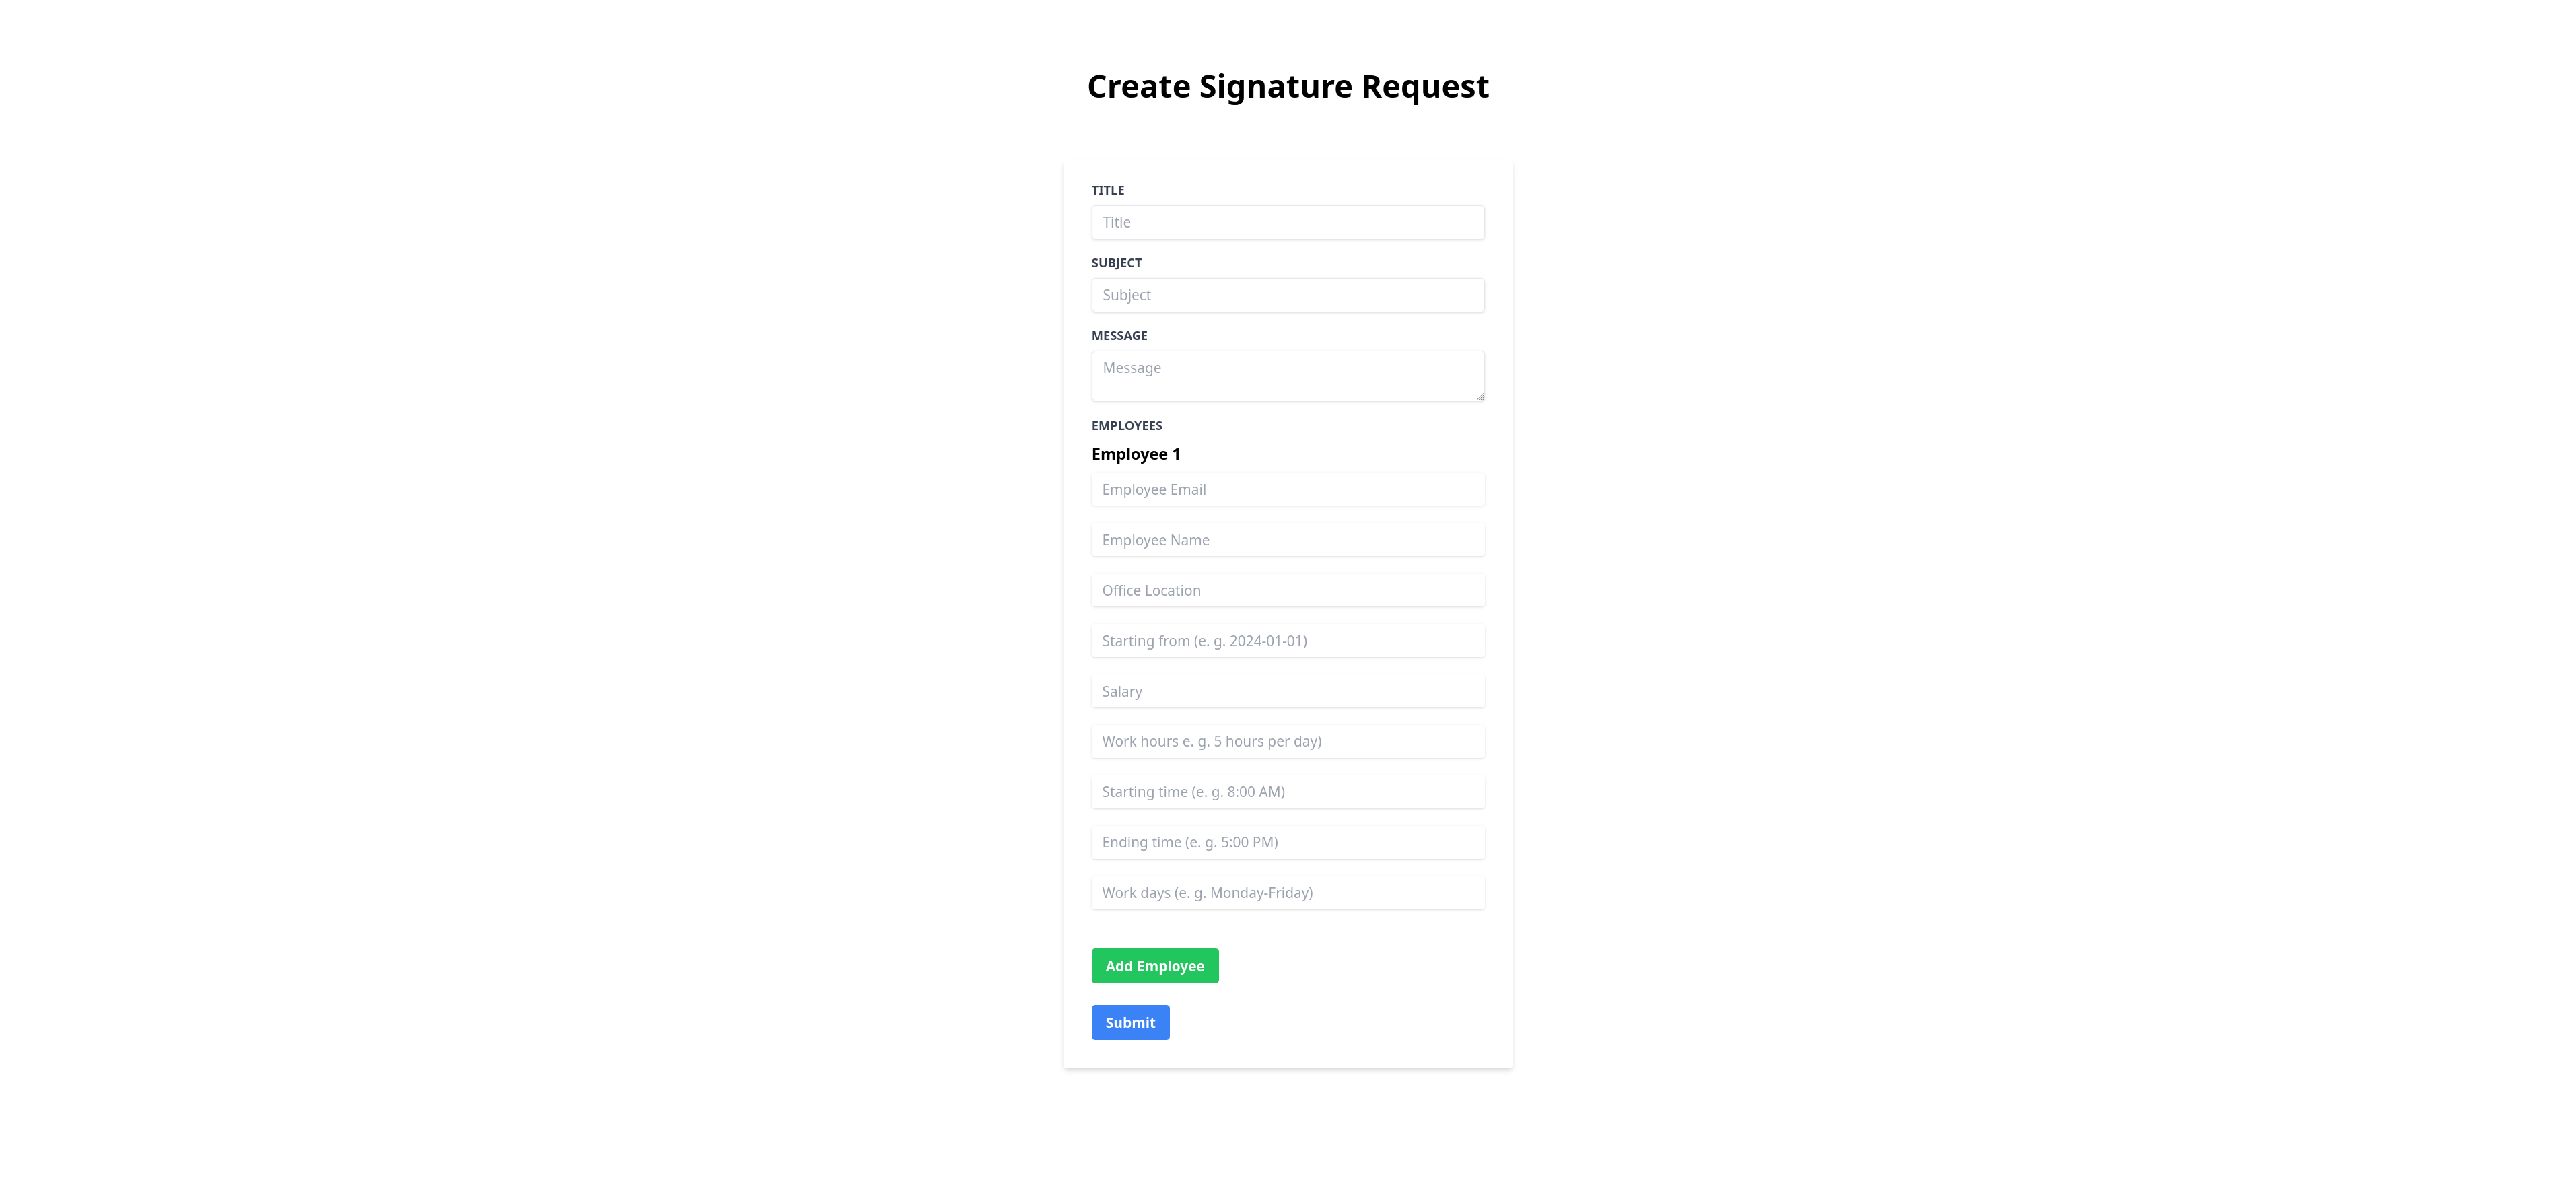
Right now, the form does nothing since the backend isn't ready yet. So let's write the code.
Start by installing the Dropbox Sign Node SDK:
Create a `.env` file in the root of the project, paste the following code, and replace `YOUR_API_KEY` with the API key you created:
Open the `api/send/index.js` file in your favorite code editor. You'll see it has a `handler` function responsible for responding to the submission of the form and communicating with the Dropbox Sign API. The first step is to parse the data from the incoming form. You'll use the formidable library to simplify this process.
Begin by importing the formidable library:
Then add the following code inside the `handler` function:
This code parses the `title`, `subject`, and `message` fields from the form body. The `signers` field is an array of signers object that is sent as a JSON string. So `JSON.parse` is used to convert it back to a JSON object. Then if any of the required fields are missing, an error response is sent to the frontend.
Before proceeding, you should understand how the signer's data is passed to the Dropbox Sign API. The API expects a `signerList` parameter, which must be an array. Each element of this array represents one instance of the template and holds the signer's data for that instance. Each instance must have a `signers` entry and a `customFields` entry. Since each document can have multiple signers, the `signers` entry needs to be an array. In this case, each file is signed by only one signer, and so the `signers` entry is an array of a single element.
The `customFields` entry is also an array that holds the data to be filled in into the merge fields that you defined when creating the template. Each entry in this array should be in the following format:
To convert your signer's data from the form into the desired shape, you'll need to define a `convertSignerToList` function like this:
You'll notice that the `deadline` parameter is added by the code, as it's likely that the deadline to sign the contract will be the same for everyone in the cohort. If your situation is different, you can add the form in the frontend so that it can be customized for each employee.
Now, add the following import:
Back in the `handler` function, create an instance of the `SignatureRequestApi` class that works as the gateway for communicating with the Dropbox Sign API:
Construct the request data to be sent to the API. Replace `<TEMPLATE_ID>` with the template ID that you got from Dropbox Sign:
By adding `testMode: true`, you indicate that this is a test run and the document isn't legally binding.
At this point, you're ready to make the API call, and you need to use the 'signatureRequestBulkSendWithTemplate' method to make it:
Test the application
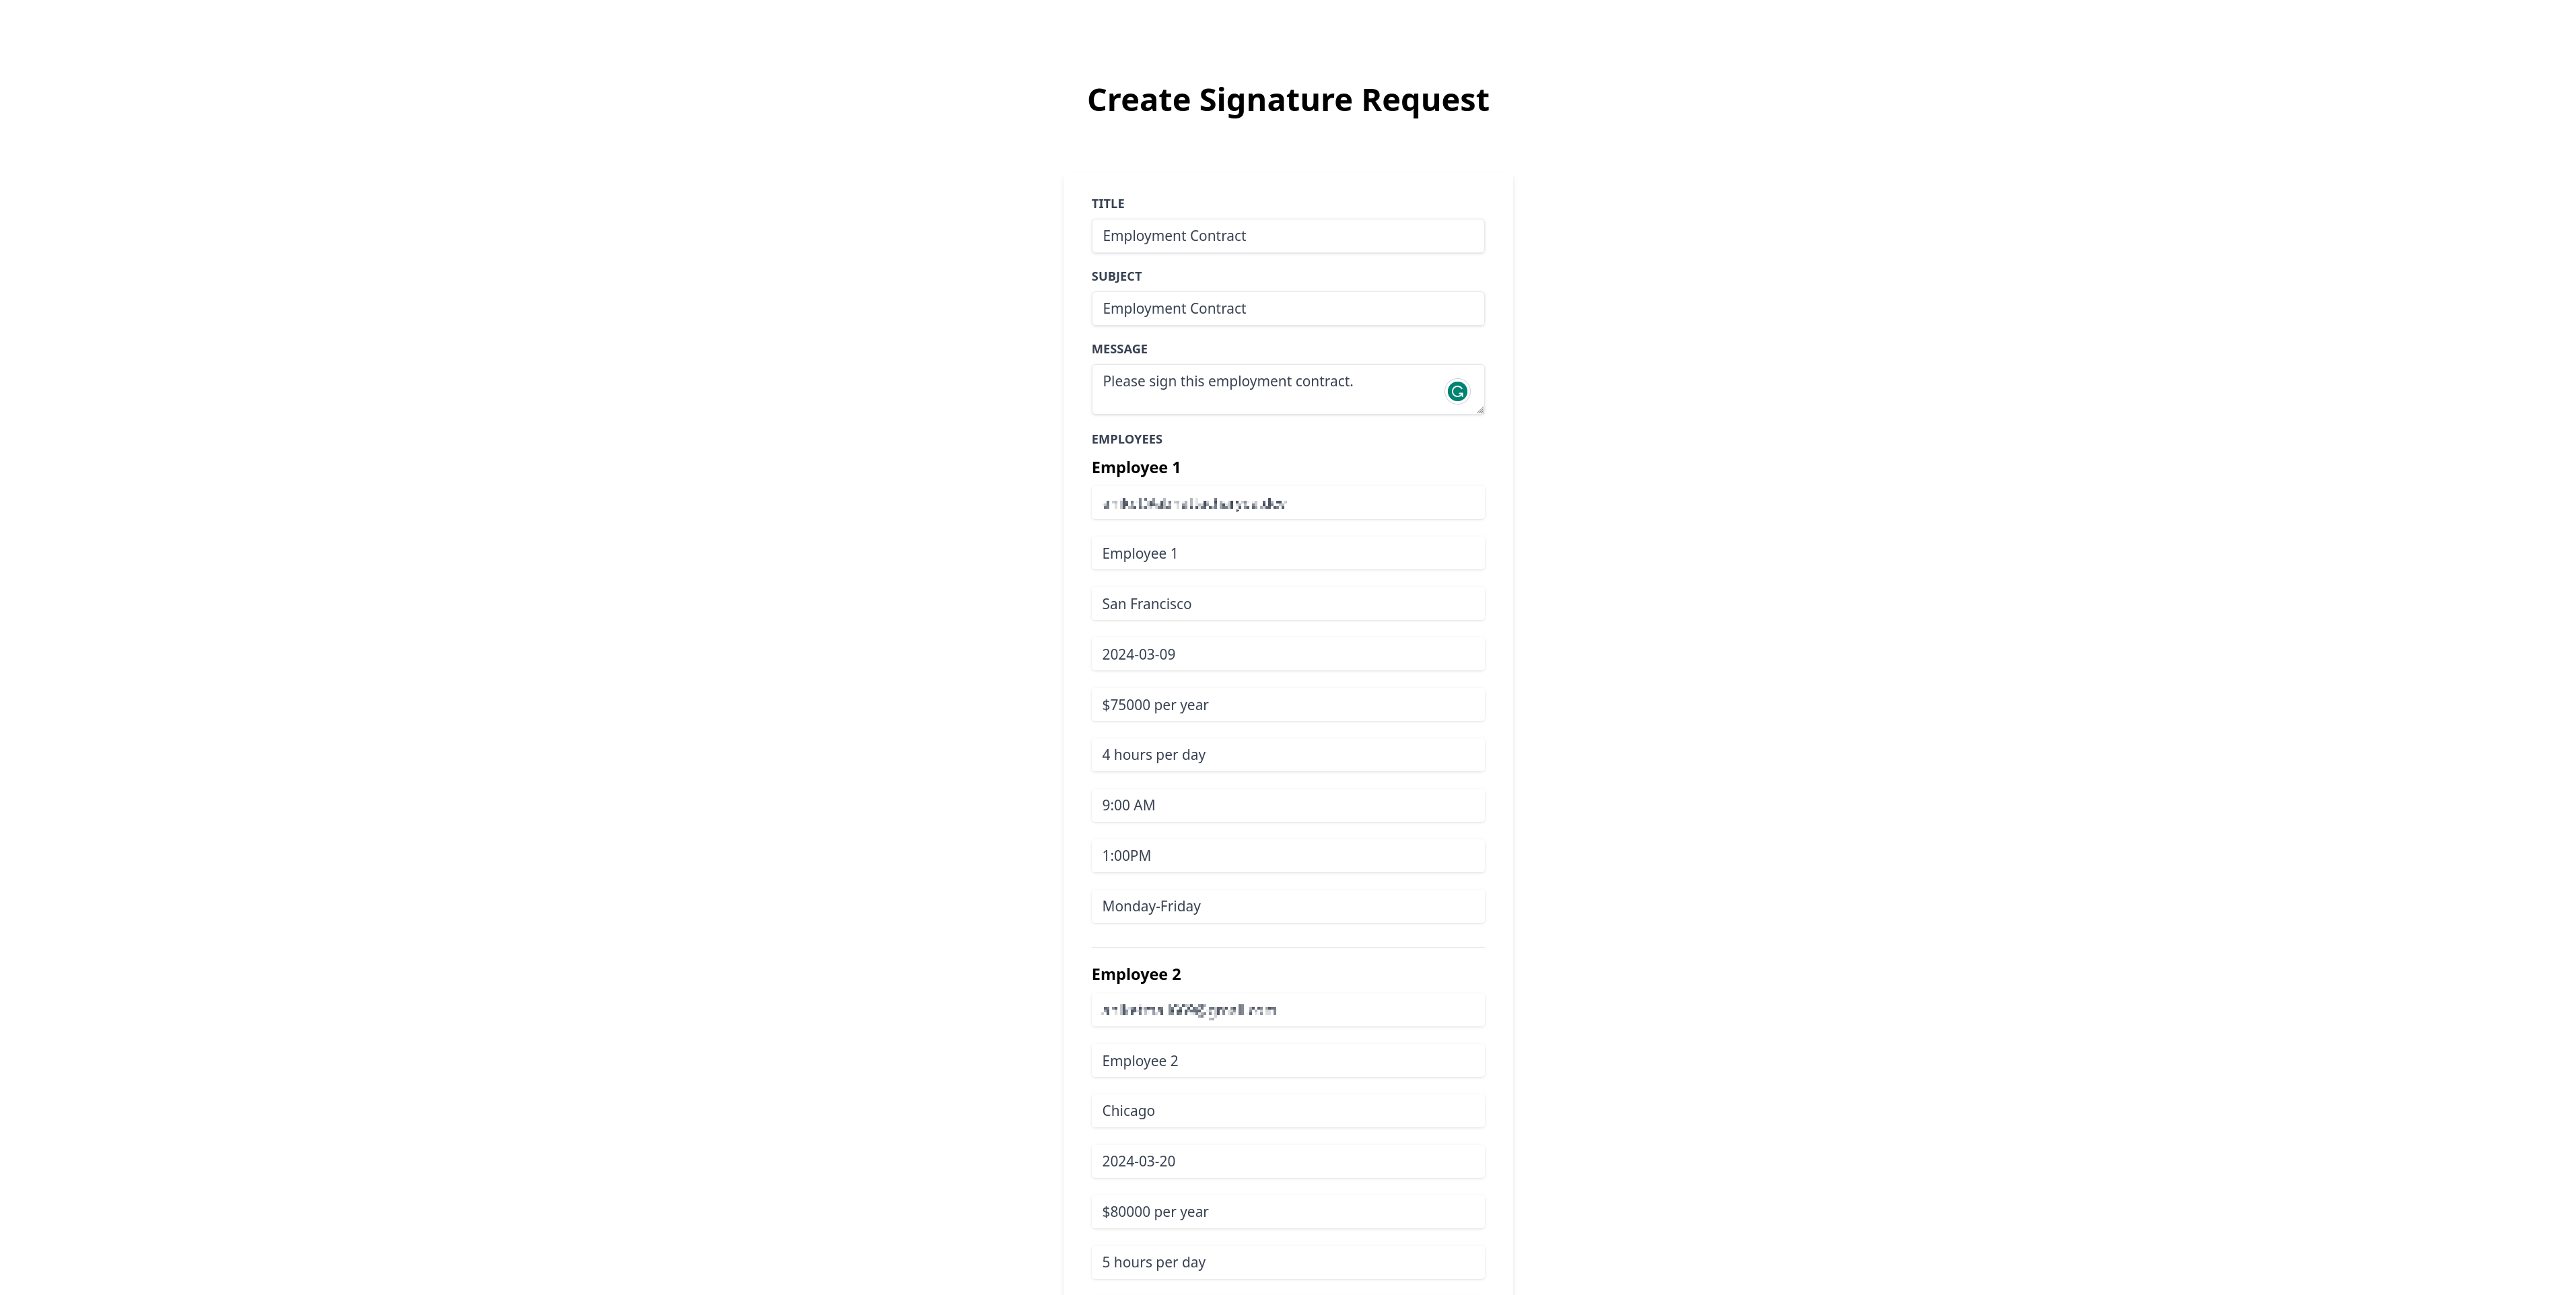
If it isn't running already, start the development server with `npm run dev` and navigate to http://locahost:3000. Fill in the form by providing a title, subject, and message, which can be the same for everyone in the cohort. If you need to, you can add more employees using the Add Employee button. Fill in the employee-specific details and click on Submit:
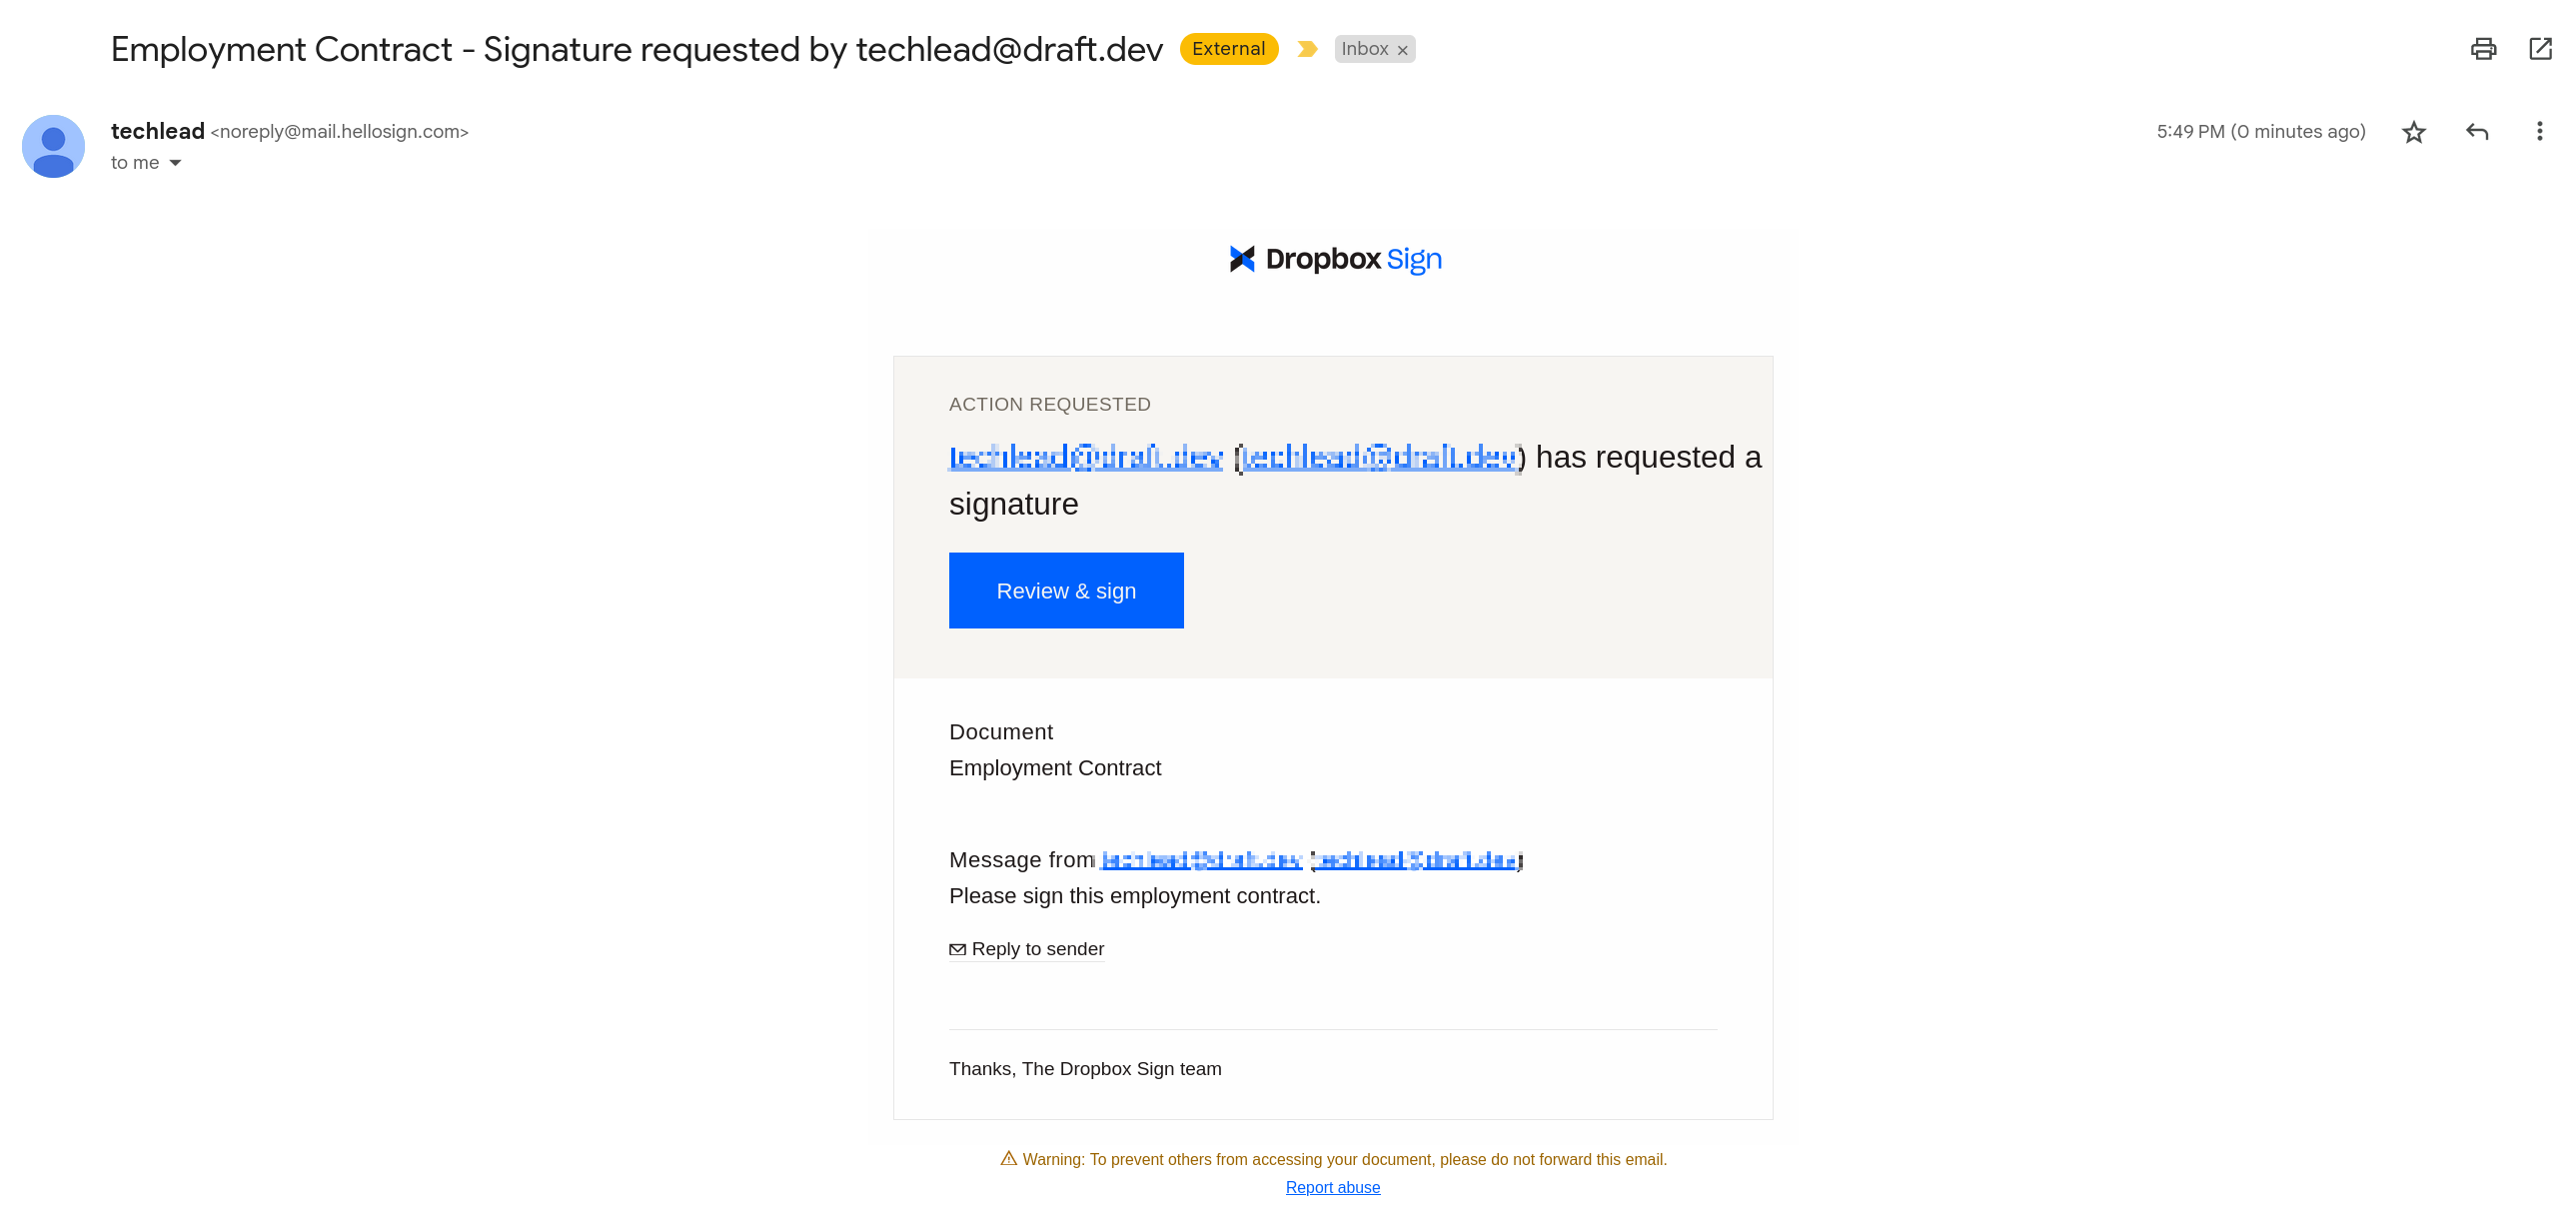
Now, each employee in the cohort will receive an email asking them to sign the contract:
When an employee opens the document, they'll see the following warning:
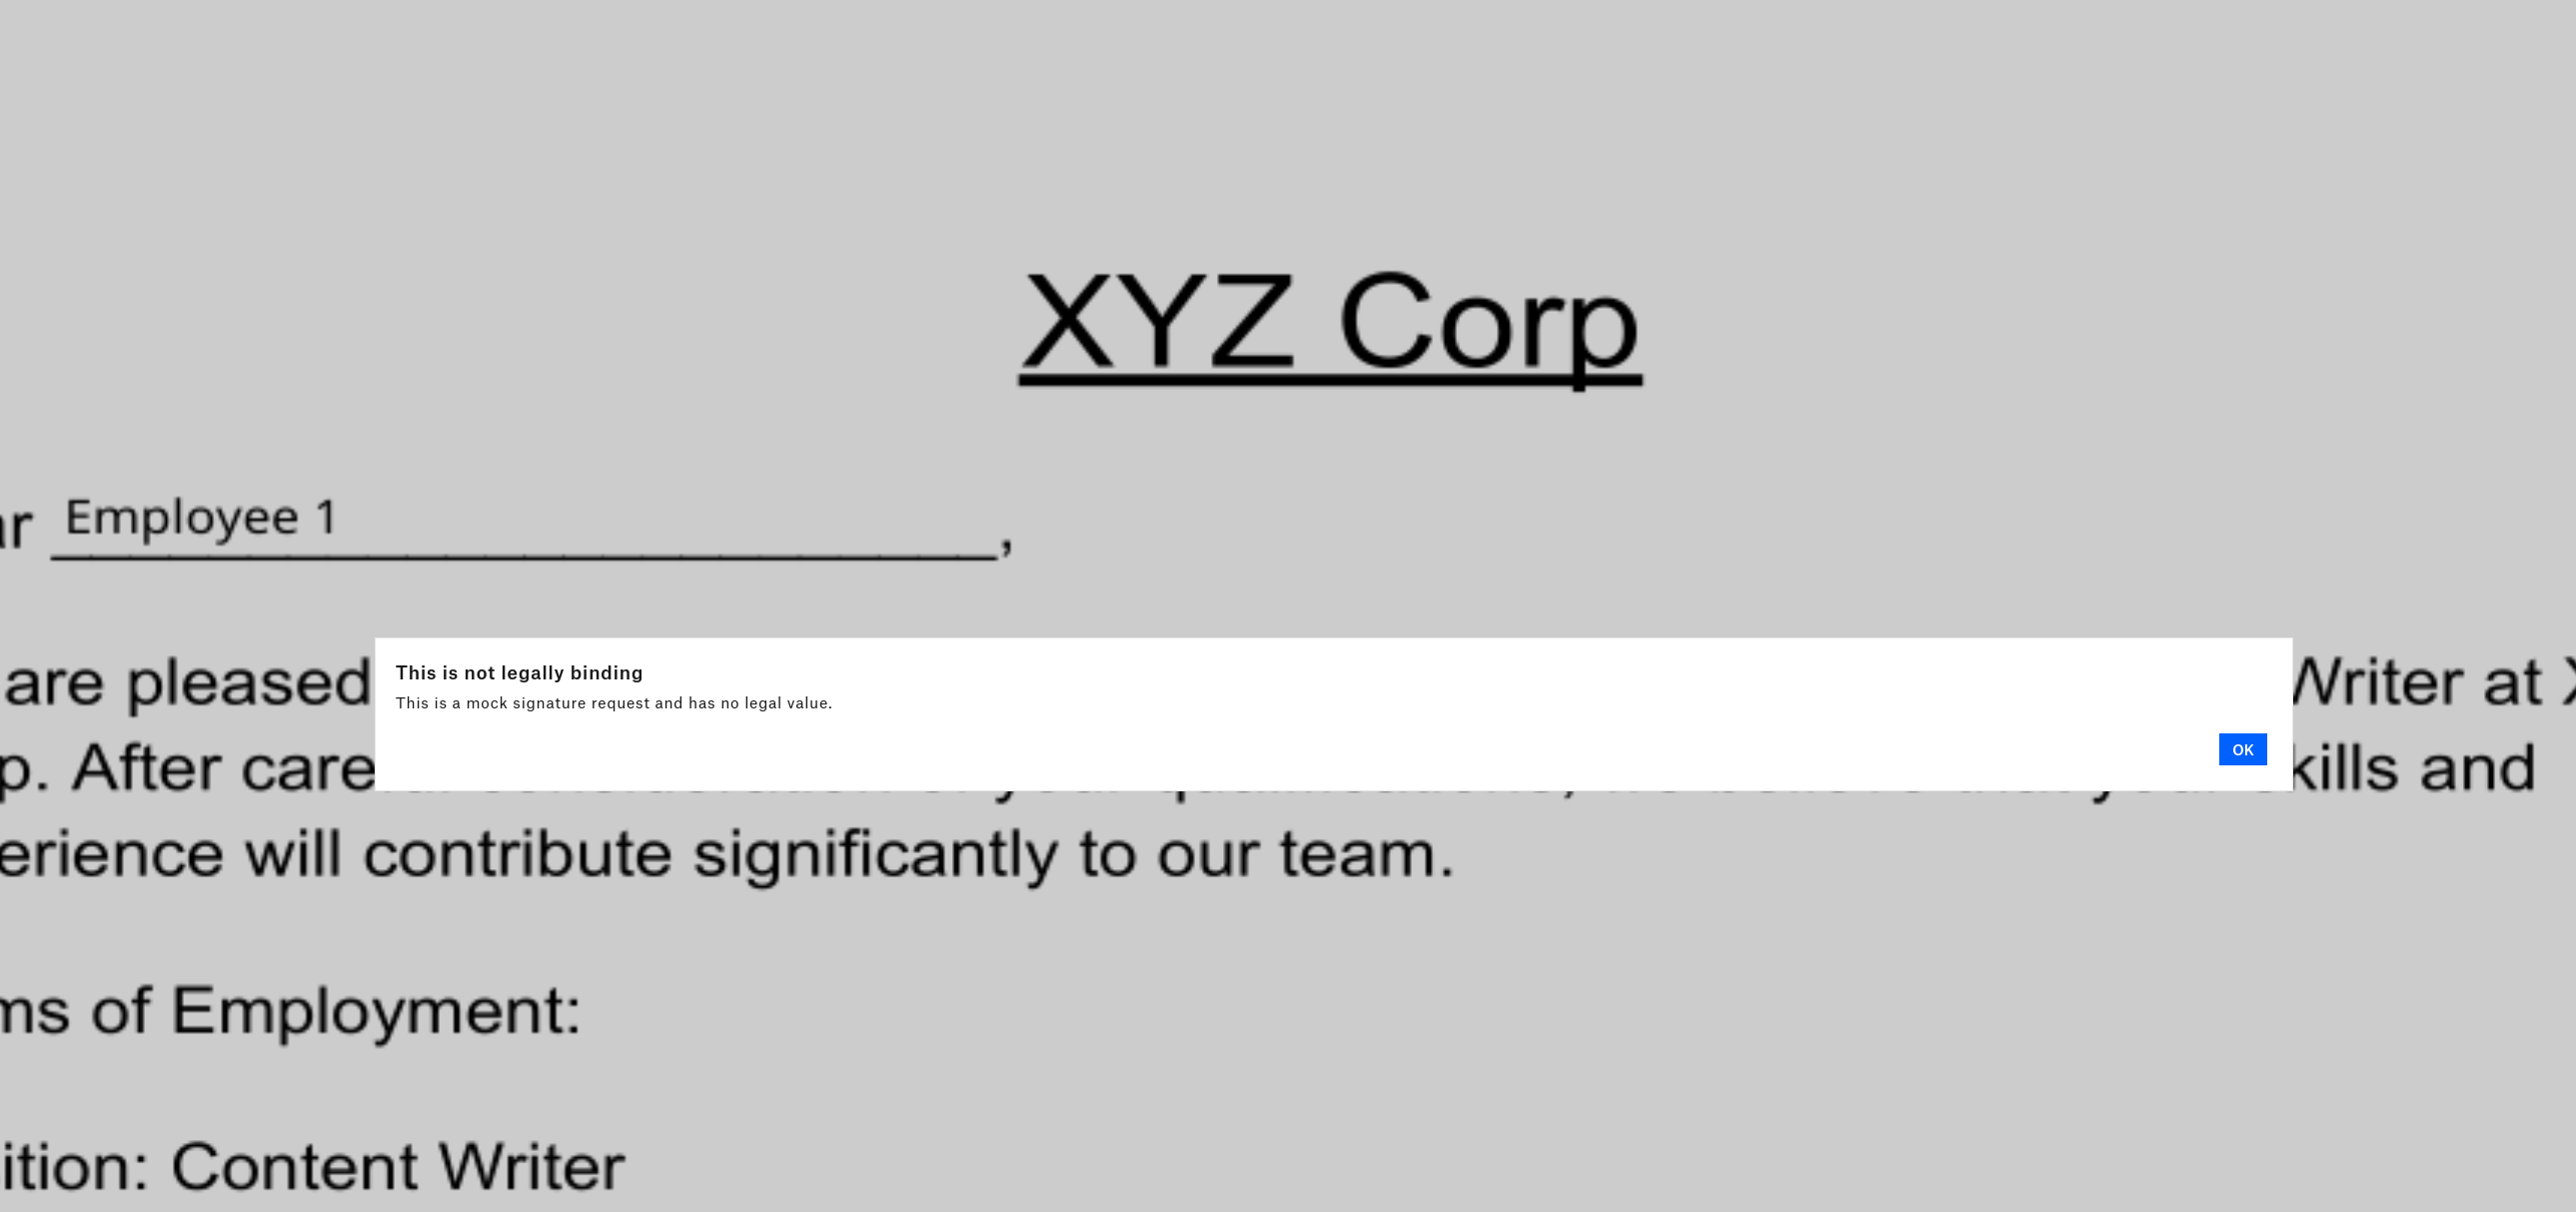
This is shown because the document is in test mode.
The document will be prepopulated with the employee details entered into the form:
On the last page, the employee has the option to sign the document. They can type, draw, or upload their signature and submit the signed contract:
Congratulations! You have just onboarded a cohort of employees without breaking a sweat! You can find the complete application in the `final` branch of this GitHub repo.
Conclusion
Onboarding is an important process that must be performed efficiently, correctly, and securely. Care needs to be taken when onboarding a cohort of employees to ensure each employee receives the correct offer letter and contract.
This article explored how the Dropbox Sign API can be integrated with a Next.js application and how you can use templates and bulk send features to onboard a cohort. With Dropbox Sign, you don't have to format every document manually, and you get a safe and secure document-signing experience. The Dropbox Sign API has official integrations for many different languages, such as Java, Python, and PHP.
Get started with Dropbox Sign today by registering a free trial account.
保持更新
谢谢!
感谢您的订阅!


