.svg)


Produk hebat yang sama dengan tampilan baru! HelloSign kini menjadi Dropbox Sign.
Electronic document signing has become the norm in today's remote world. From job offers to contracts, having the ability to quickly and securely electronically sign documents has become a must-have functionality for many different types of software-as-a-service (SaaS) applications and industries.
For developers, having the ability to quickly implement eSignature functionality has become a lifesaver and an invaluable tool in their arsenal to develop high value with minimal effort. While there are many examples where this functionality is required, non-disclosure agreements (NDAs) are one of the most common use cases in high-tech industries.
While it might be tempting to roll out your own document signing service, it is way more effective and efficient to leverage an existing service like the Dropbox Sign API to provide this functionality in your application.
This tutorial will go over the steps needed to leverage the Dropbox Sign API’s bulk sending capabilities for the specific use case of sending an NDA to multiple parties. By the end of this article, you will have a good understanding of the main concepts involved in electronic document signing, knowledge of the Dropbox Sign API, and a powerful set of tools to leverage on your next project.
Implementing a bulk NDA send-out with Dropbox Sign
In this tutorial, you will build a bulk NDA management tool that will allow you to:
- Bulk send NDA signature requests to multiple subjects
- Leverage Dropbox Sign templates with custom builds
- Check on the progress of a bulk job to see pending signatures
Prerequisites
This tutorial uses the Dropbox Sign API. As part of the tutorial, you will need to sign up and generate a new API key.
Additionally, you will write all the code examples in Node.js, using the Express framework to provide a basic project structure. You can find the code examples and demo application in the GitHub repository. Instructions on how to install Node.js for your operating system can be found here.
Note: This tutorial assumes the reader is already familiar with Node.js and the Express framework and does not cover the details of how to install Node.js and Express.
Memulai
Start by downloading a local copy of the sample code from the GitHub repository. Make sure you can run the project locally by running the following console commands:
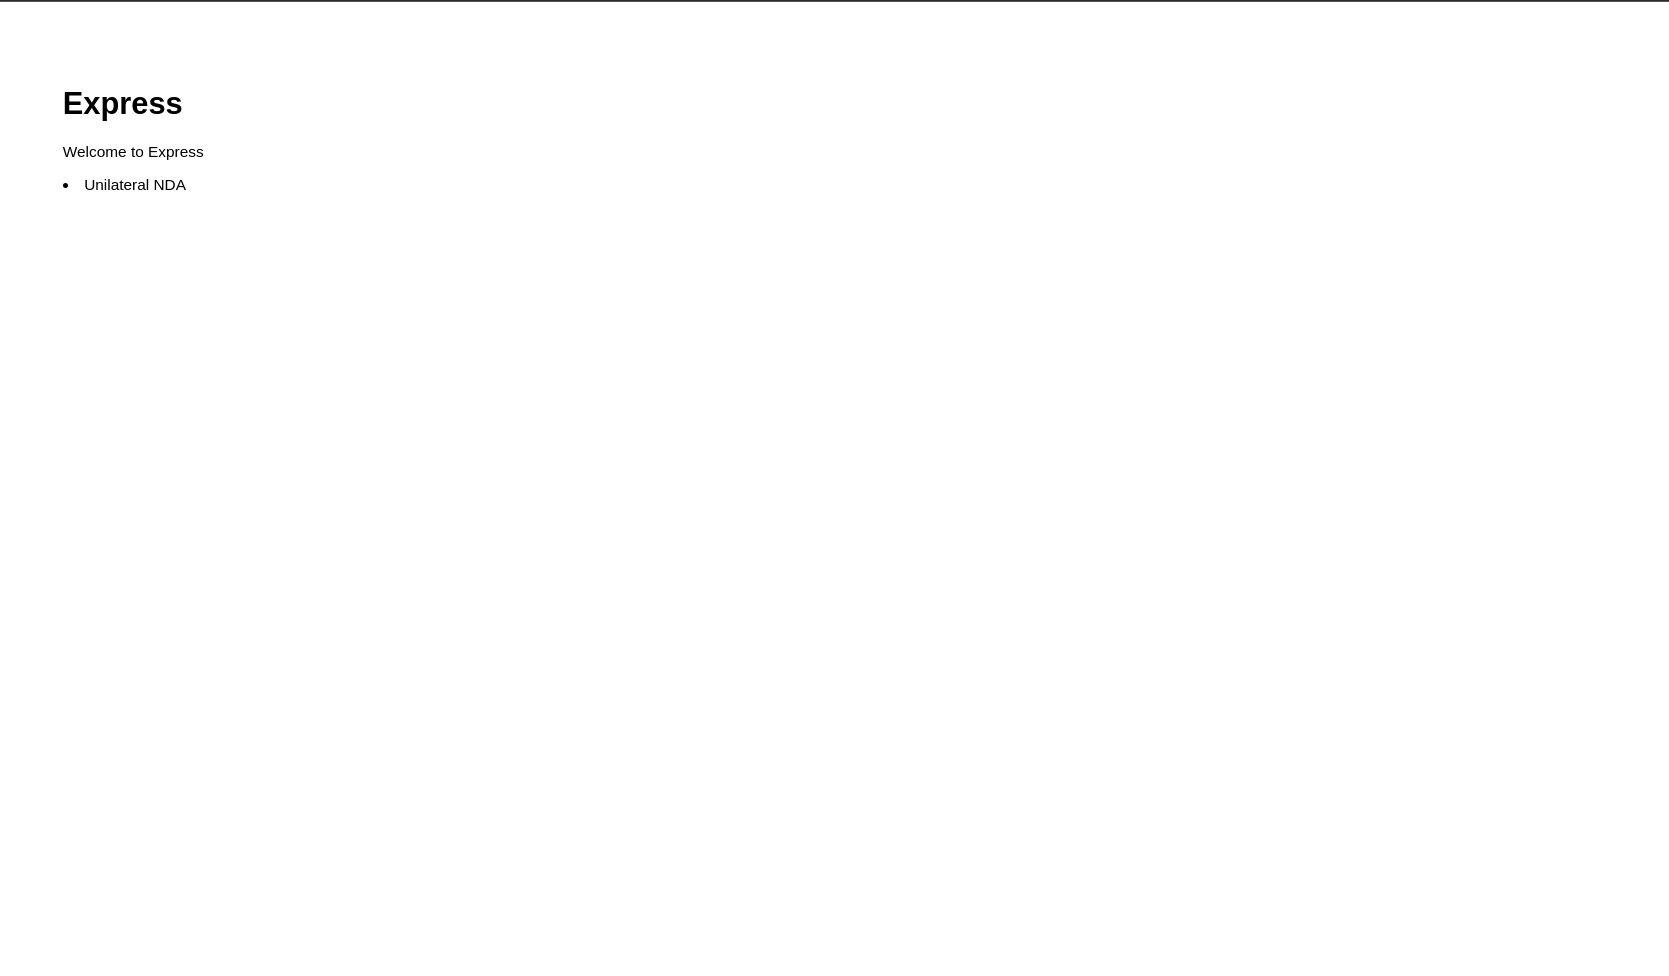
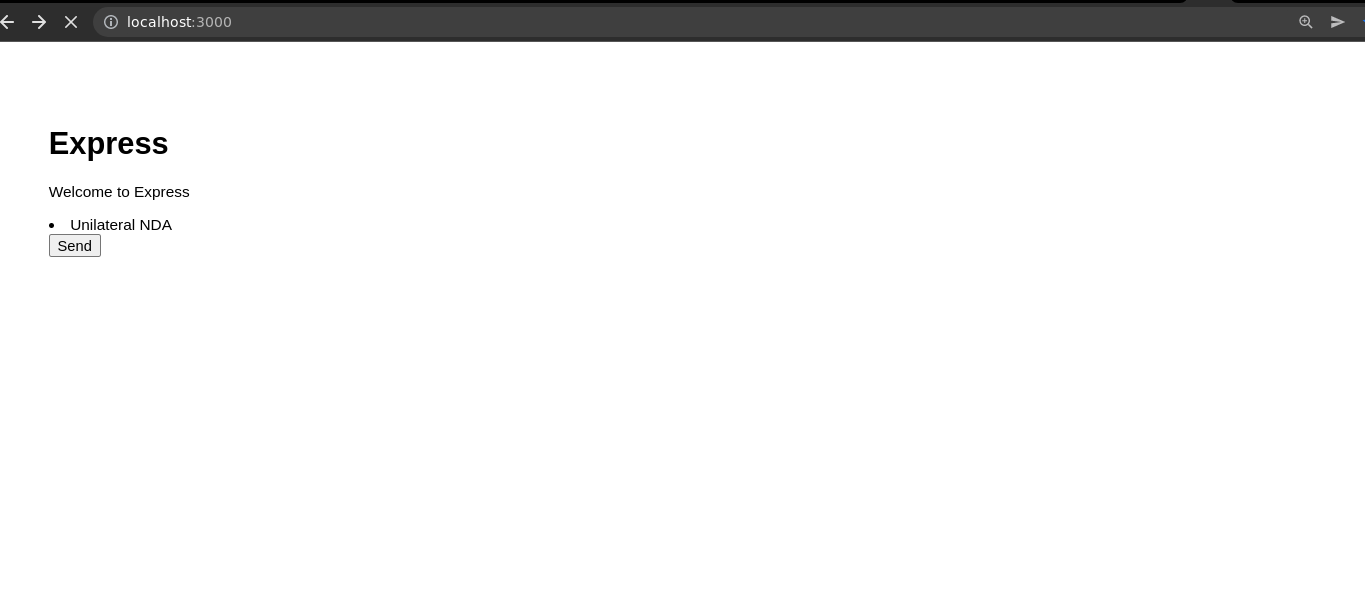
You can verify that your base Express application is running correctly by visiting the localhost:3000 URL in your browser.
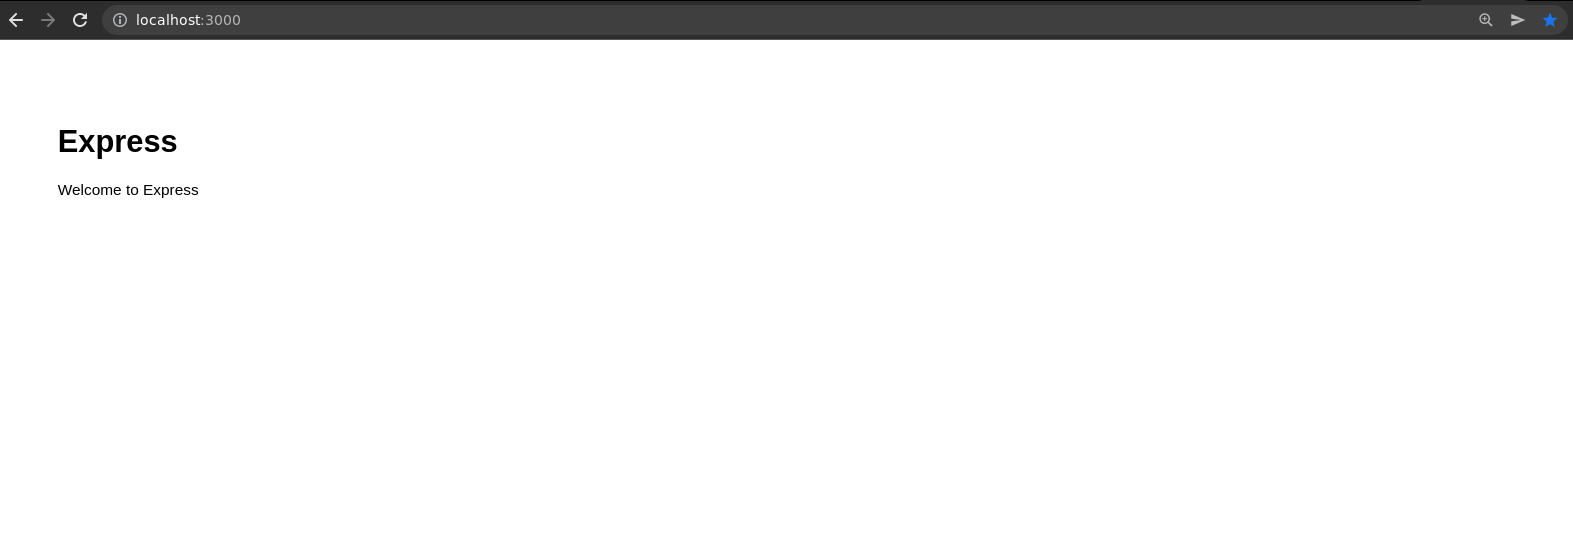
If you see the Express default homepage, you are all set.
Installing the Dropbox Sign API SDK
Your next step is to install the official Dropbox Sign Node.js SDK. This is a library that allows you to interact with the Dropbox Sign API without having to write the boilerplate code.
From inside your project directory, you can run the following command to install the Dropbox Sign Node.js SDK:
Next, import it into your application. You can do this by adding the following code to your application's `app.js` file:
In the code above, you are initializing the Dropbox Sign Node.js SDK and setting it as an Express application property. You will use this property in your application to interact with the Dropbox Sign API across all your routes.
You need to create a Dropbox Sign account and get a valid API key. You can do this by following the Dropbox Sign API documentation.
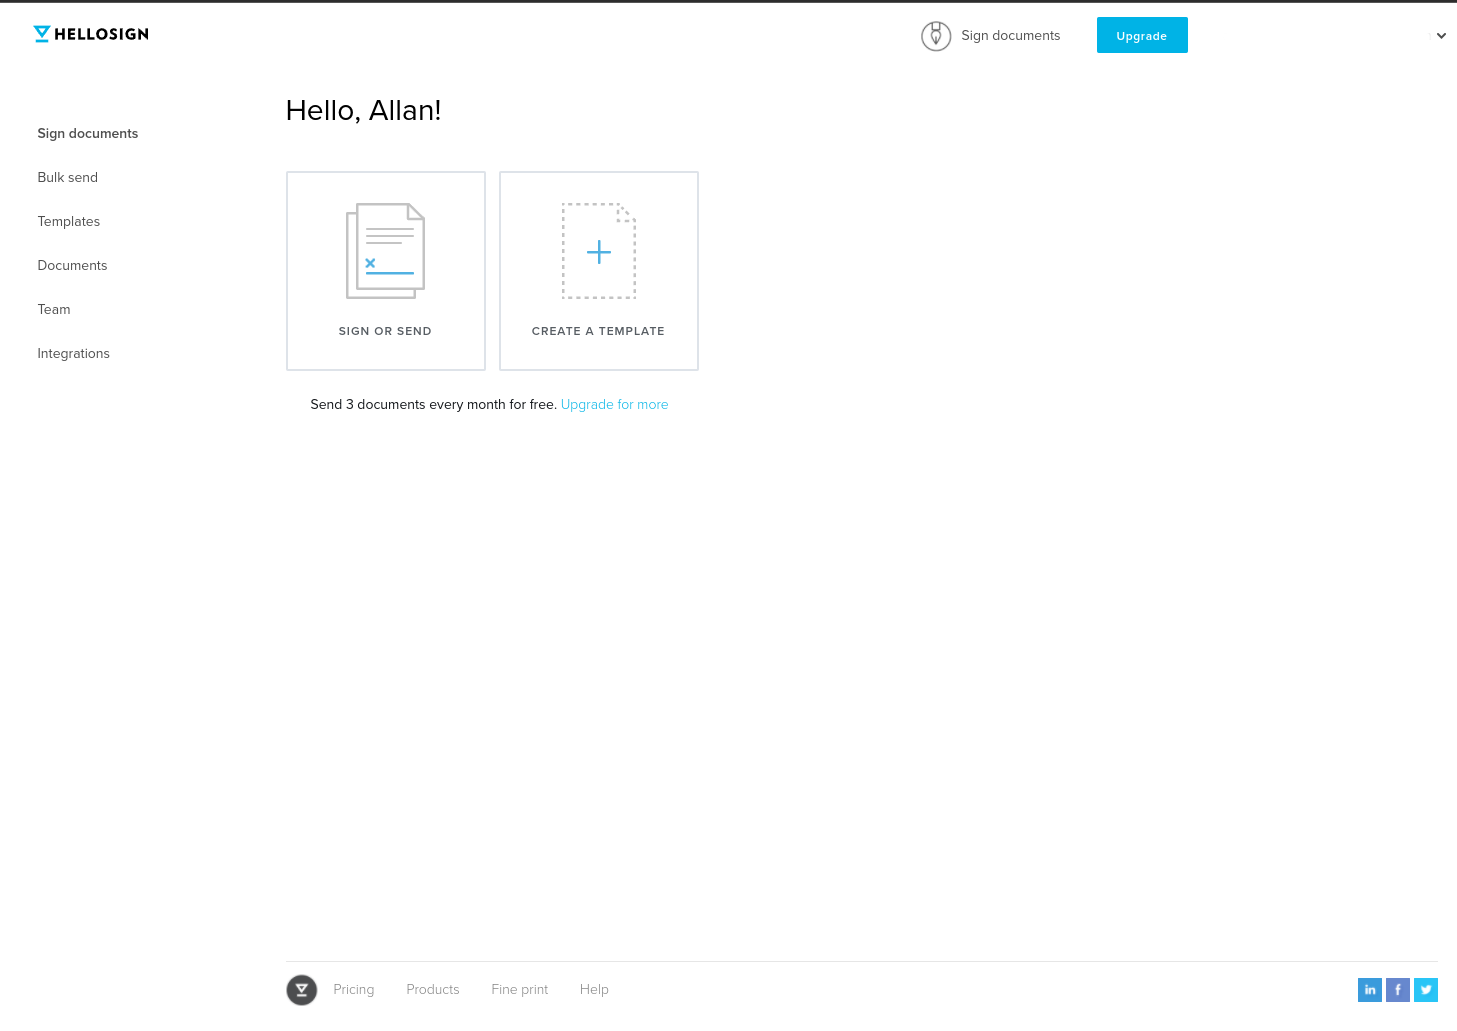
You can retrieve the API key by following the steps below:
- Click Integrations in the left navigation bar
- Click API in the top navigation bar
- Click the Reveal Key button to the right of your API key
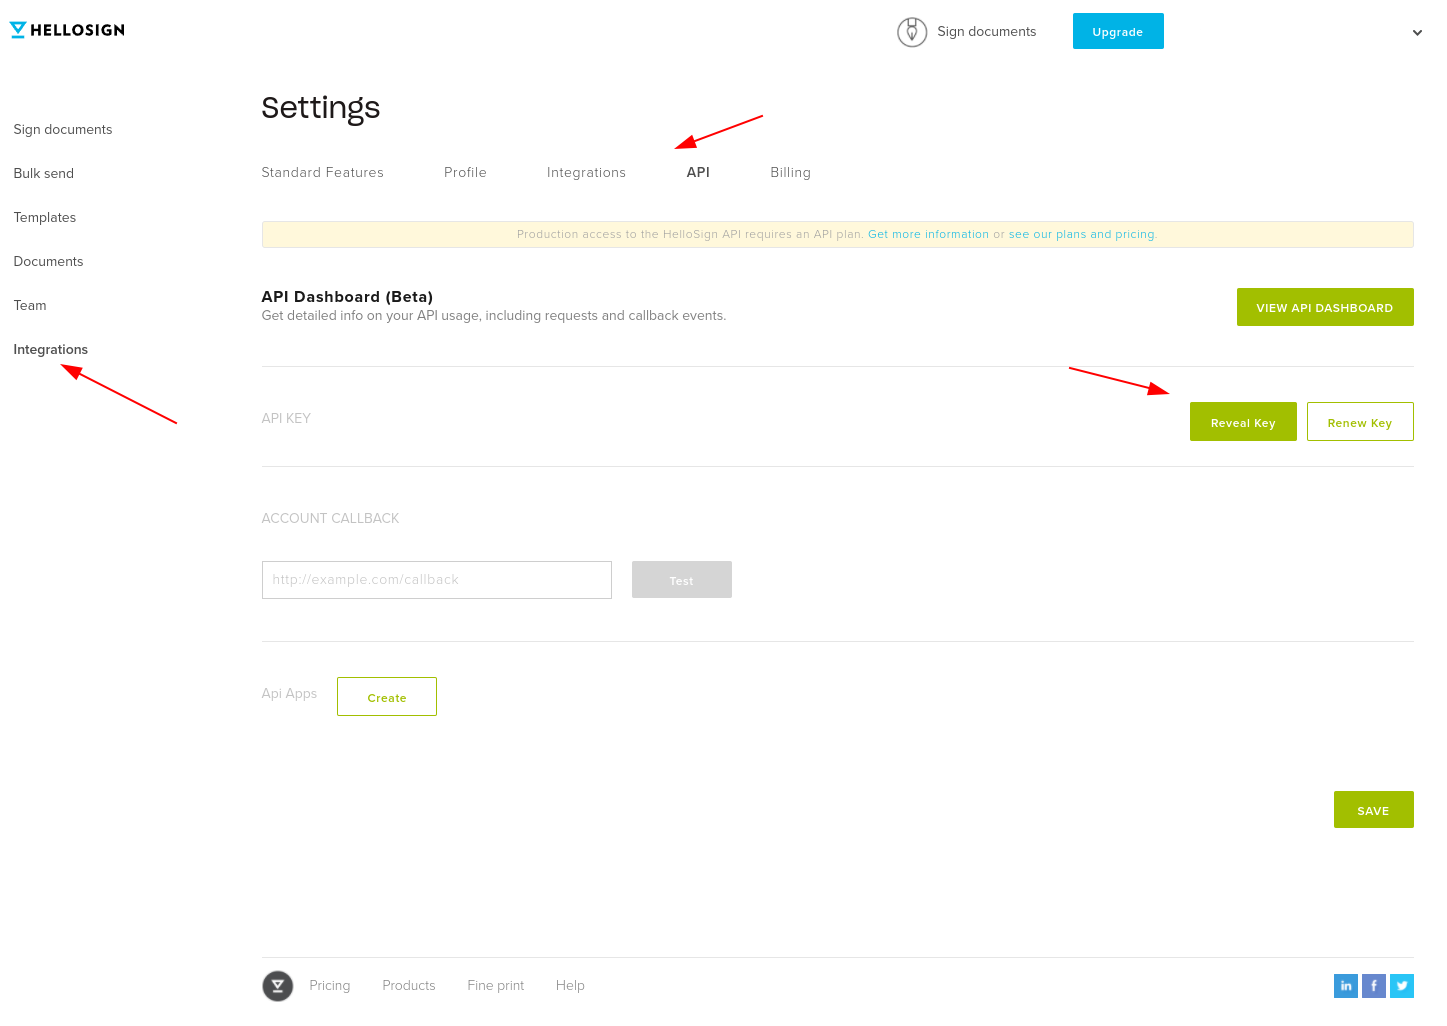
Finally, in the `app.js` file, replace `OUR_API_KEY` with the API key you just retrieved.
Creating a Dropbox Sign template
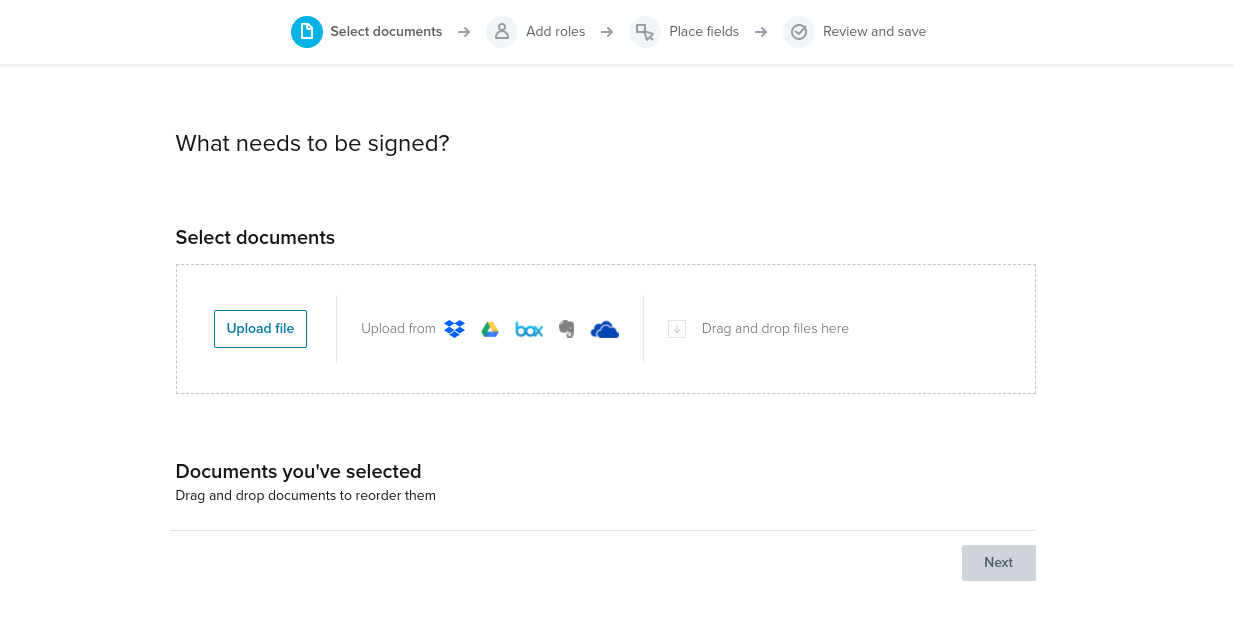
Before you go ahead and create your first route, you need to create a Dropbox Sign template. This is a document you will use to send out NDAs to multiple parties. Document templates are great because you only need to prepare them once.
Currently, Dropbox Sign templates can only be created through the Dropbox Sign website. Click Templates on the left side navigation and then Create a Template.
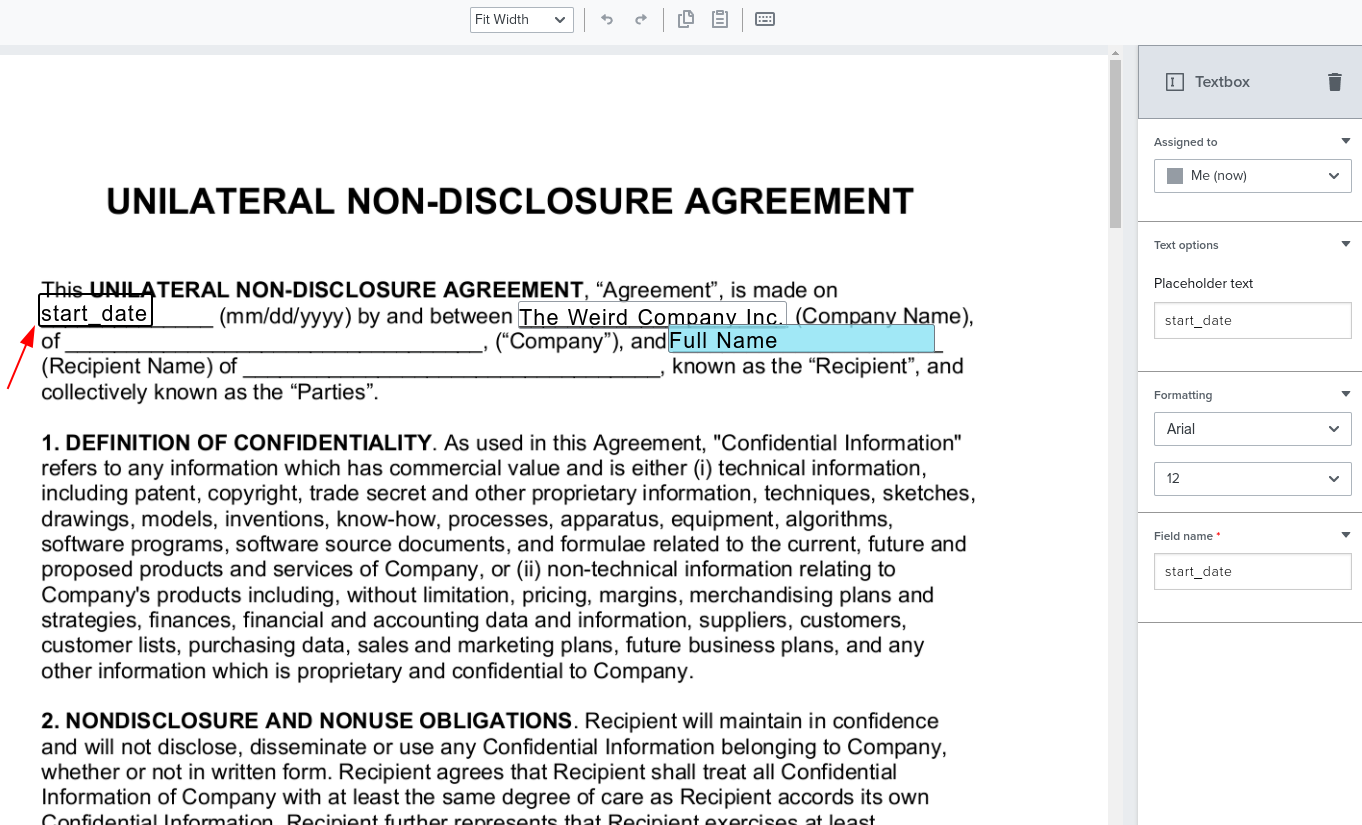
Now, upload the NDA document that you want to turn into a template. In this case, you will use a unilateral NDA from OpenDocs.
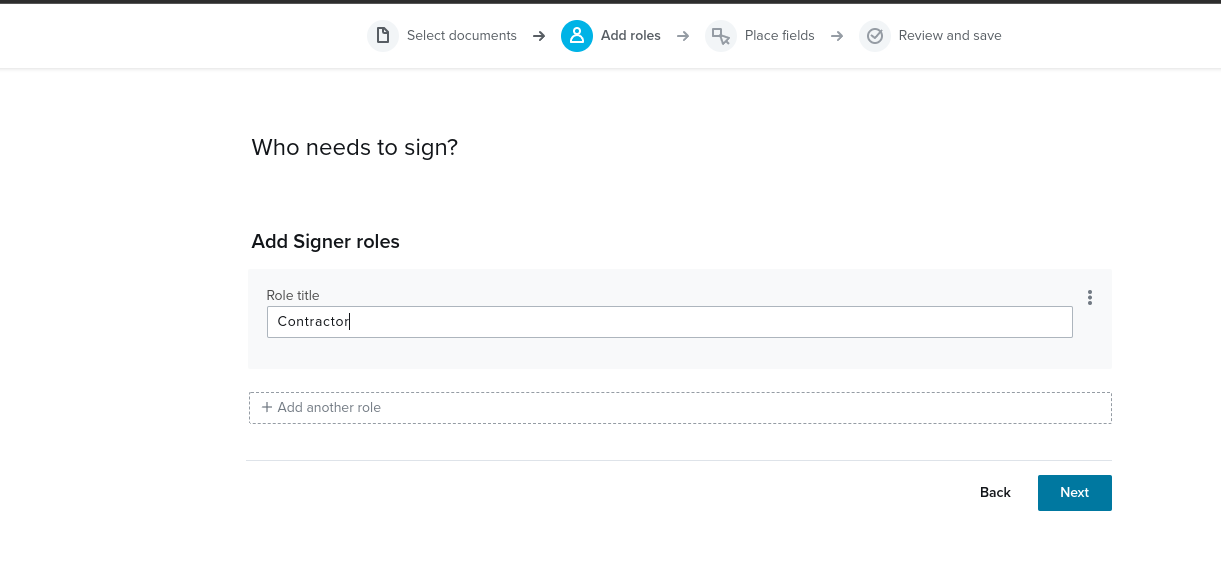
You should now specify the roles responsible for signing the NDA. In this case, add a `Contractor` role:
On the next screen, set up the fields that will be used to sign the NDA. The following fields should be used in this case:
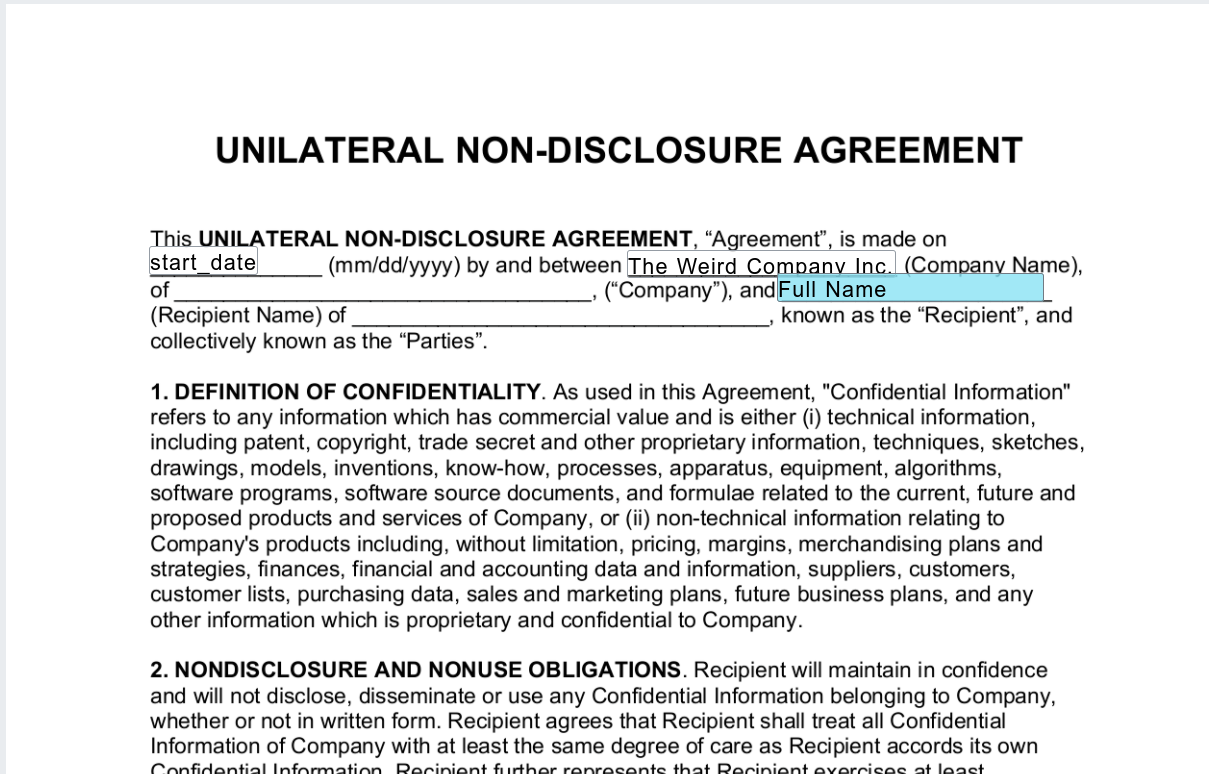
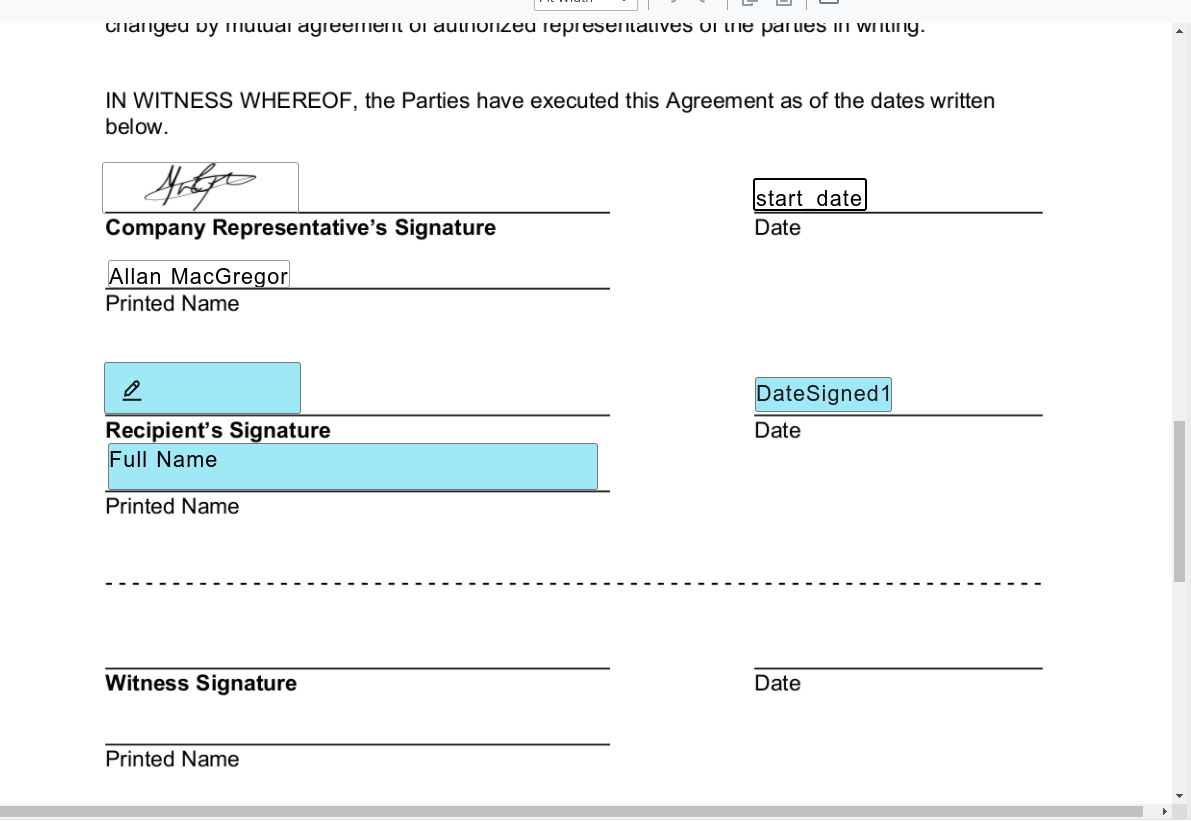
It is important to take a moment and understand that Dropbox Sign has different types of fields that you can use to sign a document:
- Signature fields are filled by the signer, for example, the initials and signature of the person signing the NDA.
- Merge fields are fields added to the template when created, that you intend to map signer-specific values to when you use that template in a signature request. For example, the name of the company or the name of the person signing the NDA.
- Custom fields are the values mapped to merge fields on the template when creating the signature request. For example, the name of the person signing the NDA. Custom field values are provided through the `custom_fields` request parameter. Using this parameter you will provide names and values for your custom fields, and the value of each custom field will be mapped to the merge field on your specified template with an identical name.
An important thing to note is that in order for custom field values to map correctly, the name of the custom field specified in your API request must match the name of the merge field on your template exactly. Here is how you set up the NDA `start_date` merge field; this merge field can be populated with a custom field value that you will pass back to the Dropbox Sign API when you create the signature request.
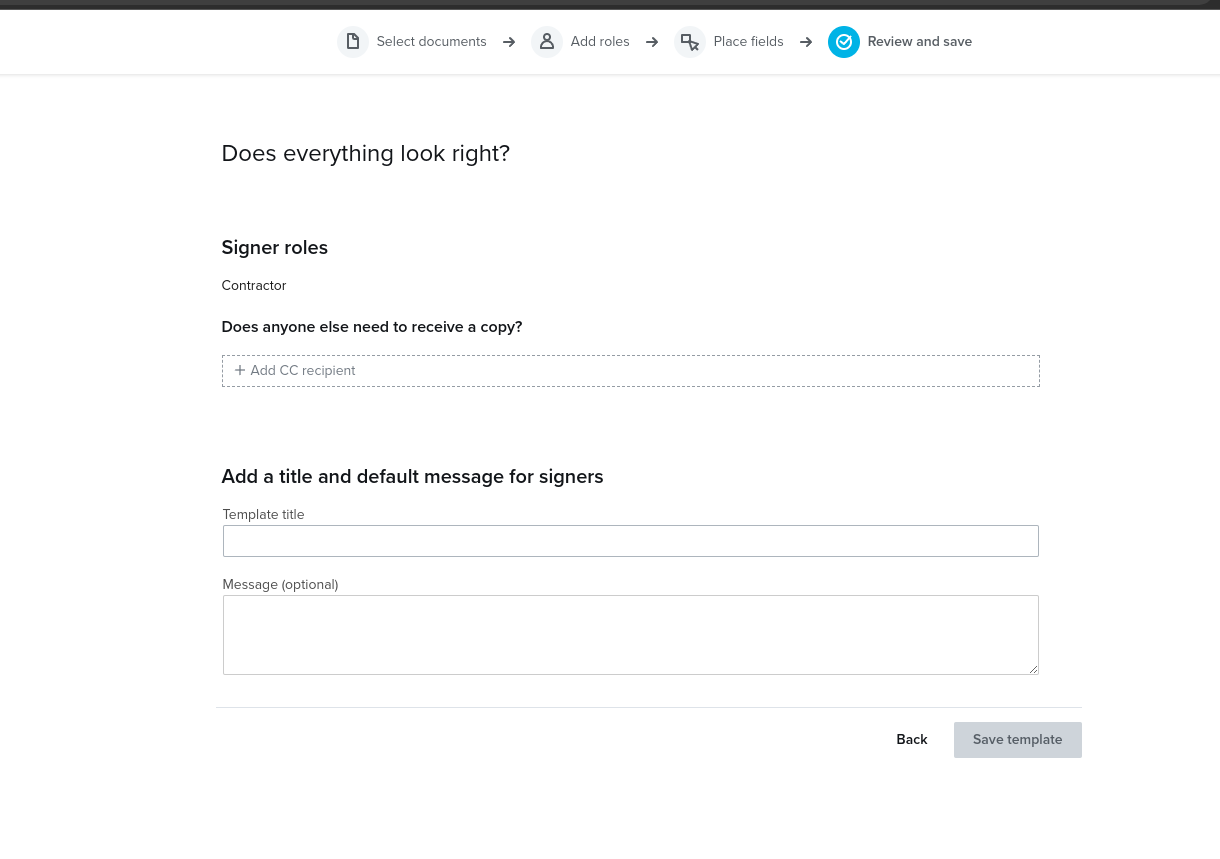
Finish by saving the template. Make sure to add a name for the template and click Save template.
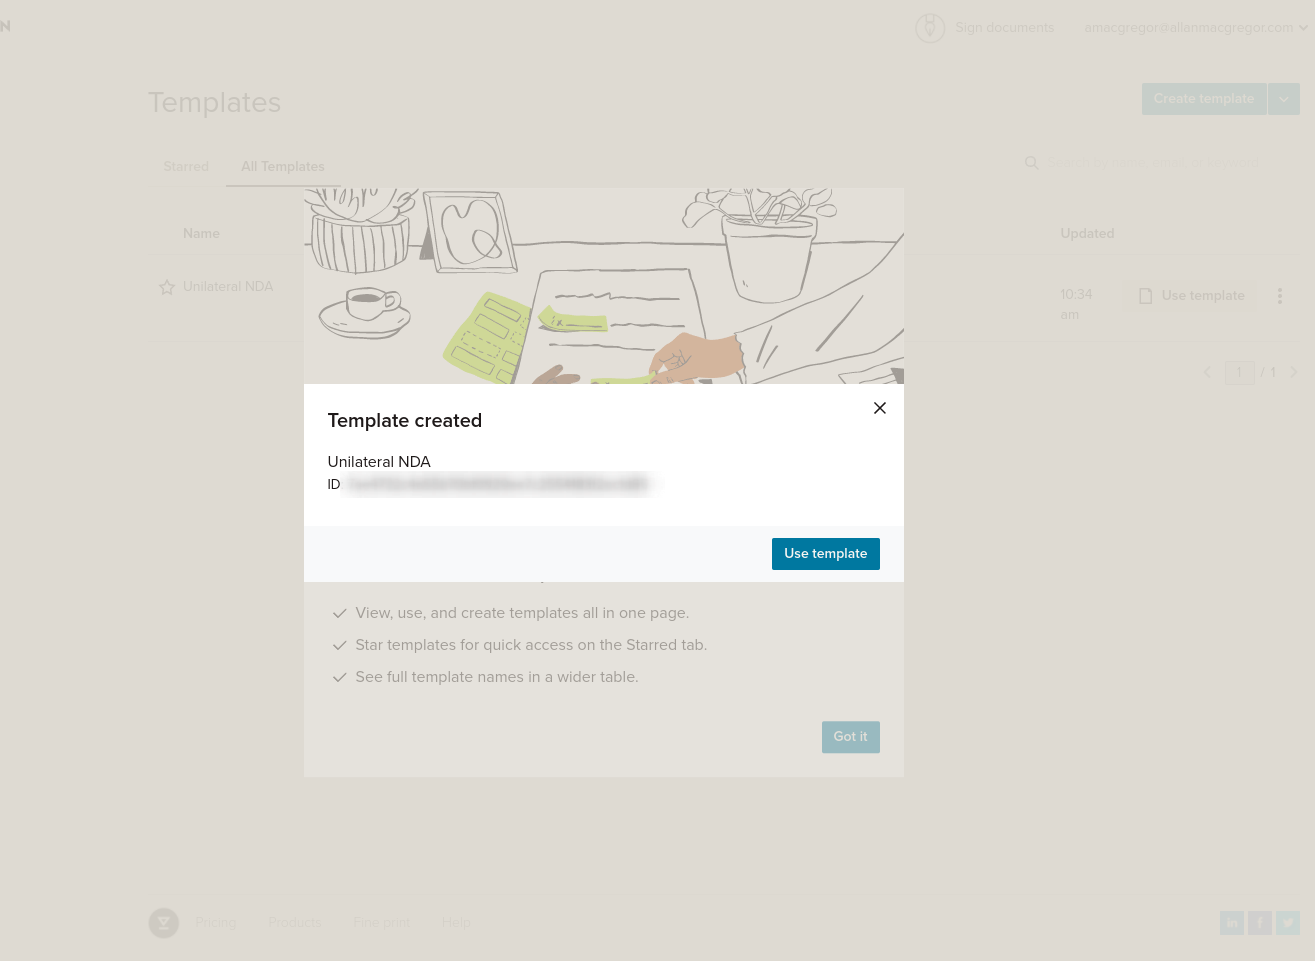
Once you have saved your template, you will get a modal confirming that the template was created successfully. Keep the template ID shown for future reference; you will use it shortly.
Listing your templates
To list all the templates that you have created, first update the `routes/index.js` file by replacing it with the following lines:
Next, you need to update the `views/index.jade` file by replacing it with the following lines:
You can then visit the localhost:3000 URL in your browser to see the list of templates.
To recap the steps you have taken so far:
- You created a Dropbox Sign account and retrieved a valid API key.
- You created a Dropbox Sign template.
- You listed all the templates that you created.
Your next step is creating a signature request.
Creating a signature request
Start by creating a new route that will issue signature requests. Create a new route called `/signature_request` and use the following code in `routes/signature_request.js`:
You also need to update the `app.js` to include your new route manager:
Finally, modify the `views/index.jade` file to include a button to create a signature request:
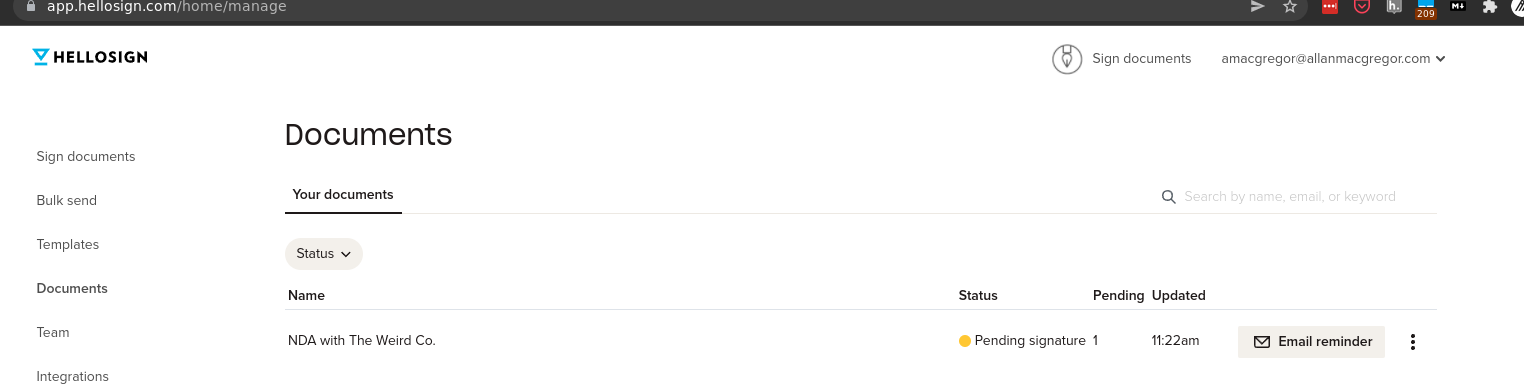
You can go ahead and issue a signature request by clicking the Send button.
If everything worked correctly, you should see the new signature request listed in the list of signature requests in the Dropbox Sign dashboard.
To recap the steps you have taken so far:
- You created a new route called `signature_request` to issue signature requests.
- You updated the `app.js` to include your new route manager.
- You updated the `index.jade` file to include a button to create a signature request per template.
- You successfully created a signature request.
Bulk sending requests to signers
Note: Bulk sending signature requests is only available to Dropbox Sign Standard users and above.
You might have noticed that the approach you are following so far has a major downside: you can only send out a single NDA to a single recipient.
You already created a template of your document that you can easily reuse. While you could handle the logic on your side to send out multiple NDAs to multiple recipients, it would require many changes to your code to track the status of the bulk signature request.
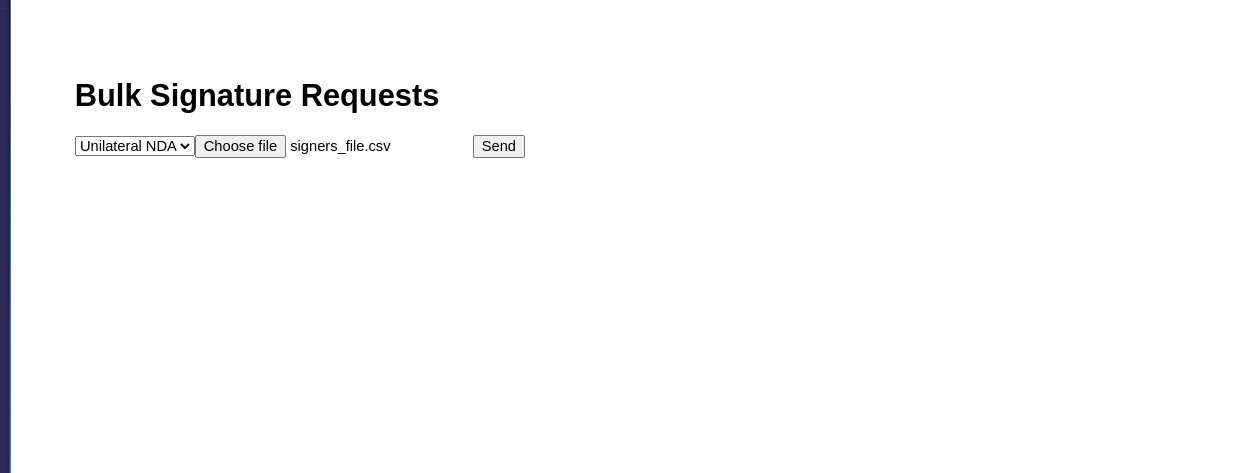
Thankfully, Dropbox Sign provides an endpoint to send out bulk signature requests. Create a new route called `/bulk_signature_request` and use the following code in `routes/bulk_signature_request.js`:
For this script, you need to install the `multer` module. This allows you to upload a CSV with a list of all the signers for your bulk signature request:
Now, create a brand new view to handle the bulk signature request. Create a file called `views/bulk_signature_request.jade` and add the following code:
If everything worked correctly, you should see the new batch of signature requests listed in the Documents > Bulk send list in the Dropbox Sign dashboard.
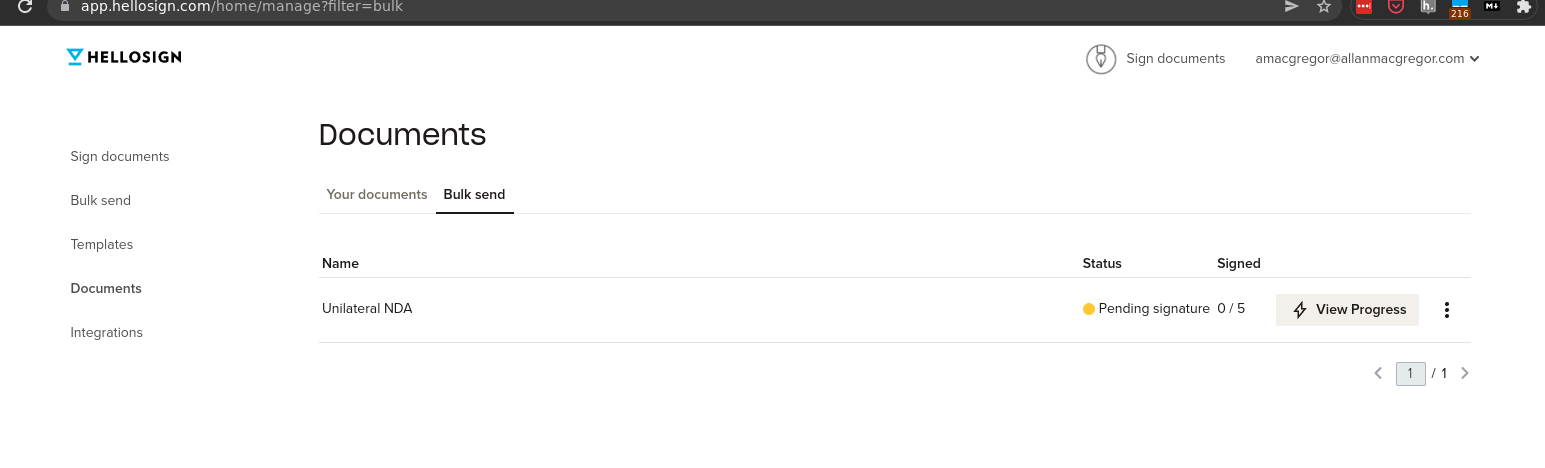
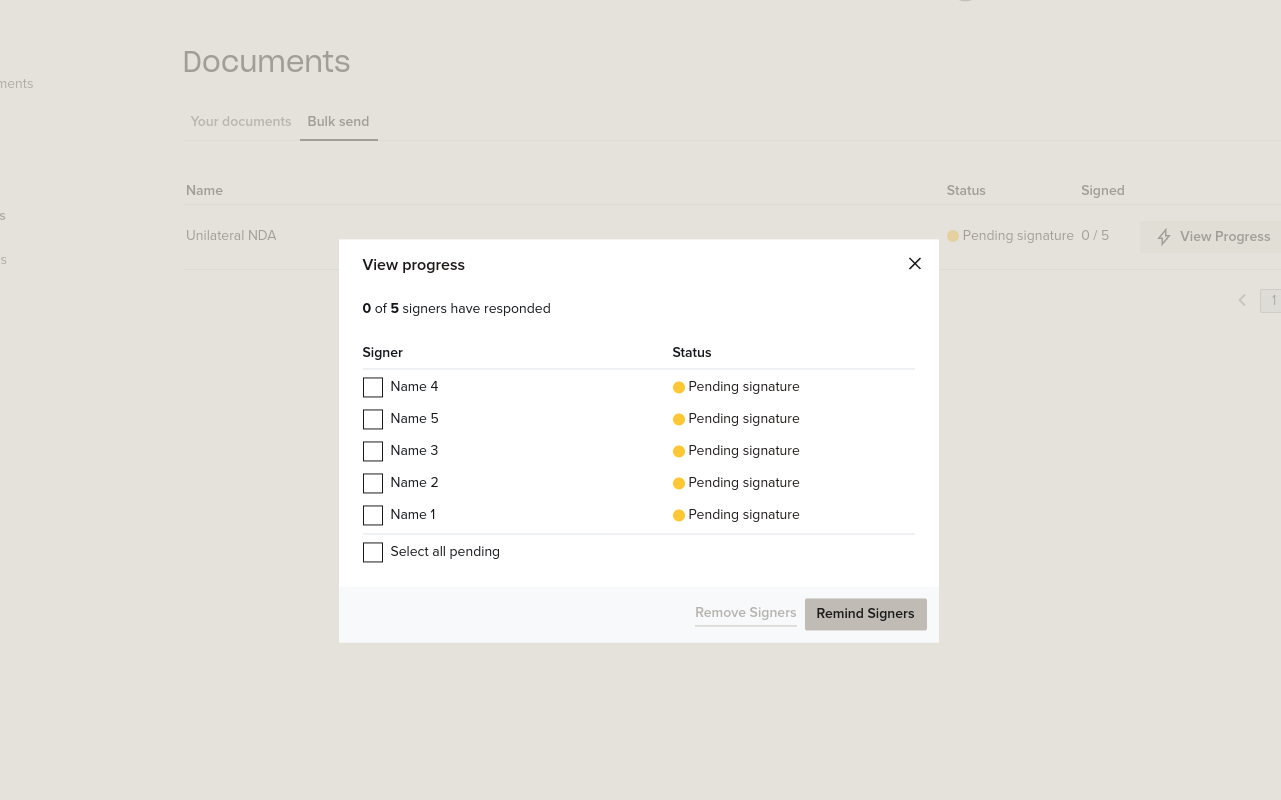
Finally, you can also check the status of the bulk signature request by clicking the View Progress button.
The Dropbox Sign API can also be used to monitor your account’s bulk sends through the use of the following endpoints:
Conclusion
Over the course of this tutorial, you learned how to work with the official Dropbox Sign API to create signature requests, bulk send signature requests, and retrieve signature requests. You also learned how to create document templates and how to use those templates to save time when creating signature requests for multiple recipients.
Dropbox Sign offers unparalleled ease and speed of implementation, from embeddable iframes on your site with only 4 lines of code, to powerful APIs and exceptional developer support.
You have only just scratched the surface of the Dropbox Sign API. There are many other features available to developers. To learn more or test the code from this tutorial, please check out the Dropbox Sign API; you can get started today for free.
Mengikuti perkembangan
Terima kasih!
Terima kasih telah berlangganan!


