.svg)


Nouveau look, mais toujours le même produit d’exception ! HelloSign s’appelle maintenant Dropbox Sign.
Many companies are moving away from traditional paper-based signatures to eSignatures for their convenience and efficiency. With eSignatures, users can sign documents from anywhere, removing the need for physical meetings or paper-based exchanges. This speeds up agreement finalization and reduces costs tied to printing, shipping, and storage. Moreover, advanced encryption technologies and audit trails make eSignatures secure and provide a record of when and where documents are signed.
Thinking about integrating eSignature functionality into your Ruby on Rails app? Dropbox Sign API makes it easy with developer-friendly tools like dedicated software development kits (SDKs), detailed documentation, and a sandbox environment for testing. It also simplifies workflows with features like embedded signing, reusable templates, real-time webhooks, and customizable signing experiences. These offer a smooth and intuitive user experience.
In this article, you'll learn how to integrate the Dropbox Sign Ruby SDK with a Ruby on Rails application to build an embedded signing experience.
Prerequisites
To follow along with this tutorial, you need the following:
* The Ruby 3 and bundler installed on your system
* The latest version of Node.js
* The Git CLI
* A Dropbox Sign account
To get started, a starter Rails app has been created for you. This app emulates a human resources (HR) portal where HR can upload contracts, nondisclosure agreements (NDAs), or other documents to be signed by employees.
Clone the app using the following command:
Navigate into the project directory and install the dependencies:
Then, create and set up the database:
This app is written using Ruby 3.3.5 and Rails 7.1.5, styled using Tailwind CSS, and powered by SQLite3 as the database. It uses shadcn/ui on Rails for reusable, styled components and manages JavaScript dependencies with importmap.
File uploads and storage are handled by Active Storage. Authentication and authorization are managed using the Devise and CanCanCan gems, respectively.
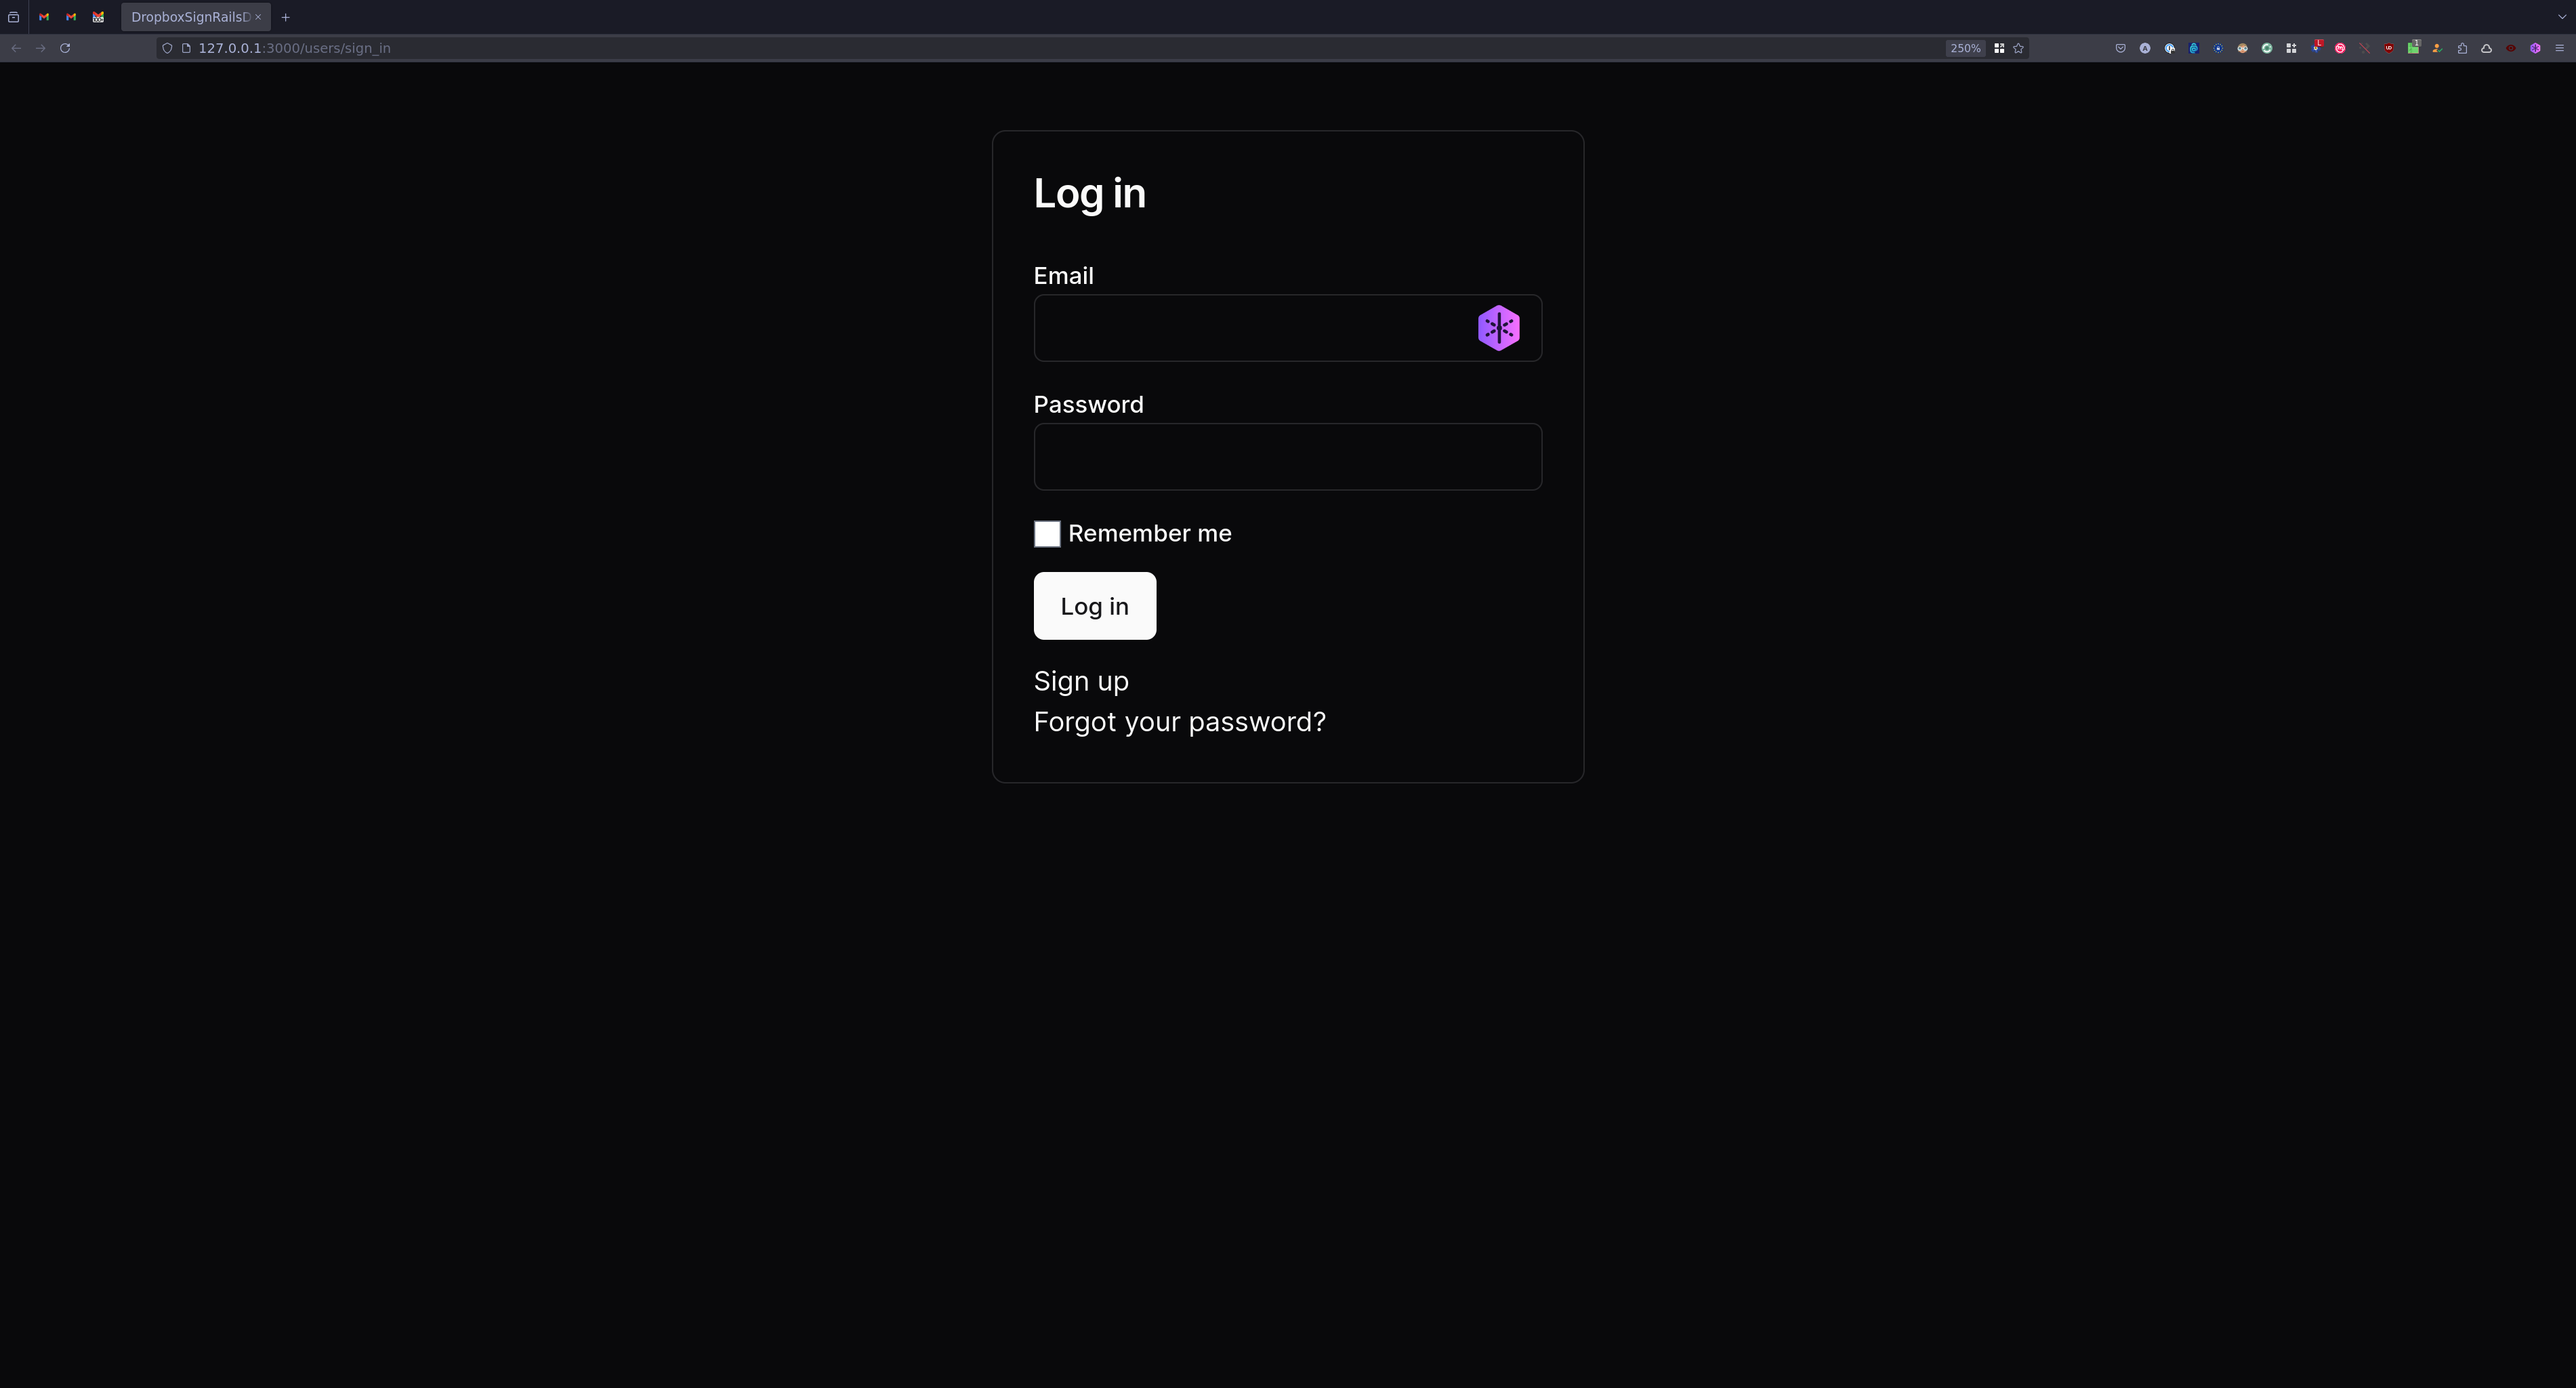
Start the server by running ./bin/dev and open https://localhost:3000 in your browser. You'll be greeted with the login screen:
Click Sign up and register a new account. Once you've registered, you'll be taken to the dashboard:
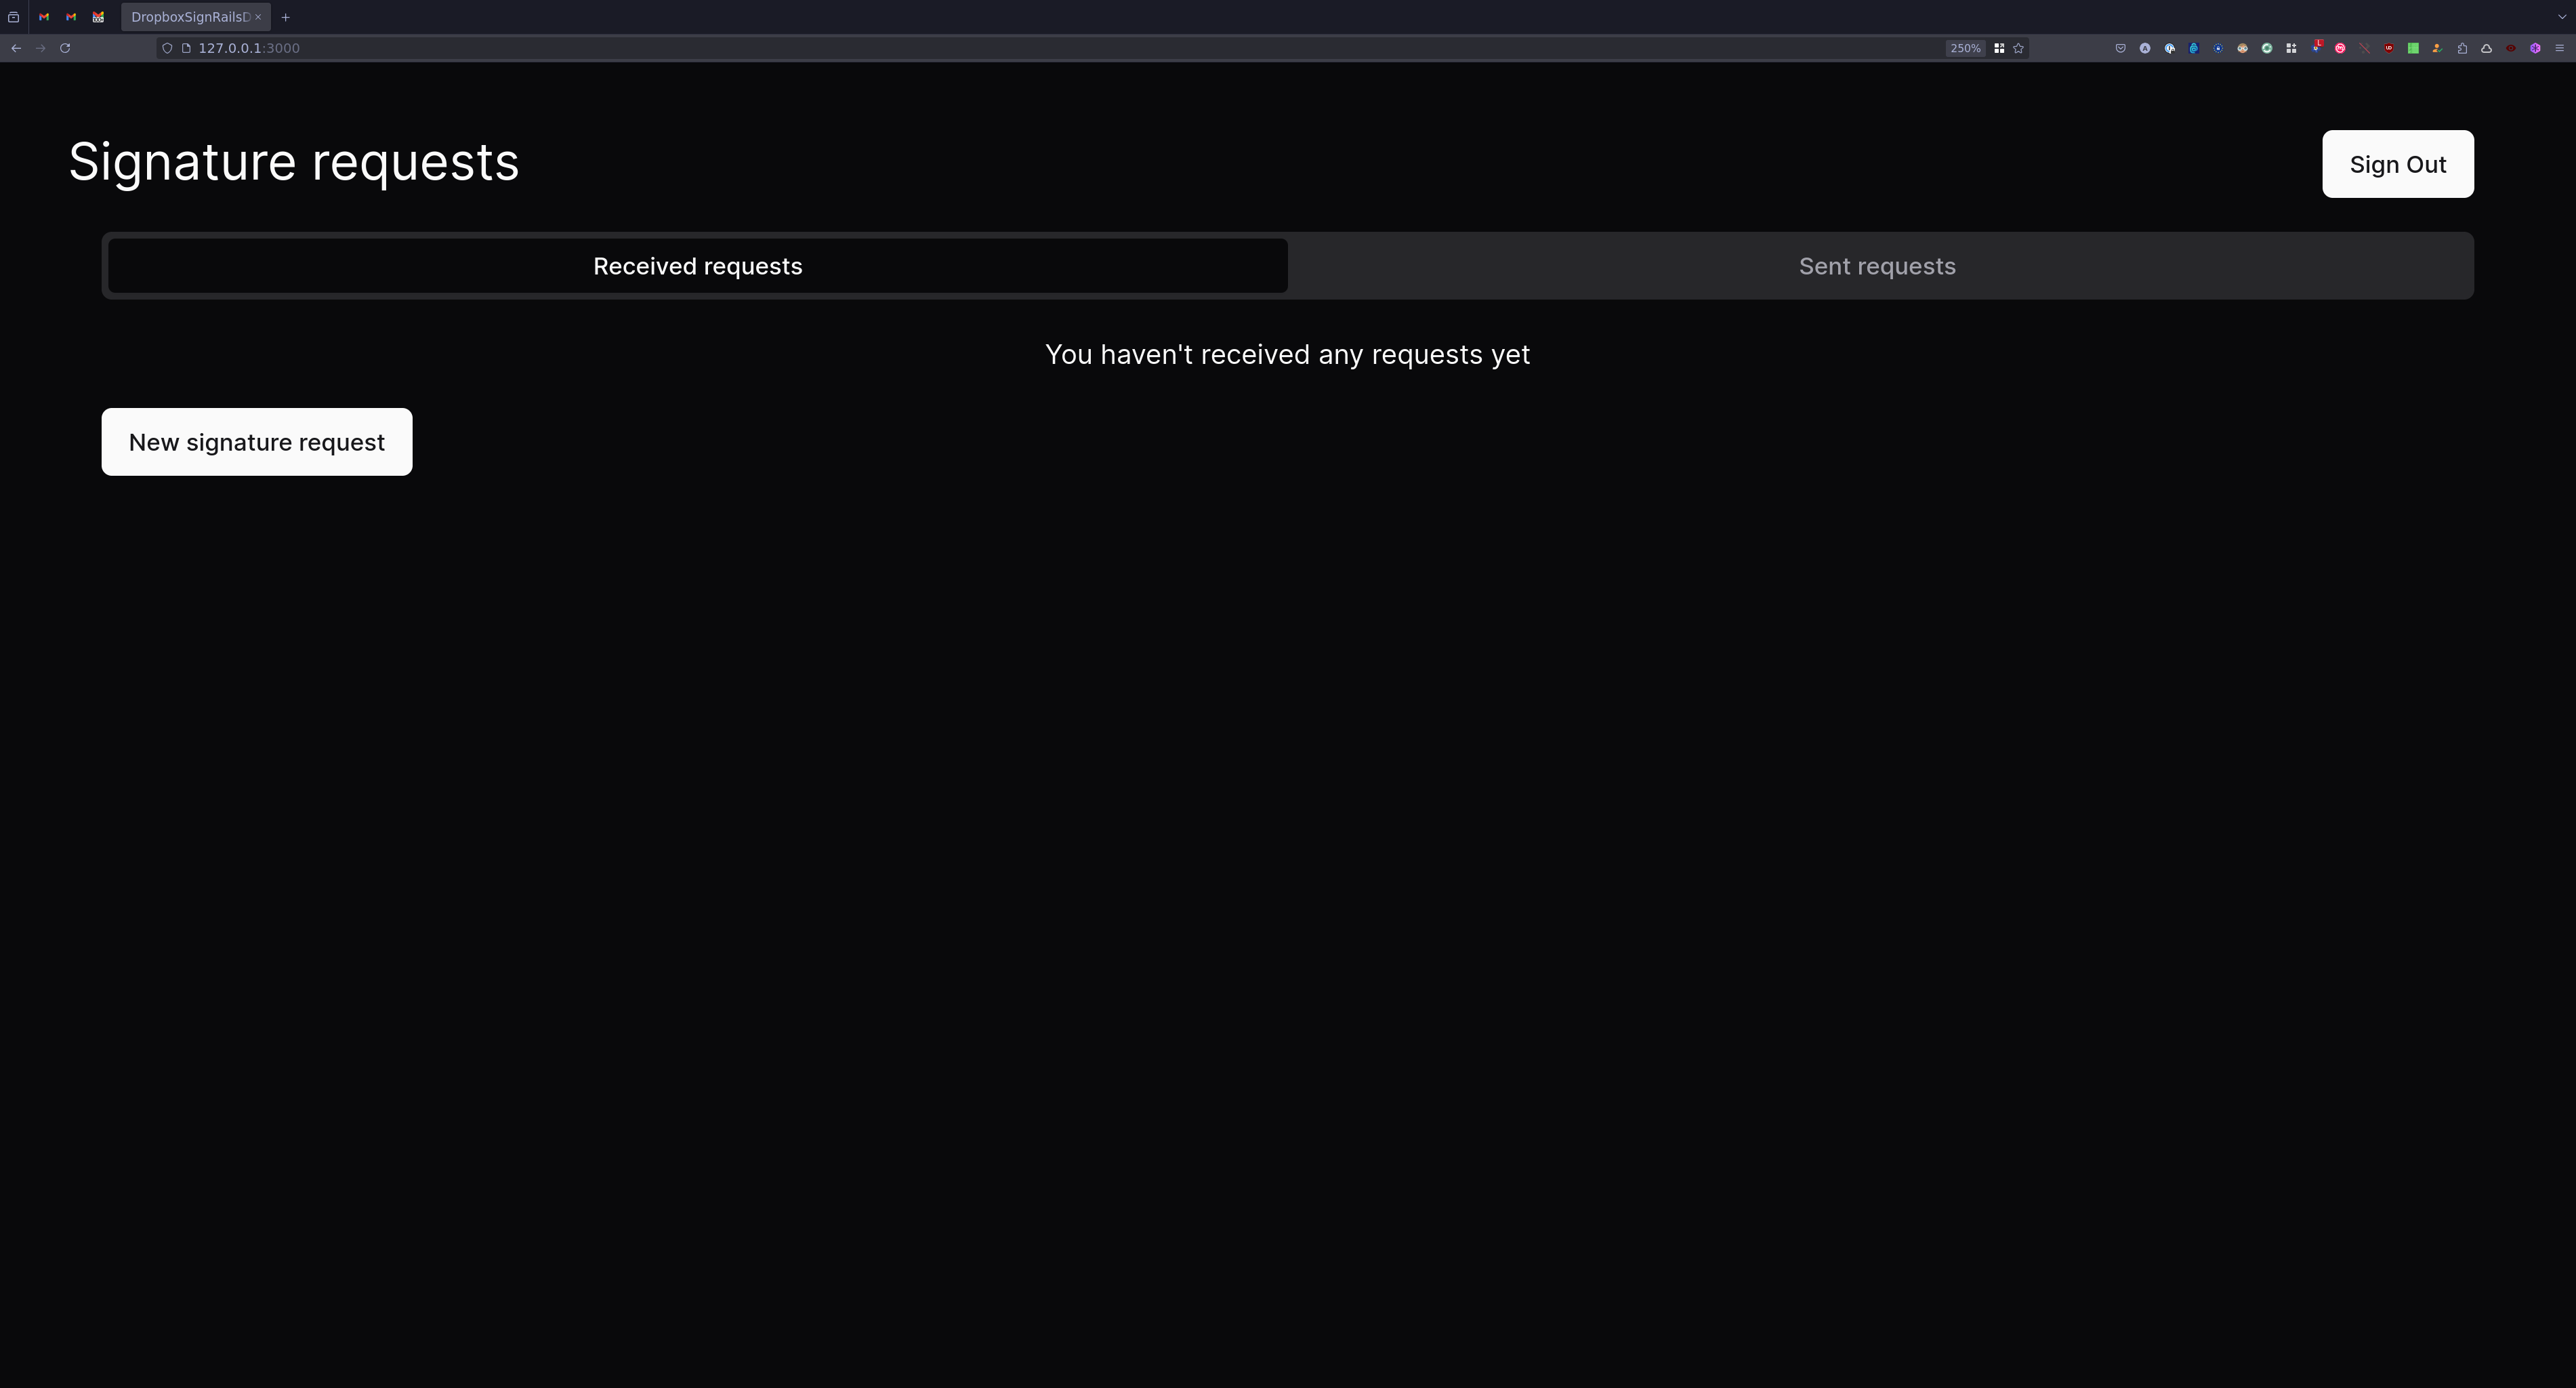
The dashboard has two tabs: The Received requests is where you see all the signature requests where the current user is a signer. The Sent requests is where you see all the signature requests initiated by the current user.
Go ahead and click New signature request to create a signature request
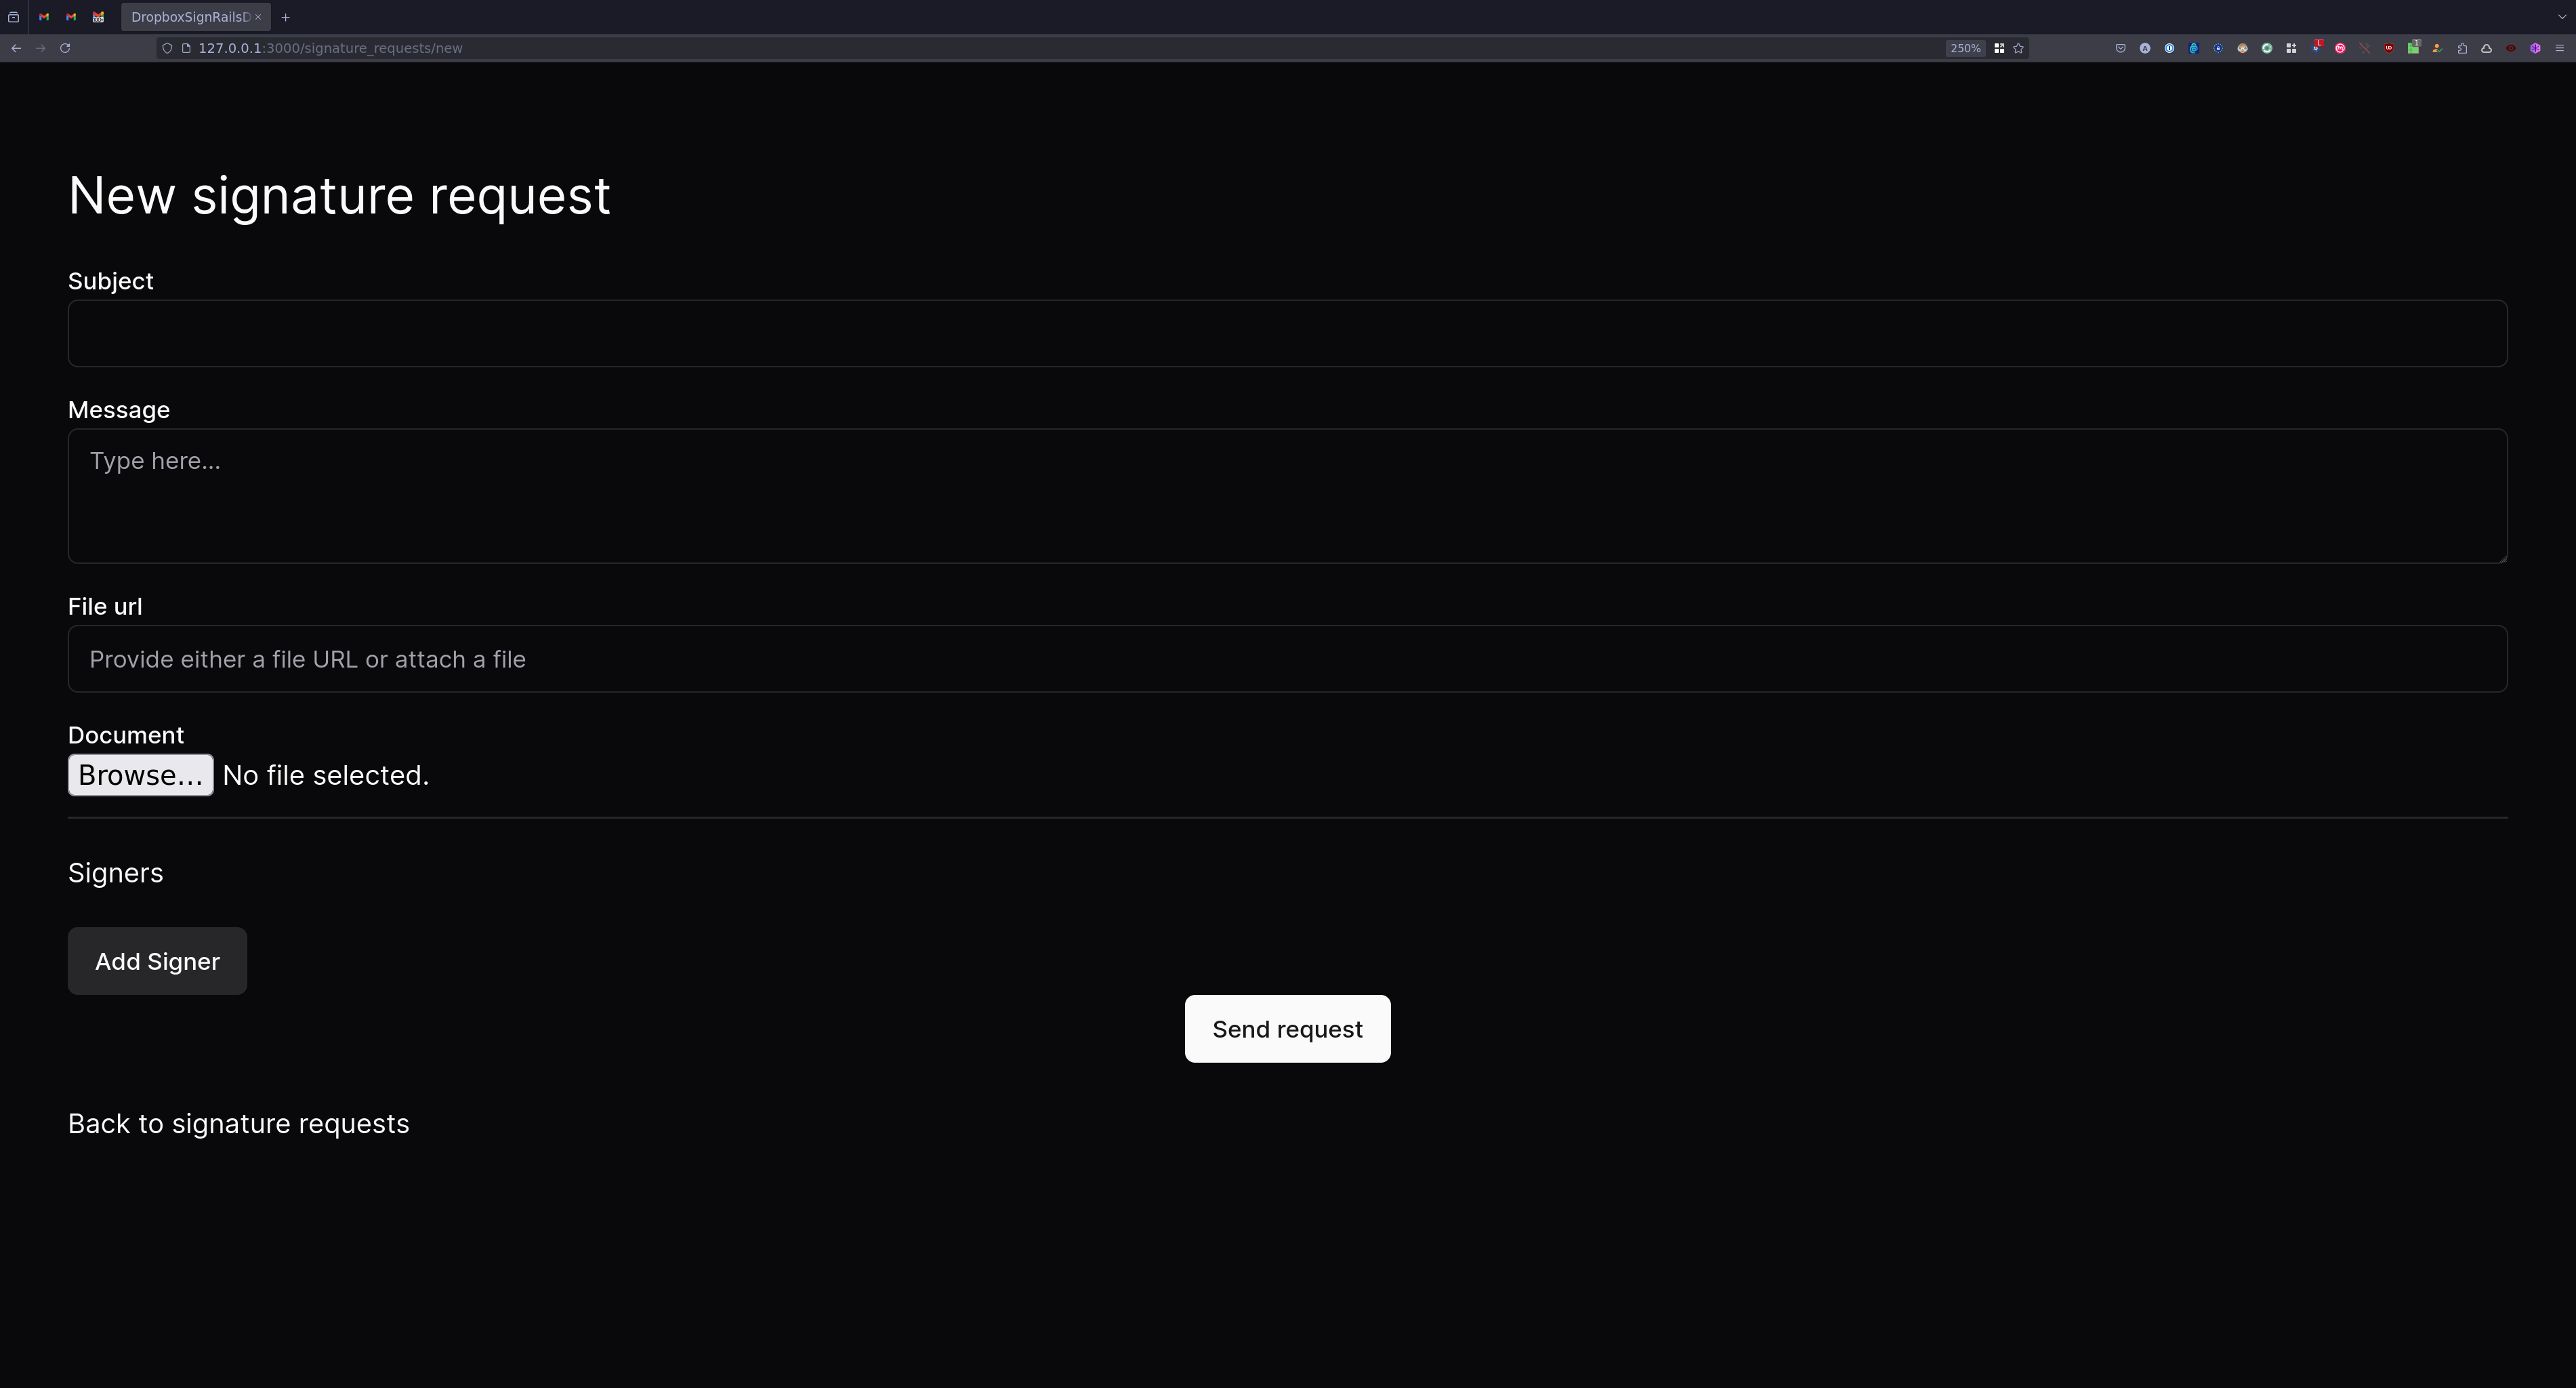
To test the form, provide a subject and message for the signature request. Also, provide either a URL for the document or attach one directly. Finally, add one or more signers by clicking the Add signer button.
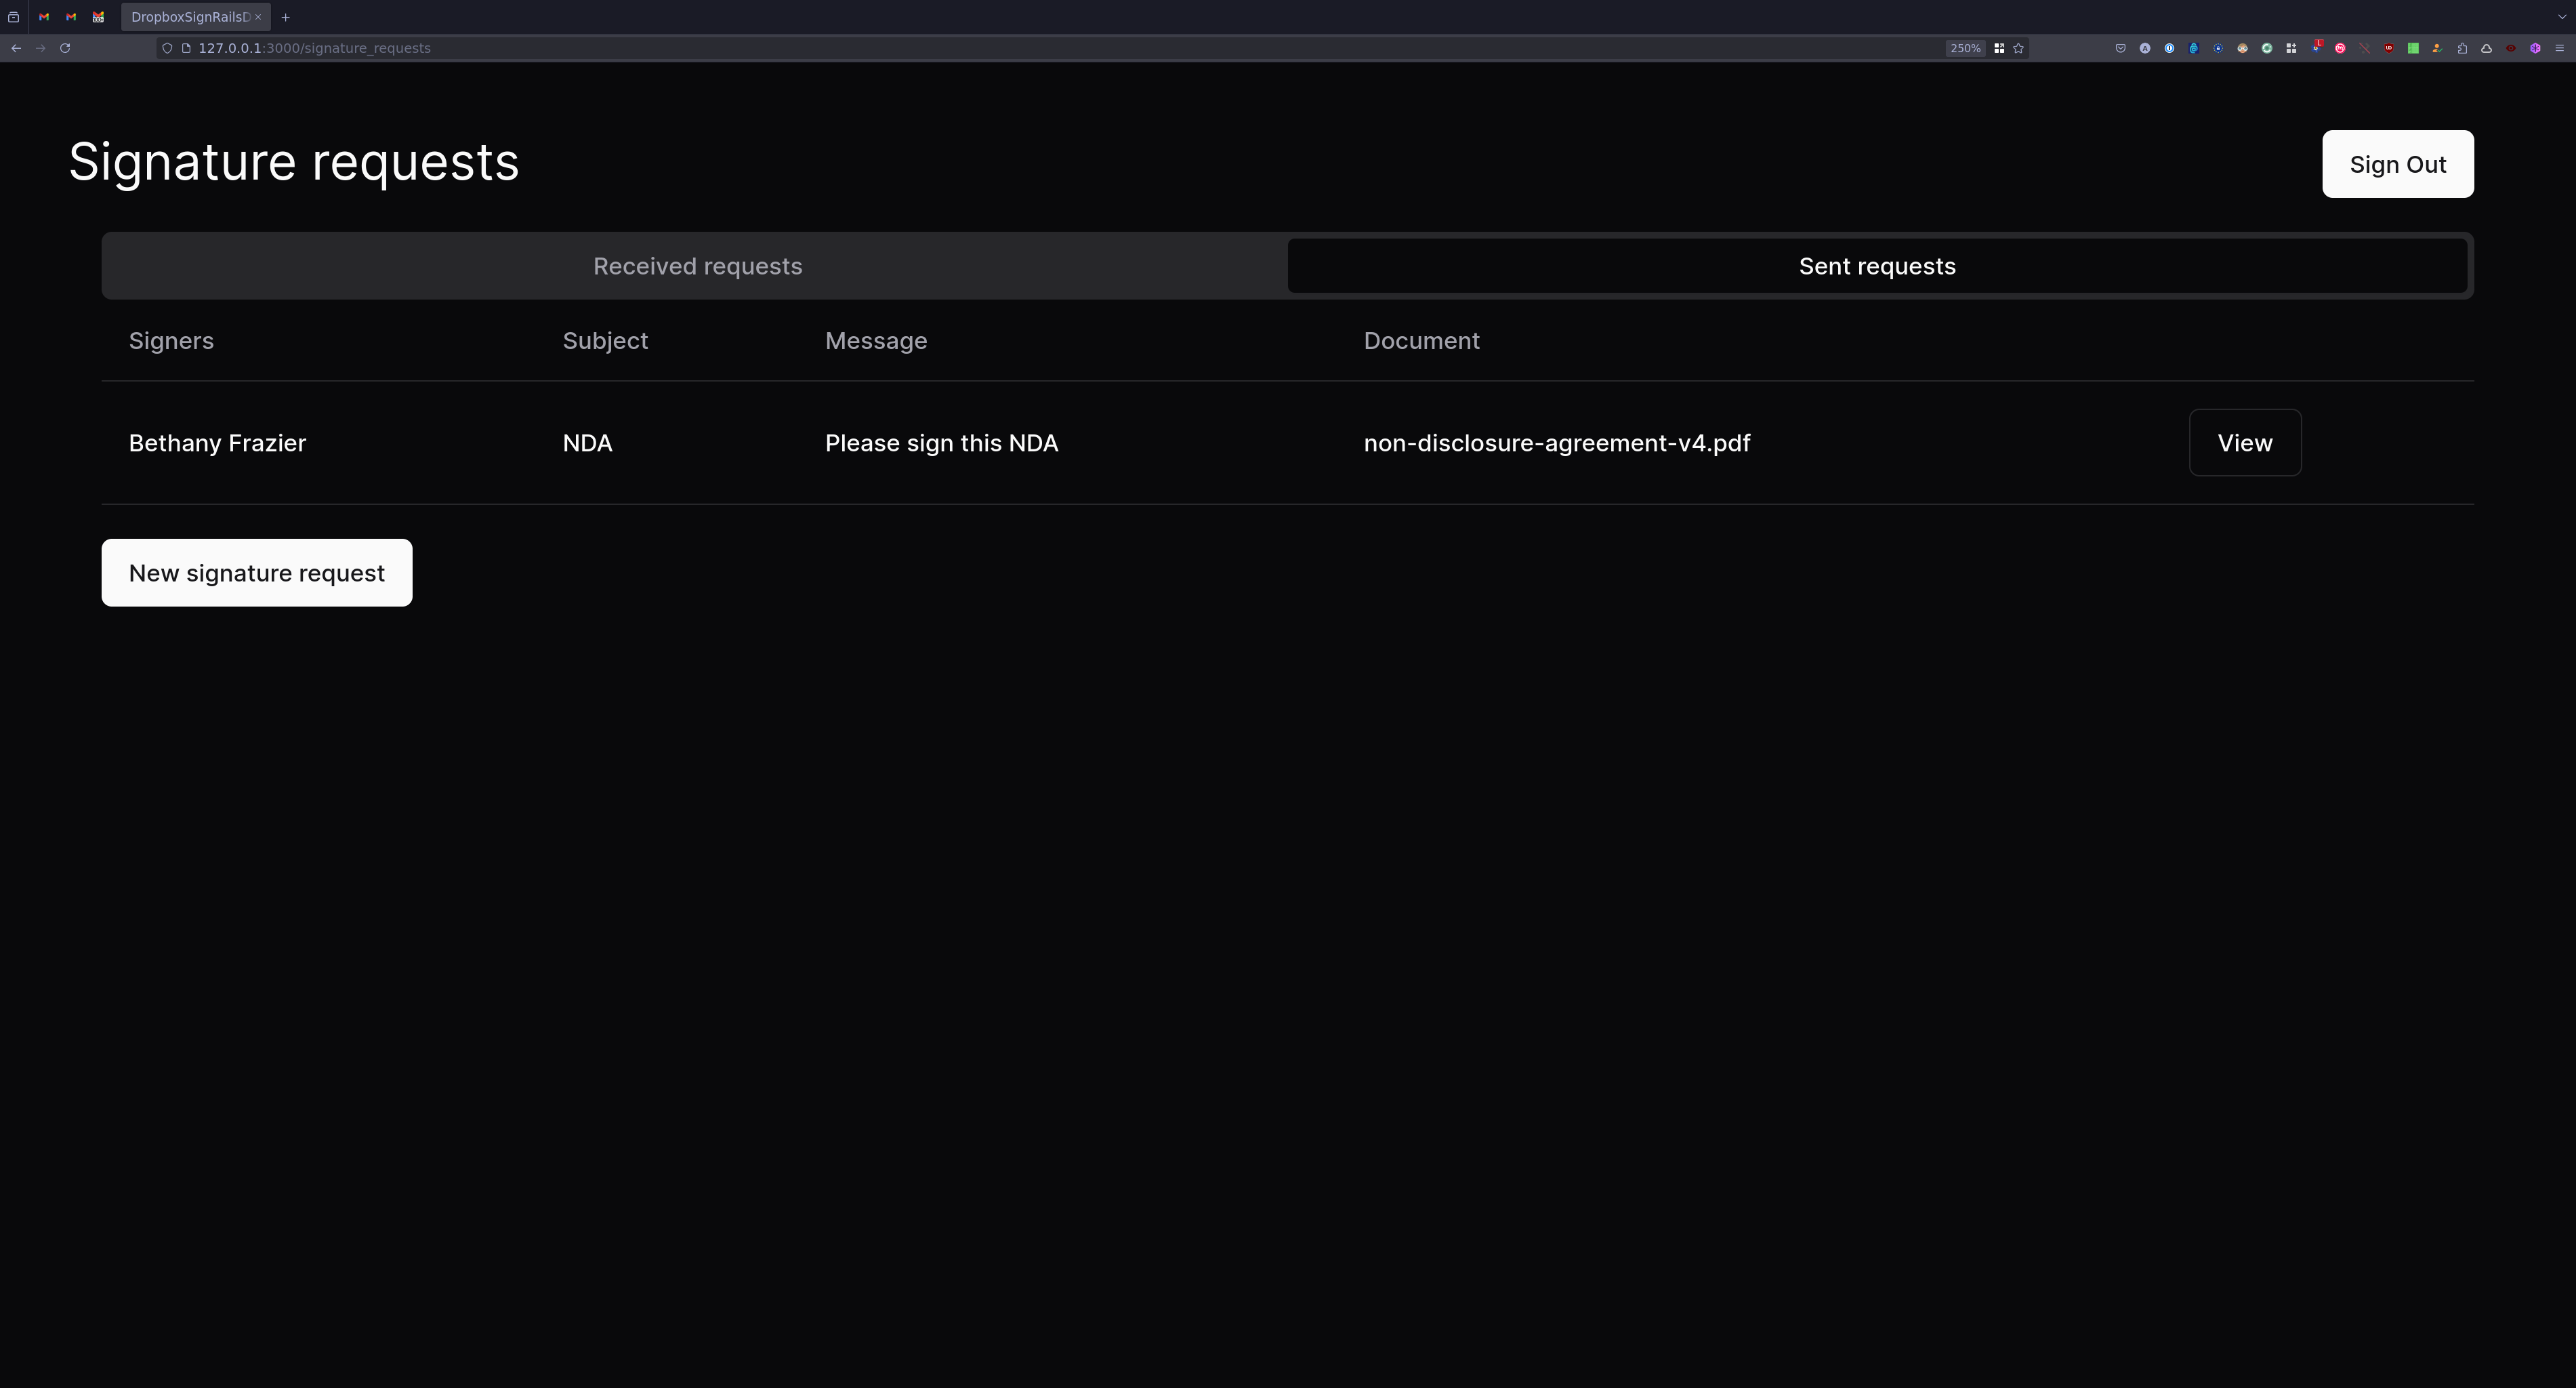
When finished, log out and register a user with the email address corresponding to one of the signers. You'll see that the signature request shows up on the Received requests tab:
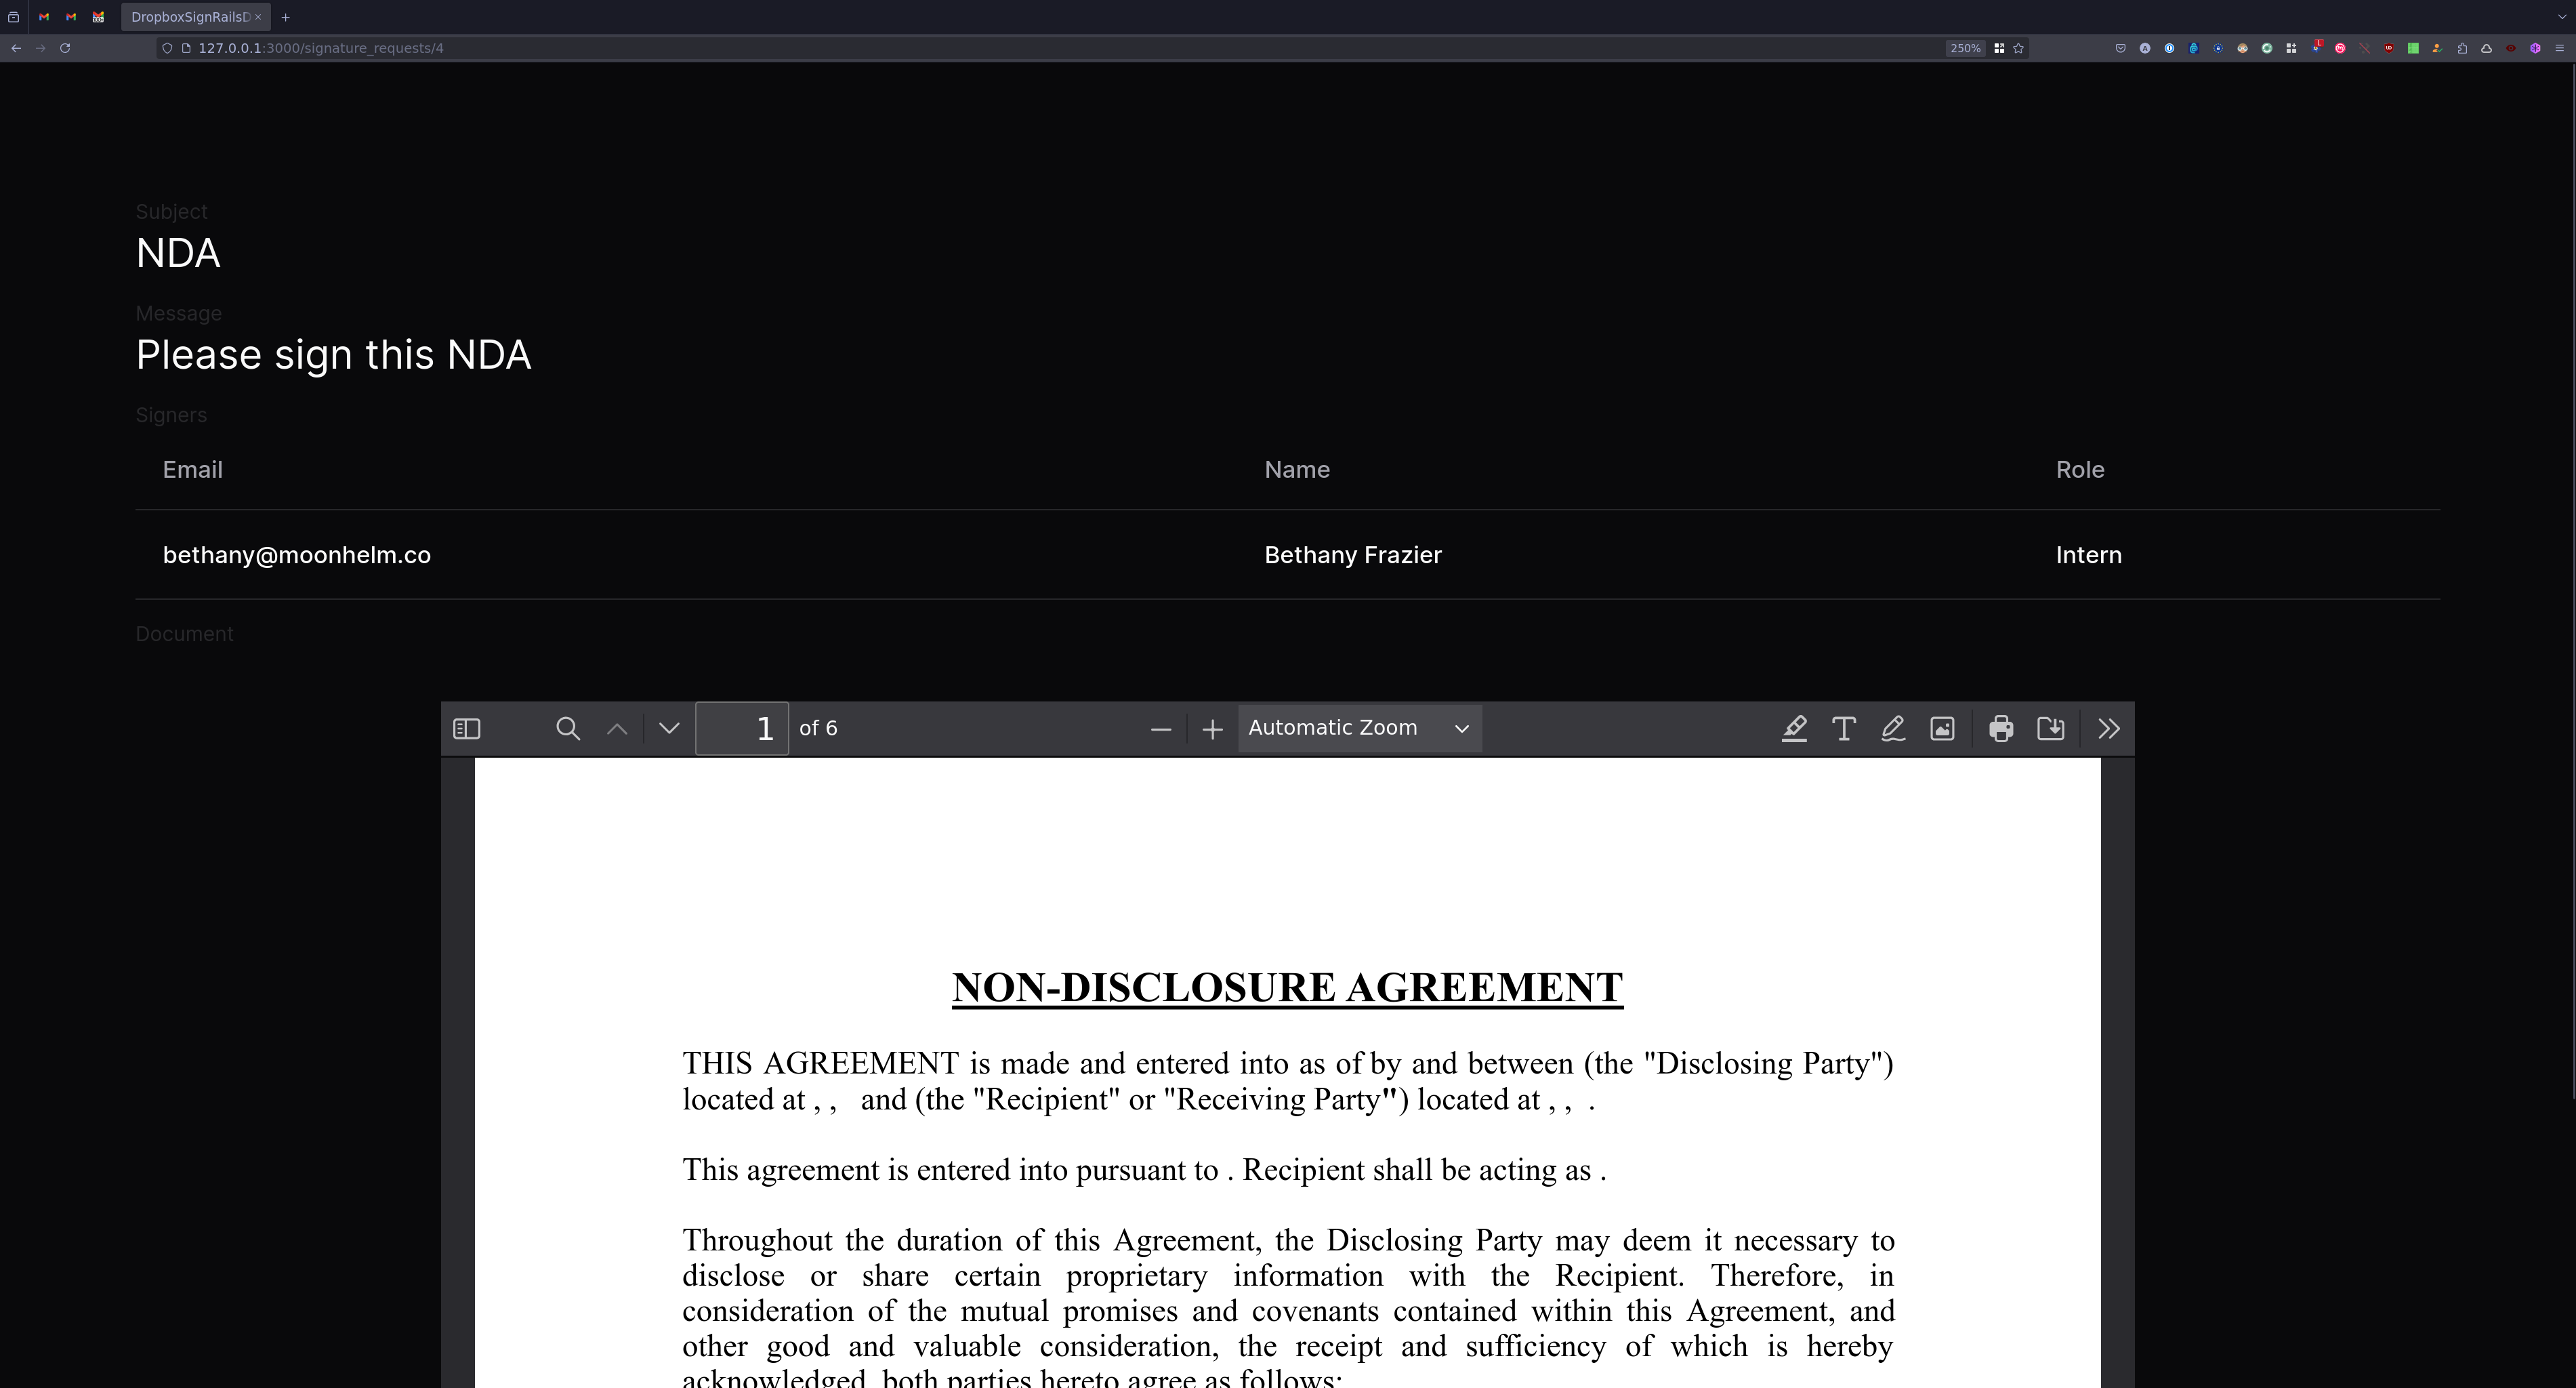
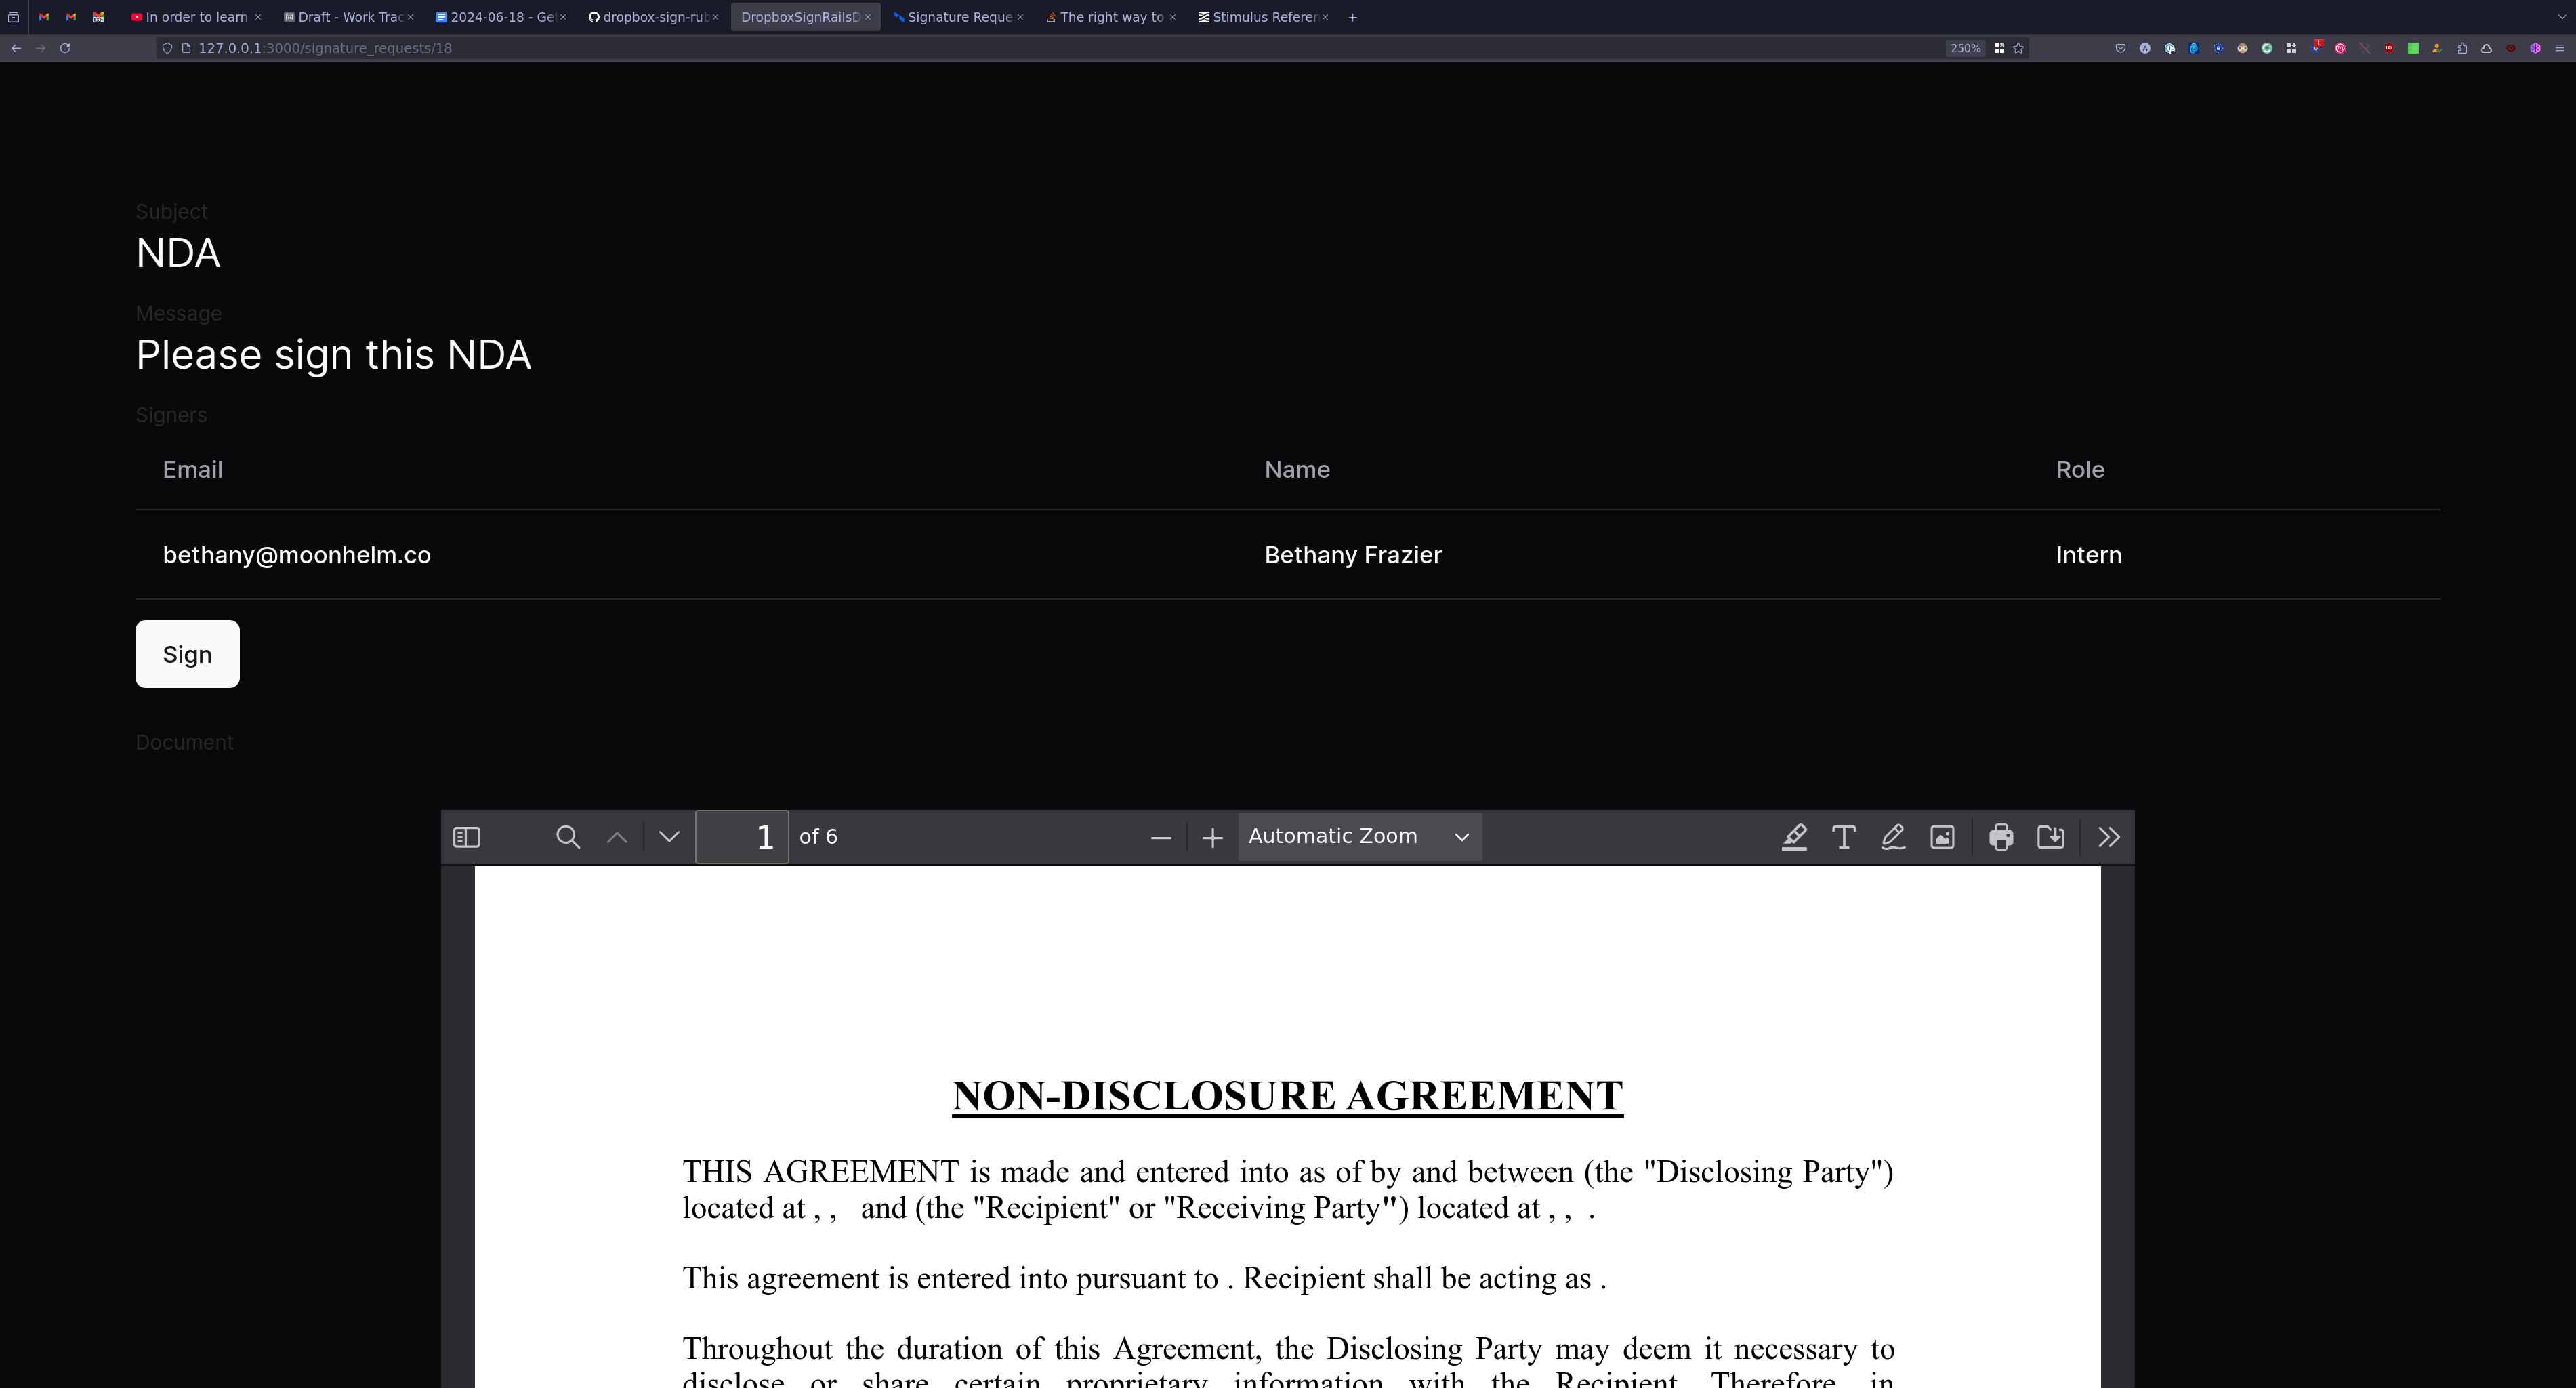
Clicking the View button takes you to the Signature requests page. This is where you can see the signature request details along with a preview of the attached file. If you provided a file URL, you'll see the file URL instead of the preview:
Integrating the Dropbox Sign Ruby SDK
Once you've installed the Dropbox Sign Ruby SDK, you're now ready to add it to your application.
Getting the credentials
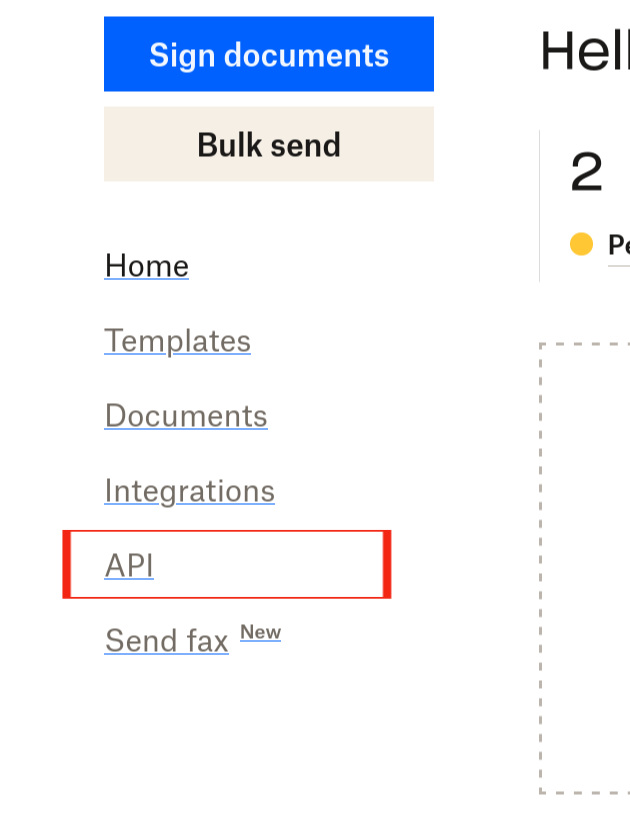
To communicate with the Dropbox Sign API, you need an API key and the client ID of an API app. On the Dropbox Sign dashboard, click the API link in the left sidebar:
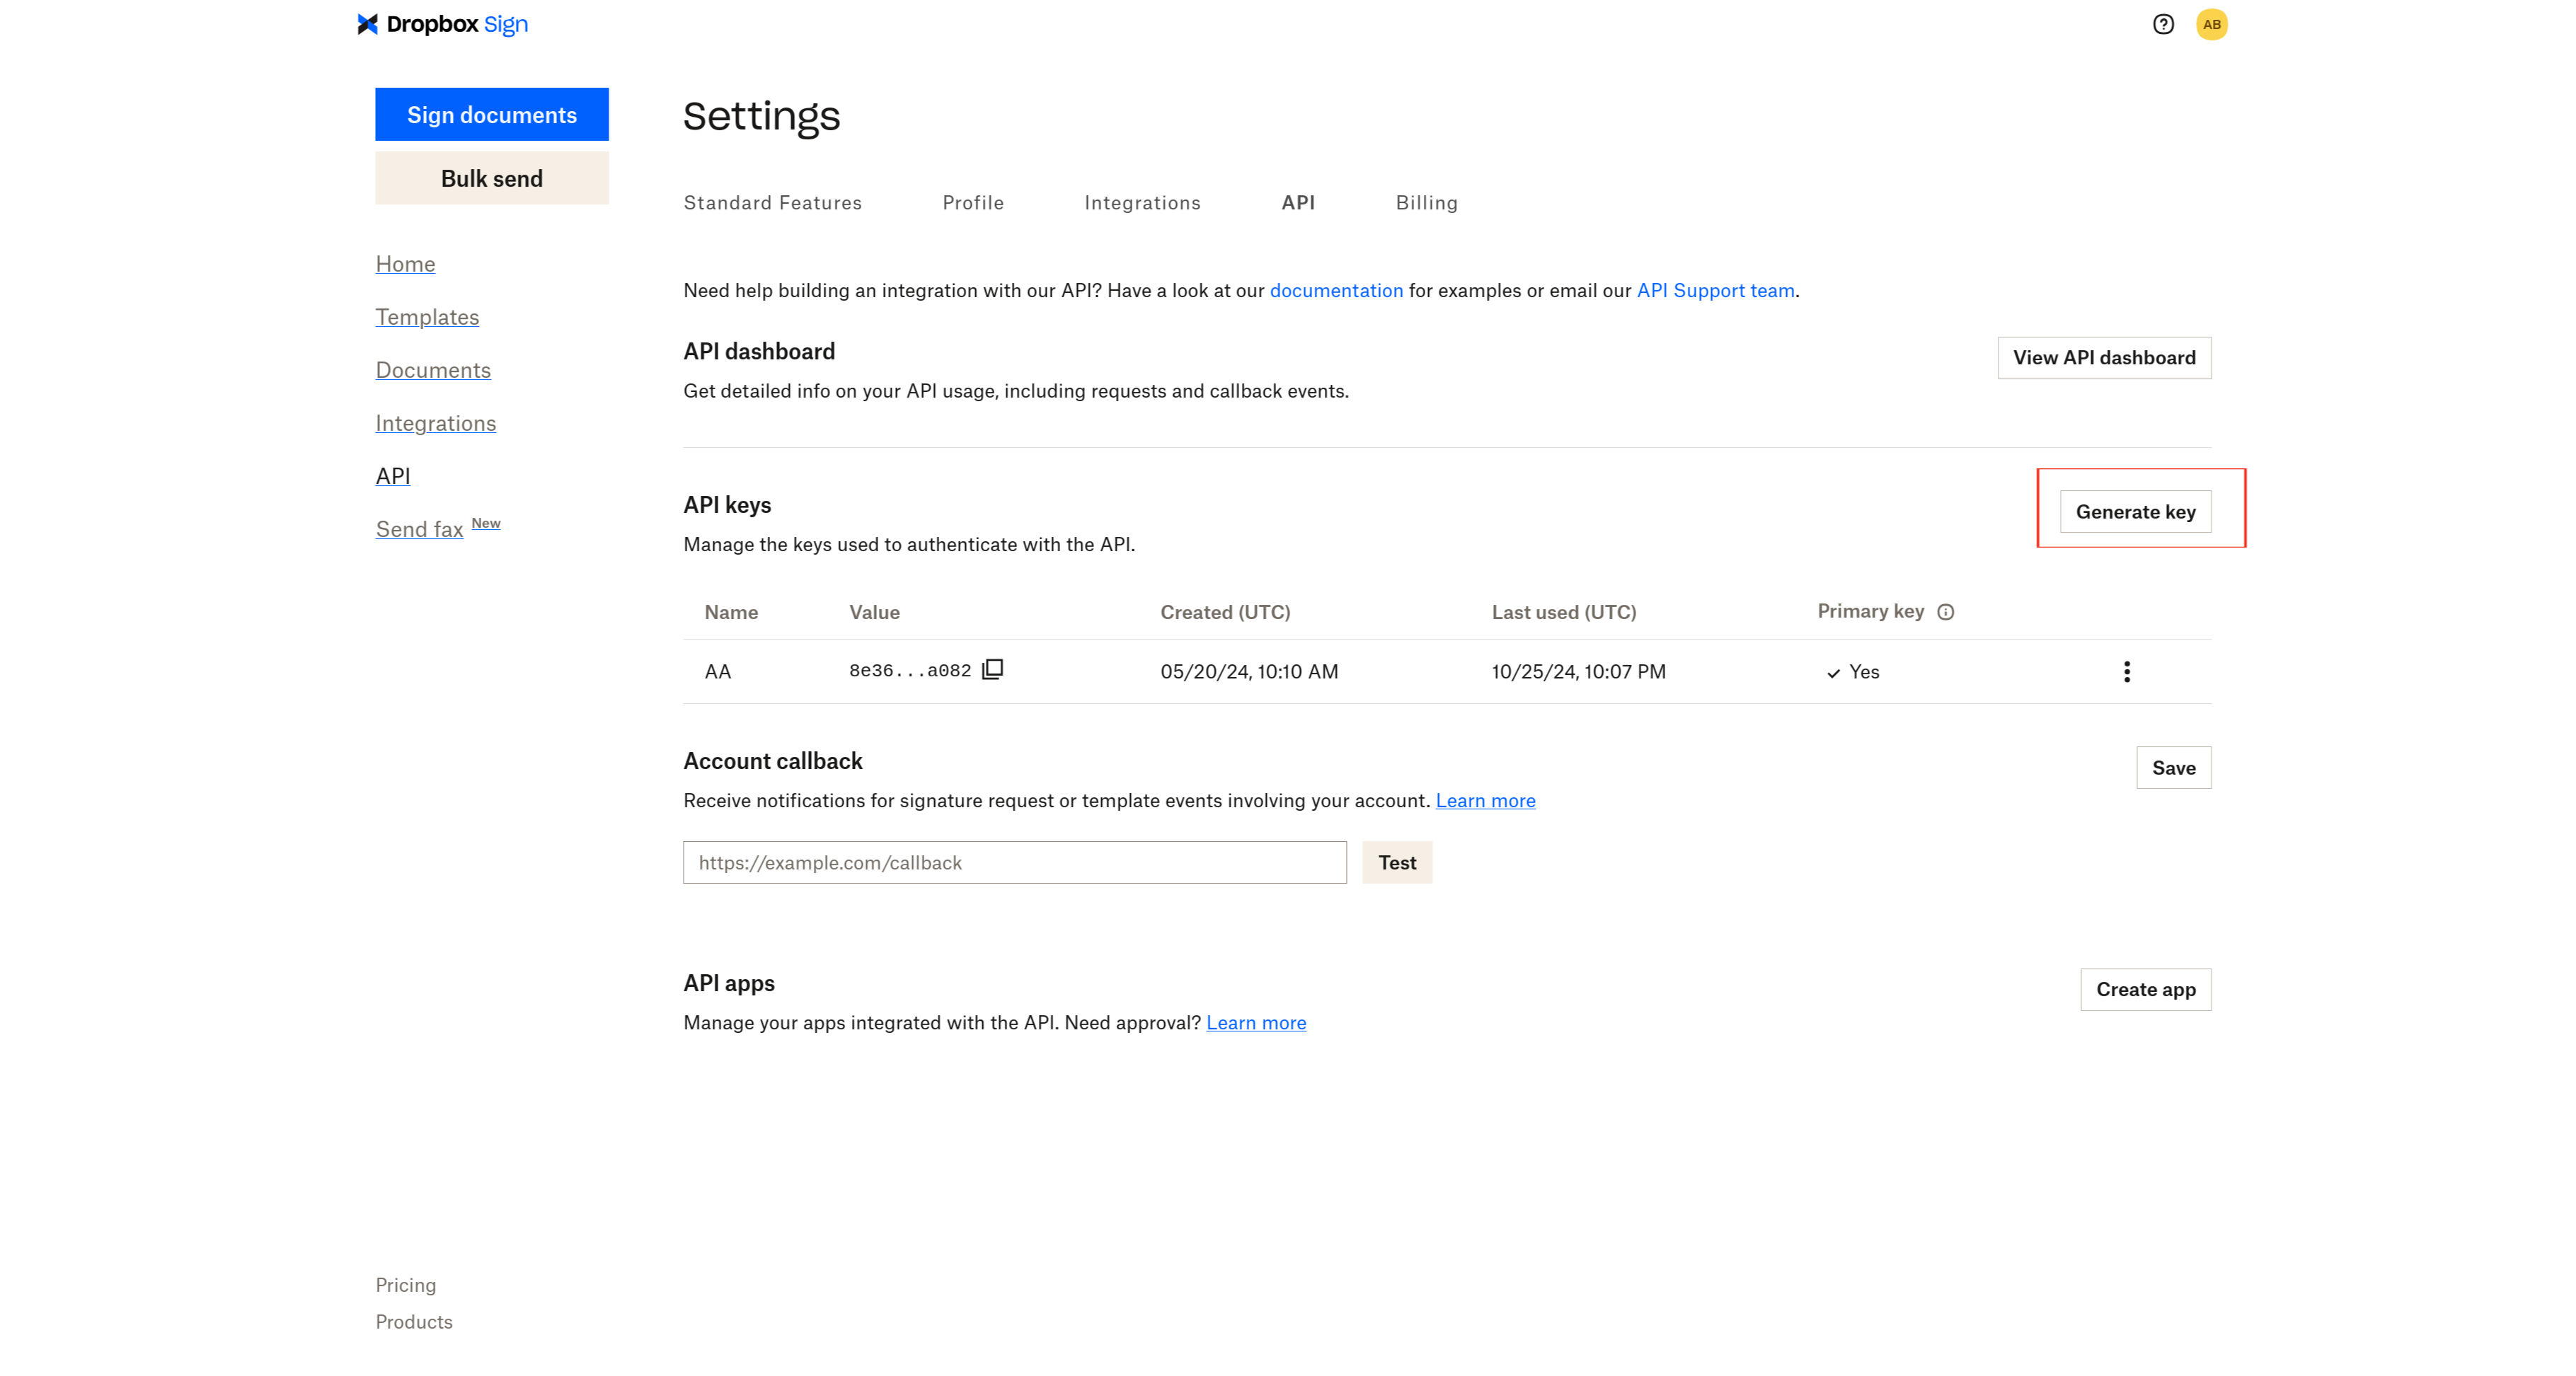
On the API page, click Generate key:
Provide a name for the API key and click Generate key again. Copy the generated API key and store it for later.
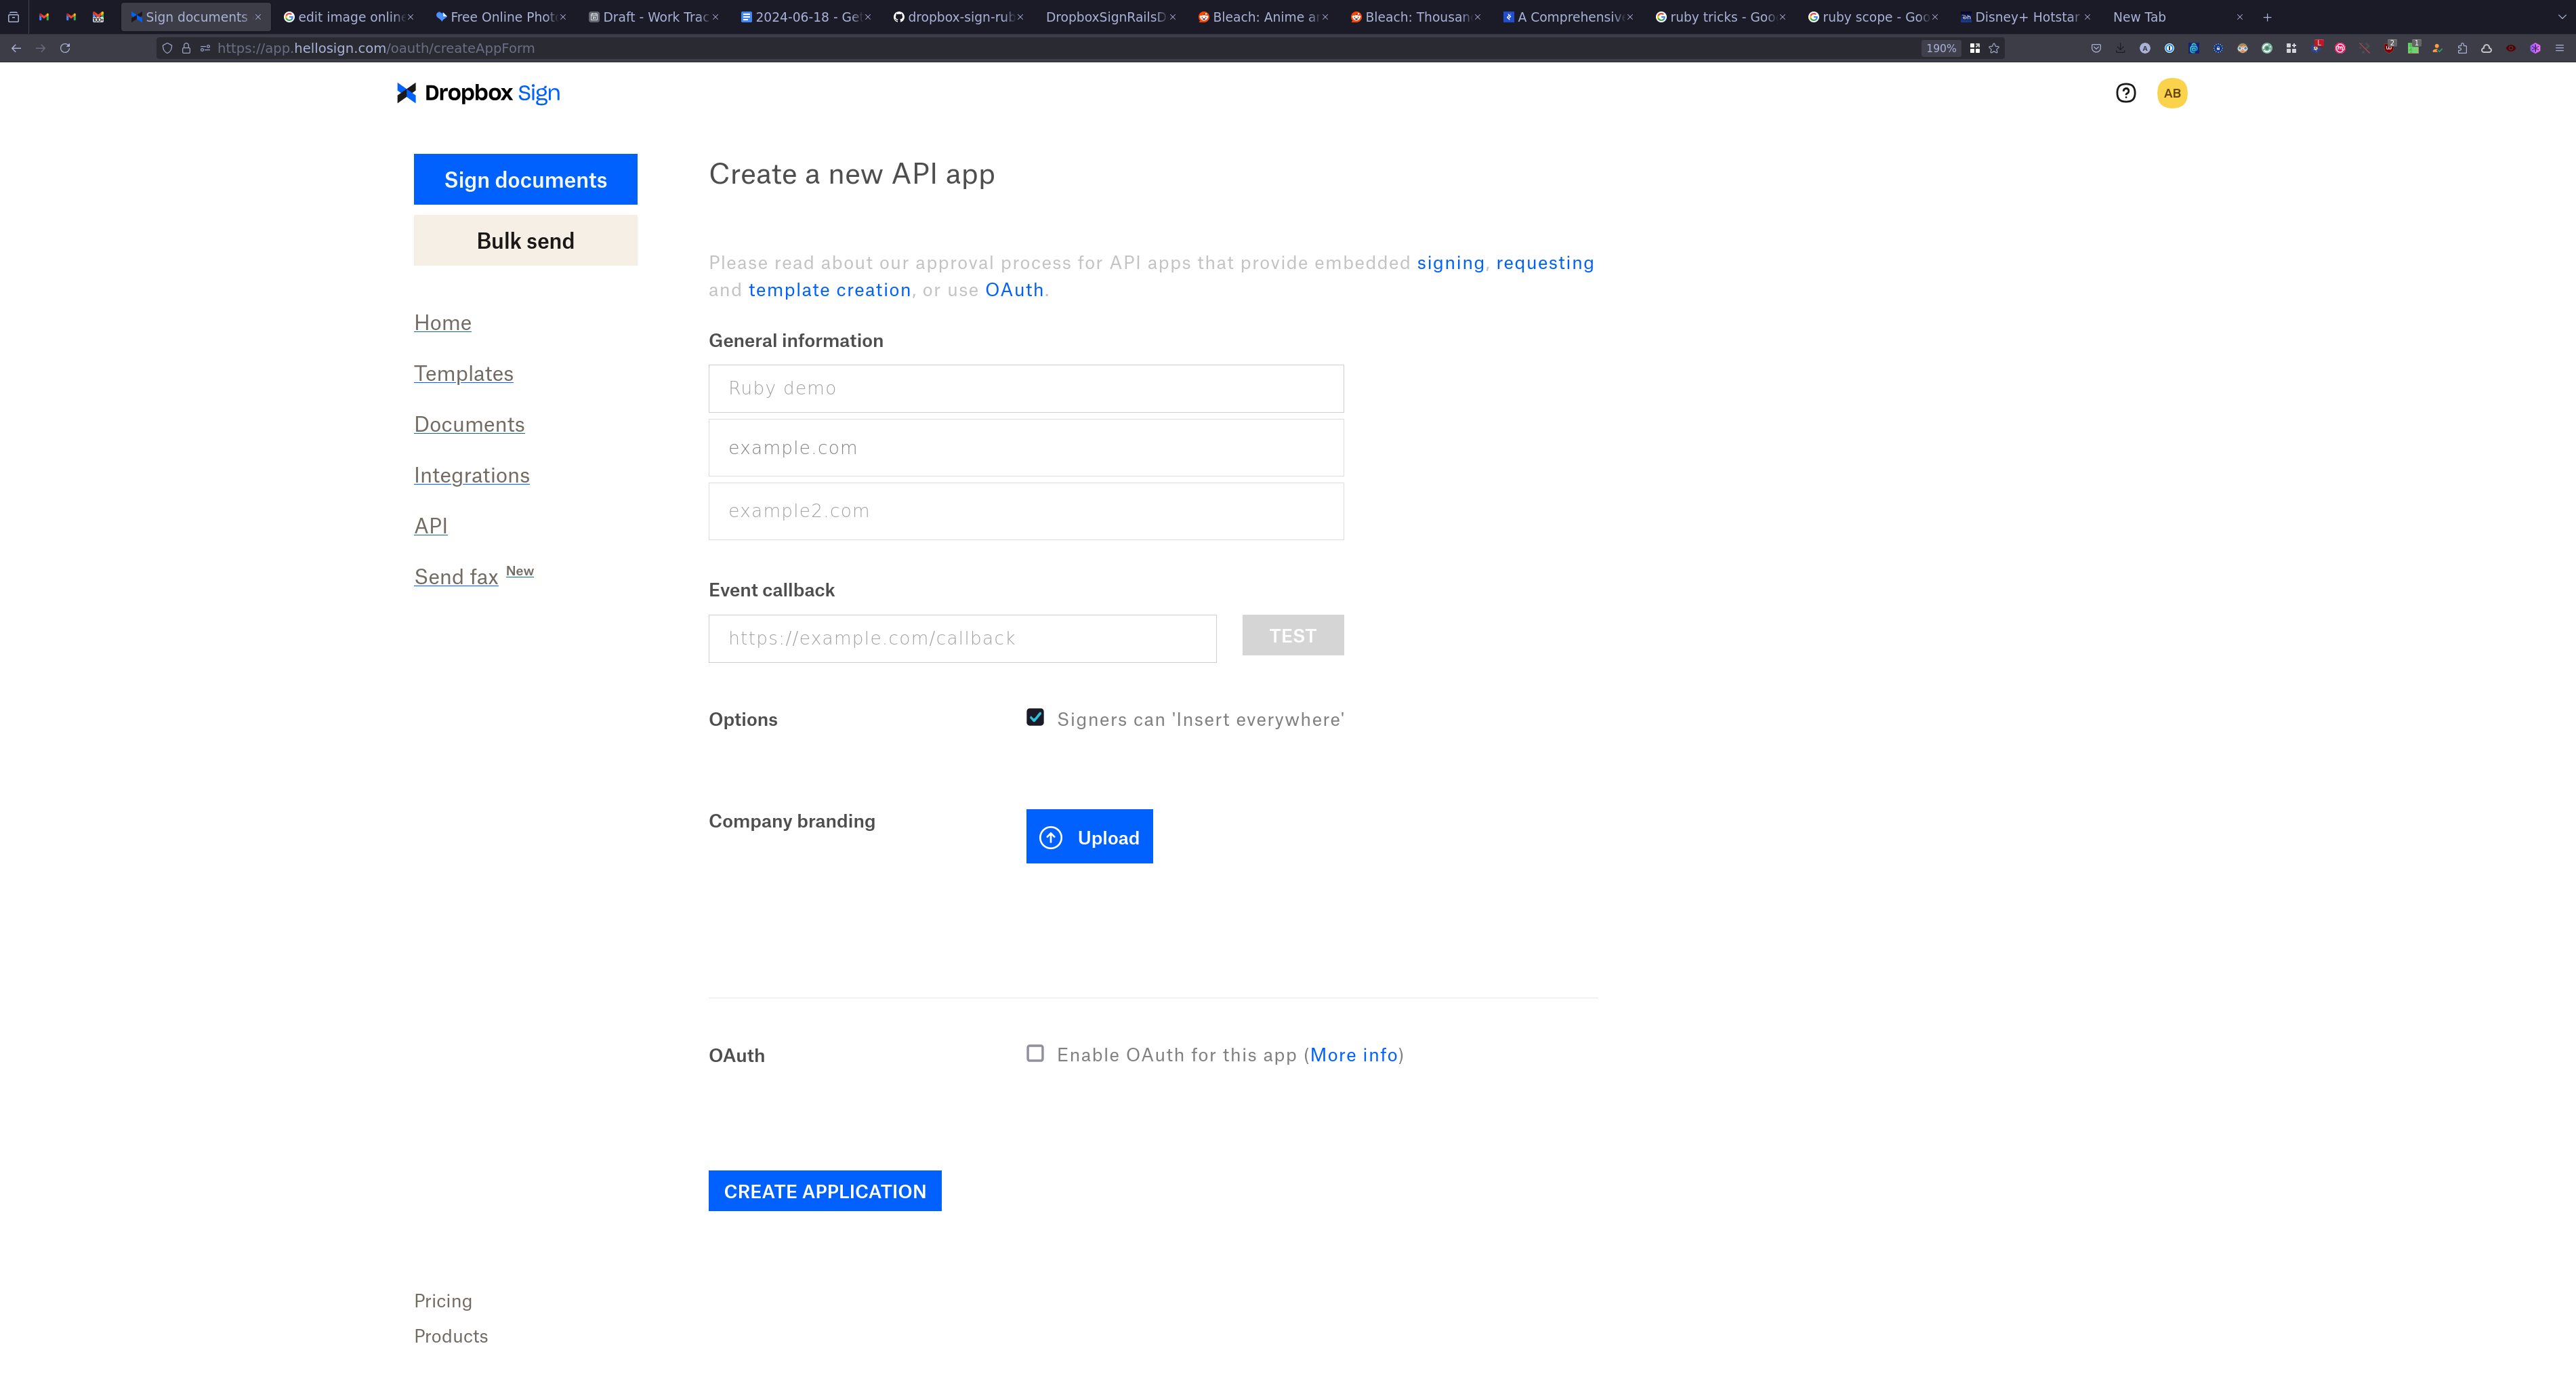
Next, in the API apps section, click Create app. Provide a name for the app and use example.com for the app domain. These values are for production and don't affect the development environment in any way:
Click Create application and copy the generated client ID.
You need both the API key and the client ID to communicate with Dropbox Sign. The API key is a sensitive credential, and it should be stored securely. You'll use the encrypted credentials feature of Rails to safely store and load the API key.
Start by deleting the existing config/credentials.yml.enc by running rm config/credentials.yml.enc. Then, run the following command to open the encrypted credentials YAML file in your $EDITOR:
Add the following key at the end of the file and replace YOUR_API_KEY with your API key:
Exit the editor. This action saves and encrypts the file. Now, you can access the API key in your app using Rails.application.credentials.dropbox_sign_api_key.
Note: The client ID can be stored publicly, so you can use it directly in the source code.
Setting up the SDK
An SDK is a set of tools that allows you to build software for a particular platform. SDKs make it easy to develop software that interacts with a particular service or API. Dropbox Sign provides a Ruby SDK that lets you build Ruby apps that can communicate with Dropbox Sign APIs.
To set up the SDK, you need to install the Dropbox Sign gem. Add the following line in your Gemfile:
Then, run bundle install.
Next, Dropbox Sign API needs to be configured with your API key. Create config/initializers/dropbox_sign.rb and paste the following code:
This code is automatically executed by Rails when the app starts. Therefore, this saves you from having to write the initialization code every time you use the API.
Creating signature requests
When you submit a signature request, Dropbox Sign generates two key pieces of information that are vital to connect the local signature request data with the data in Dropbox Sign:
1. Signature request ID: identifies the signature request on the Dropbox Sign servers
2. Signature ID for each signer: used to generate the sign URL and ensure that the correct signers sign the document
To store this information in your models, you need to add new columns to the SignatureRequest and Signer models. Run the following command to generate a migration:
This adds the ds_signature_request_id column to the SignatureRequest model.
Run the following command to generate the migration to add the ds_signature_id column to the Signer model:
Then, run the migrations:
Next, you need to create a signature request using the Dropbox Sign API when a new signature request is created on the app. To separate the business logic from the controller, create a service object and call it from the controller.
Create app/services/application_service.rb and define the ApplicationService class:
Then, create app/services/dropbox_sign_service.rb, where you define the DropboxSignService class:
The call method is where you create the logic for communicating with the Dropbox Sign API. Start by creating an instance of SignatureRequestApi:
For each signer, create an instance of SubSignatureRequestSigner:
Create the signing options to allow the users to draw, type, or upload their signature:
Create the data for the signature request:
Replace YOUR_CLIENT_ID with the client ID that you copied from Dropbox Sign. Note the use of test_mode, which ensures that the signature is not legally binding and does not consume credits.
Now it's time to attach the file to the request. For file URLs, you can use the file_urls property and pass an array of file URLs. For attaching files directly, you can use the files property and pass an array of File objects. Paste the following code, which adds the files to the request based on whether the signature request model has file_url or document:
Finally, make the API call using the signature_request_create_embedded method:
Inside the begin block, update the ds_signature_request_id field of the signature request and the ds_signature_id of each signer. Then, return the updated signature request:
The complete call method should look like this:
Open app/controllers/signature_requests_controller.rb and find the create method, which is responsible for creating the signature request. Replace it with the following:
This method saves the signature request and calls DropboxSignService, which returns the updated signature request. It's then saved in the database, and the user is redirected to the signature request details page. In case of any error in the Dropbox Sign API call, the signature request is deleted and the user is redirected back to the New signature request page.
Generating sign URLs
To let the signers sign the document, you need to generate a sign URL for each signer. In app/services/dropbox_sign_service.rb, add the following code:
This code defines the generate_sign_url method. This finds the signer with a given email. It then creates a sign URL by calling the embedded_sign_url of the EmbeddedApi class. Finally, it passes the ds_signature_id field of the signer.
In app/controllers/signature_requests_controller.rb, replace the show method with the following
This generates a signature URL for signers of the document. Note the use of can? :sign, @signature_request. This is where the powerful CanCanCan gem is used to check whether the current user can sign the document or not. If you open app/models/ability.rb, you'll find the following code, which defines a rule to check whether a user can sign the document:
In this case, the user is authorized to sign a signature request if it has a signer with the user's email address.
Adding the client-side library
The final step is to use the Dropbox Sign client-side library to allow the user to sign the document from the app.
Use importmap to pin the hellosign-embedded library:
Then, use a Stimulus controller to call the Dropbox Sign API. Create app/javascript/controllers/signer_controller.js and paste the following code (replace YOUR_CLIENT_ID with your client ID):
In the initialize method, you initialize an instance of the HelloSign class. In the sign method, you call the open method of the client, which starts the signing process. Note that the testMode parameter is also used here. The skipDomainVerification: true parameter skips the domain check since this is the development environment.
Now, you need to connect this controller to the frontend so that the sign method is called when the Sign button is created.
Open app/views/signature_requests/show.html.erb and find the following line:
Change it to the following:
Open app/views/signature_requests/_signature_request.html.erb and, just after the end of the render_table block, add the following:
This shows a Sign button uses the same can? :sign check from cancancan to ensure the Sign button is shown only to users who can sign. Note the data hash, which translates to the following attributes in the generated HTML:
The data-controller="signer" attribute connects the signer_controller to the button. The data-action="signer#sign" attribute tells the controller to run the sign method when the button is clicked. Finally, the data-signer-url-value is used to pass the sign URL to the controller as a value. This is declared in app/javascript/controllers/signer_controller.js:
In addition, this is used in the sign method:
Note: Refer to the Stimulus handbook to learn more about how to use Stimulus in a Rails app.
Testing the embedded signing flow
Now, it's time to test the signing flow. If you initially ran the app, clean the database since the existing signature requests don't have Dropbox Sign counterparts. You can do this by connecting to the database by running `rails c` and then running SignatureRequest.destroy_all.
Restart the server, go through the process of creating a signature request, and log in as one of the signers. You should now see the Sign button:
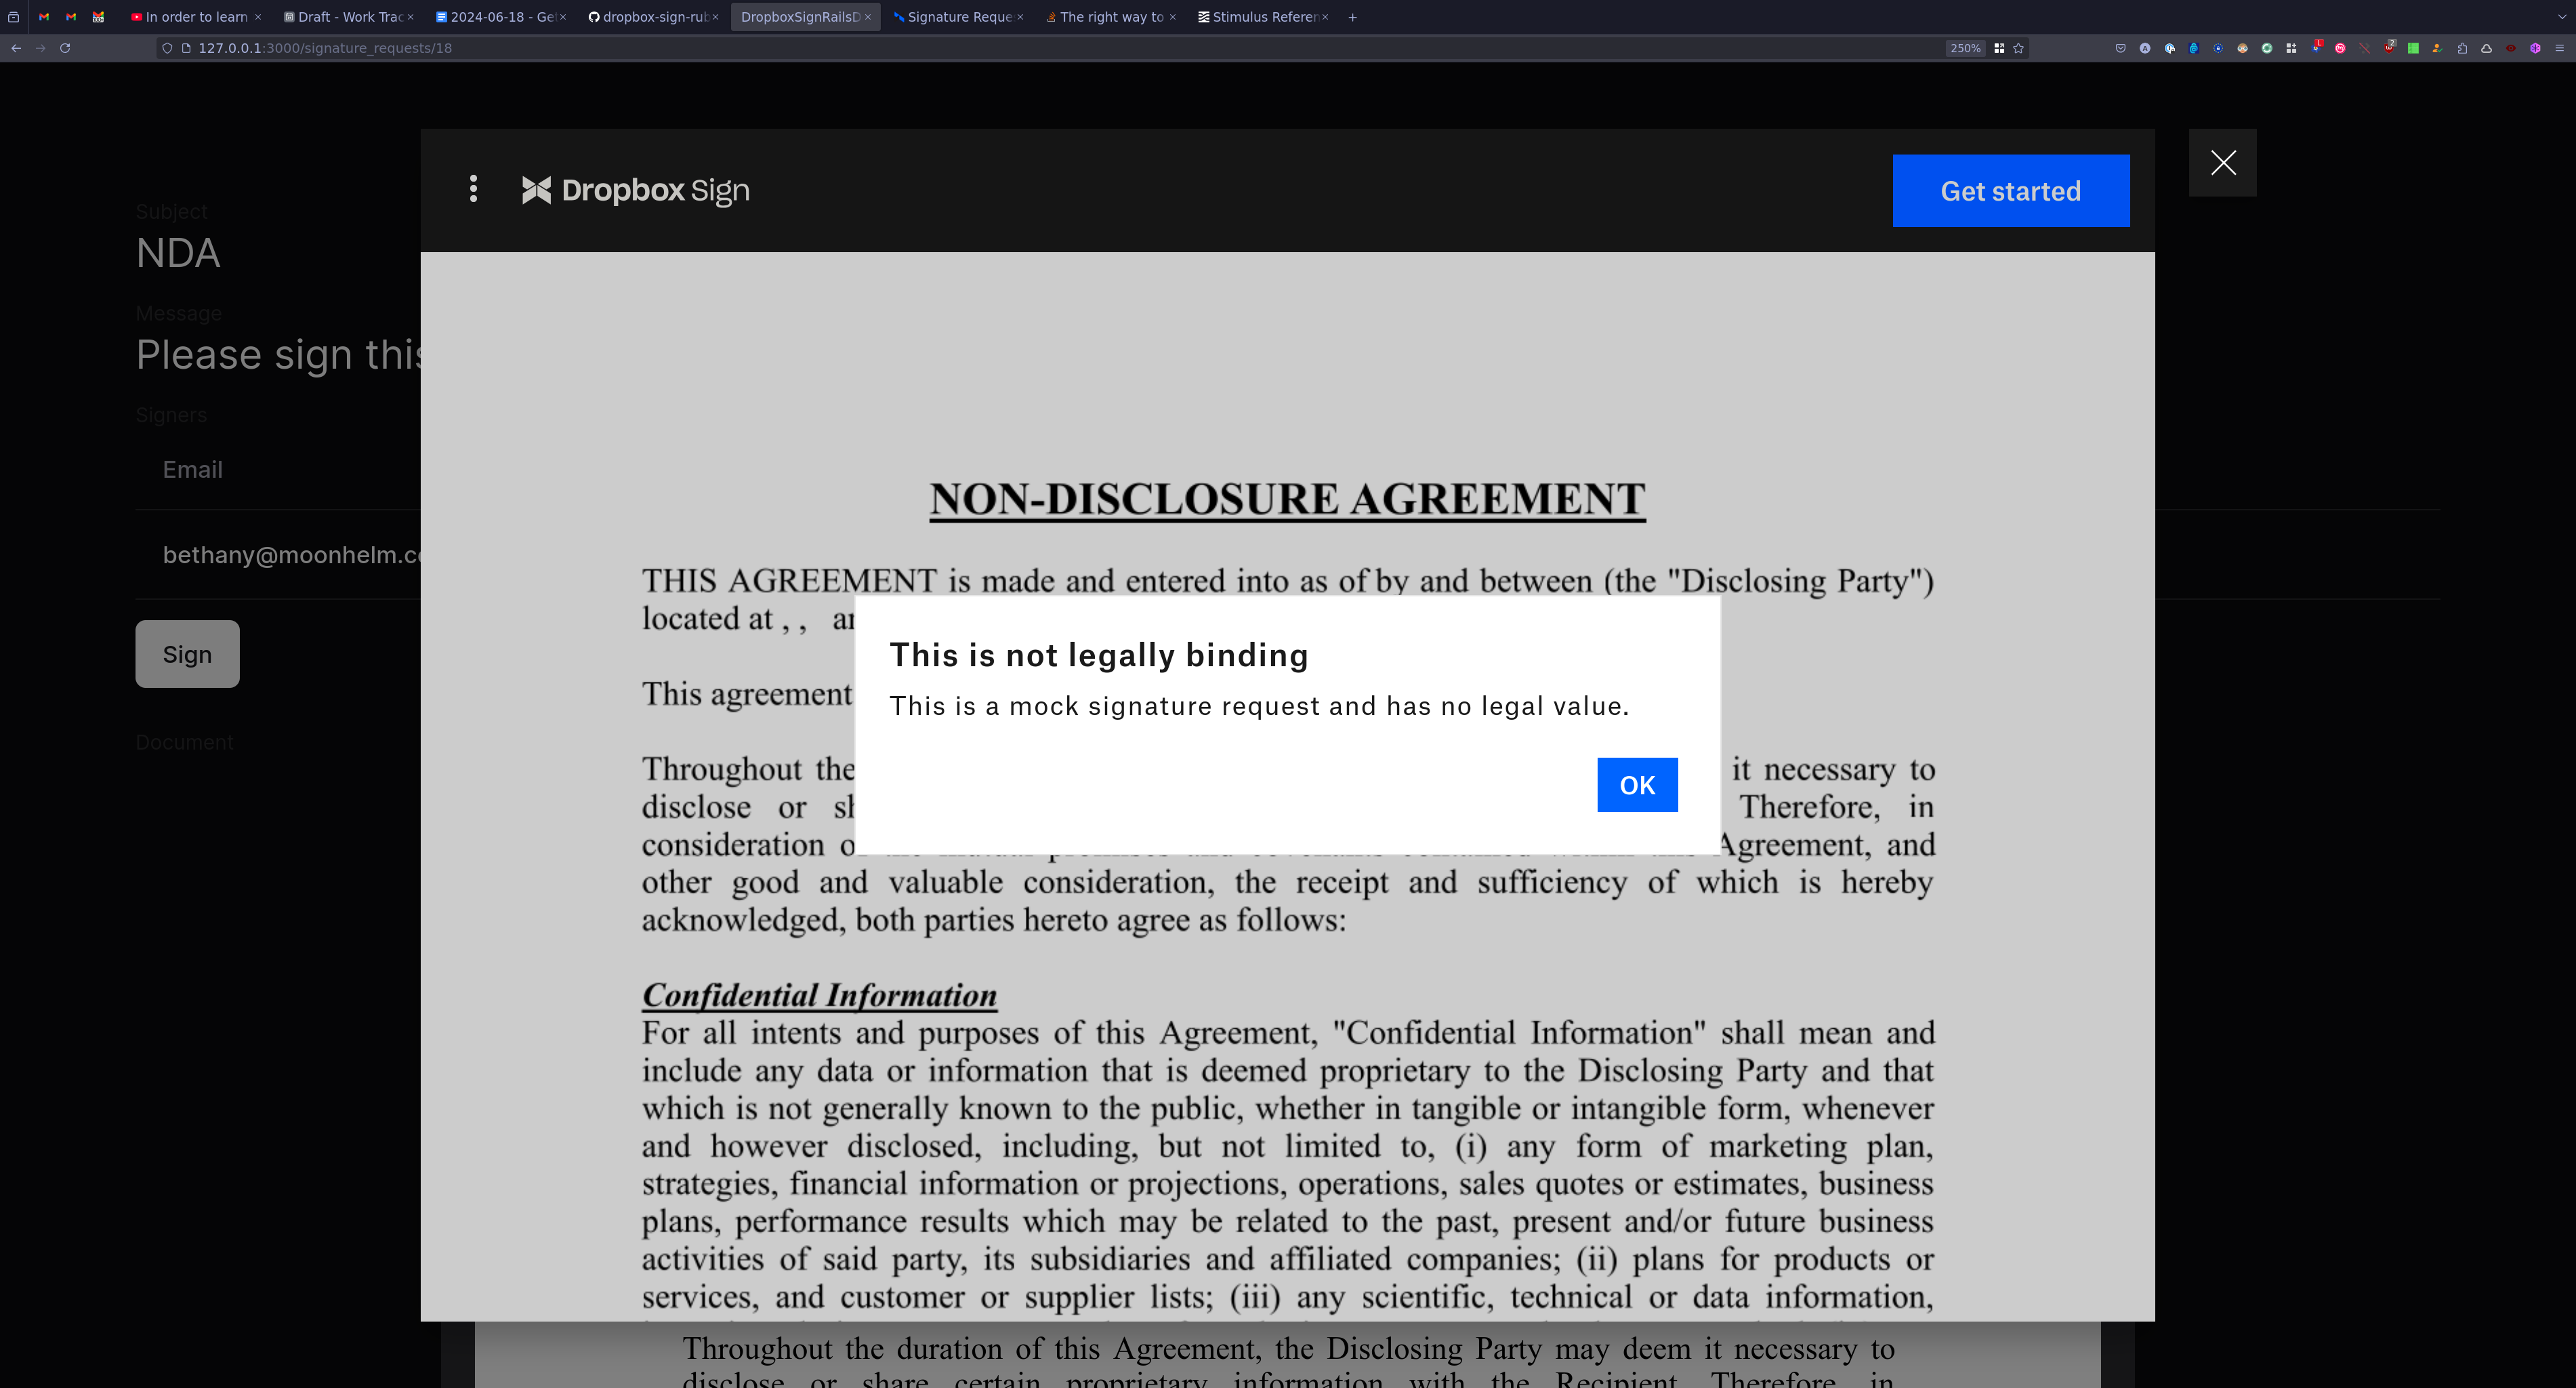
Clicking it opens the embedded signing dialogue. Since you used the `test_mode` parameter, you'll be given a warning:
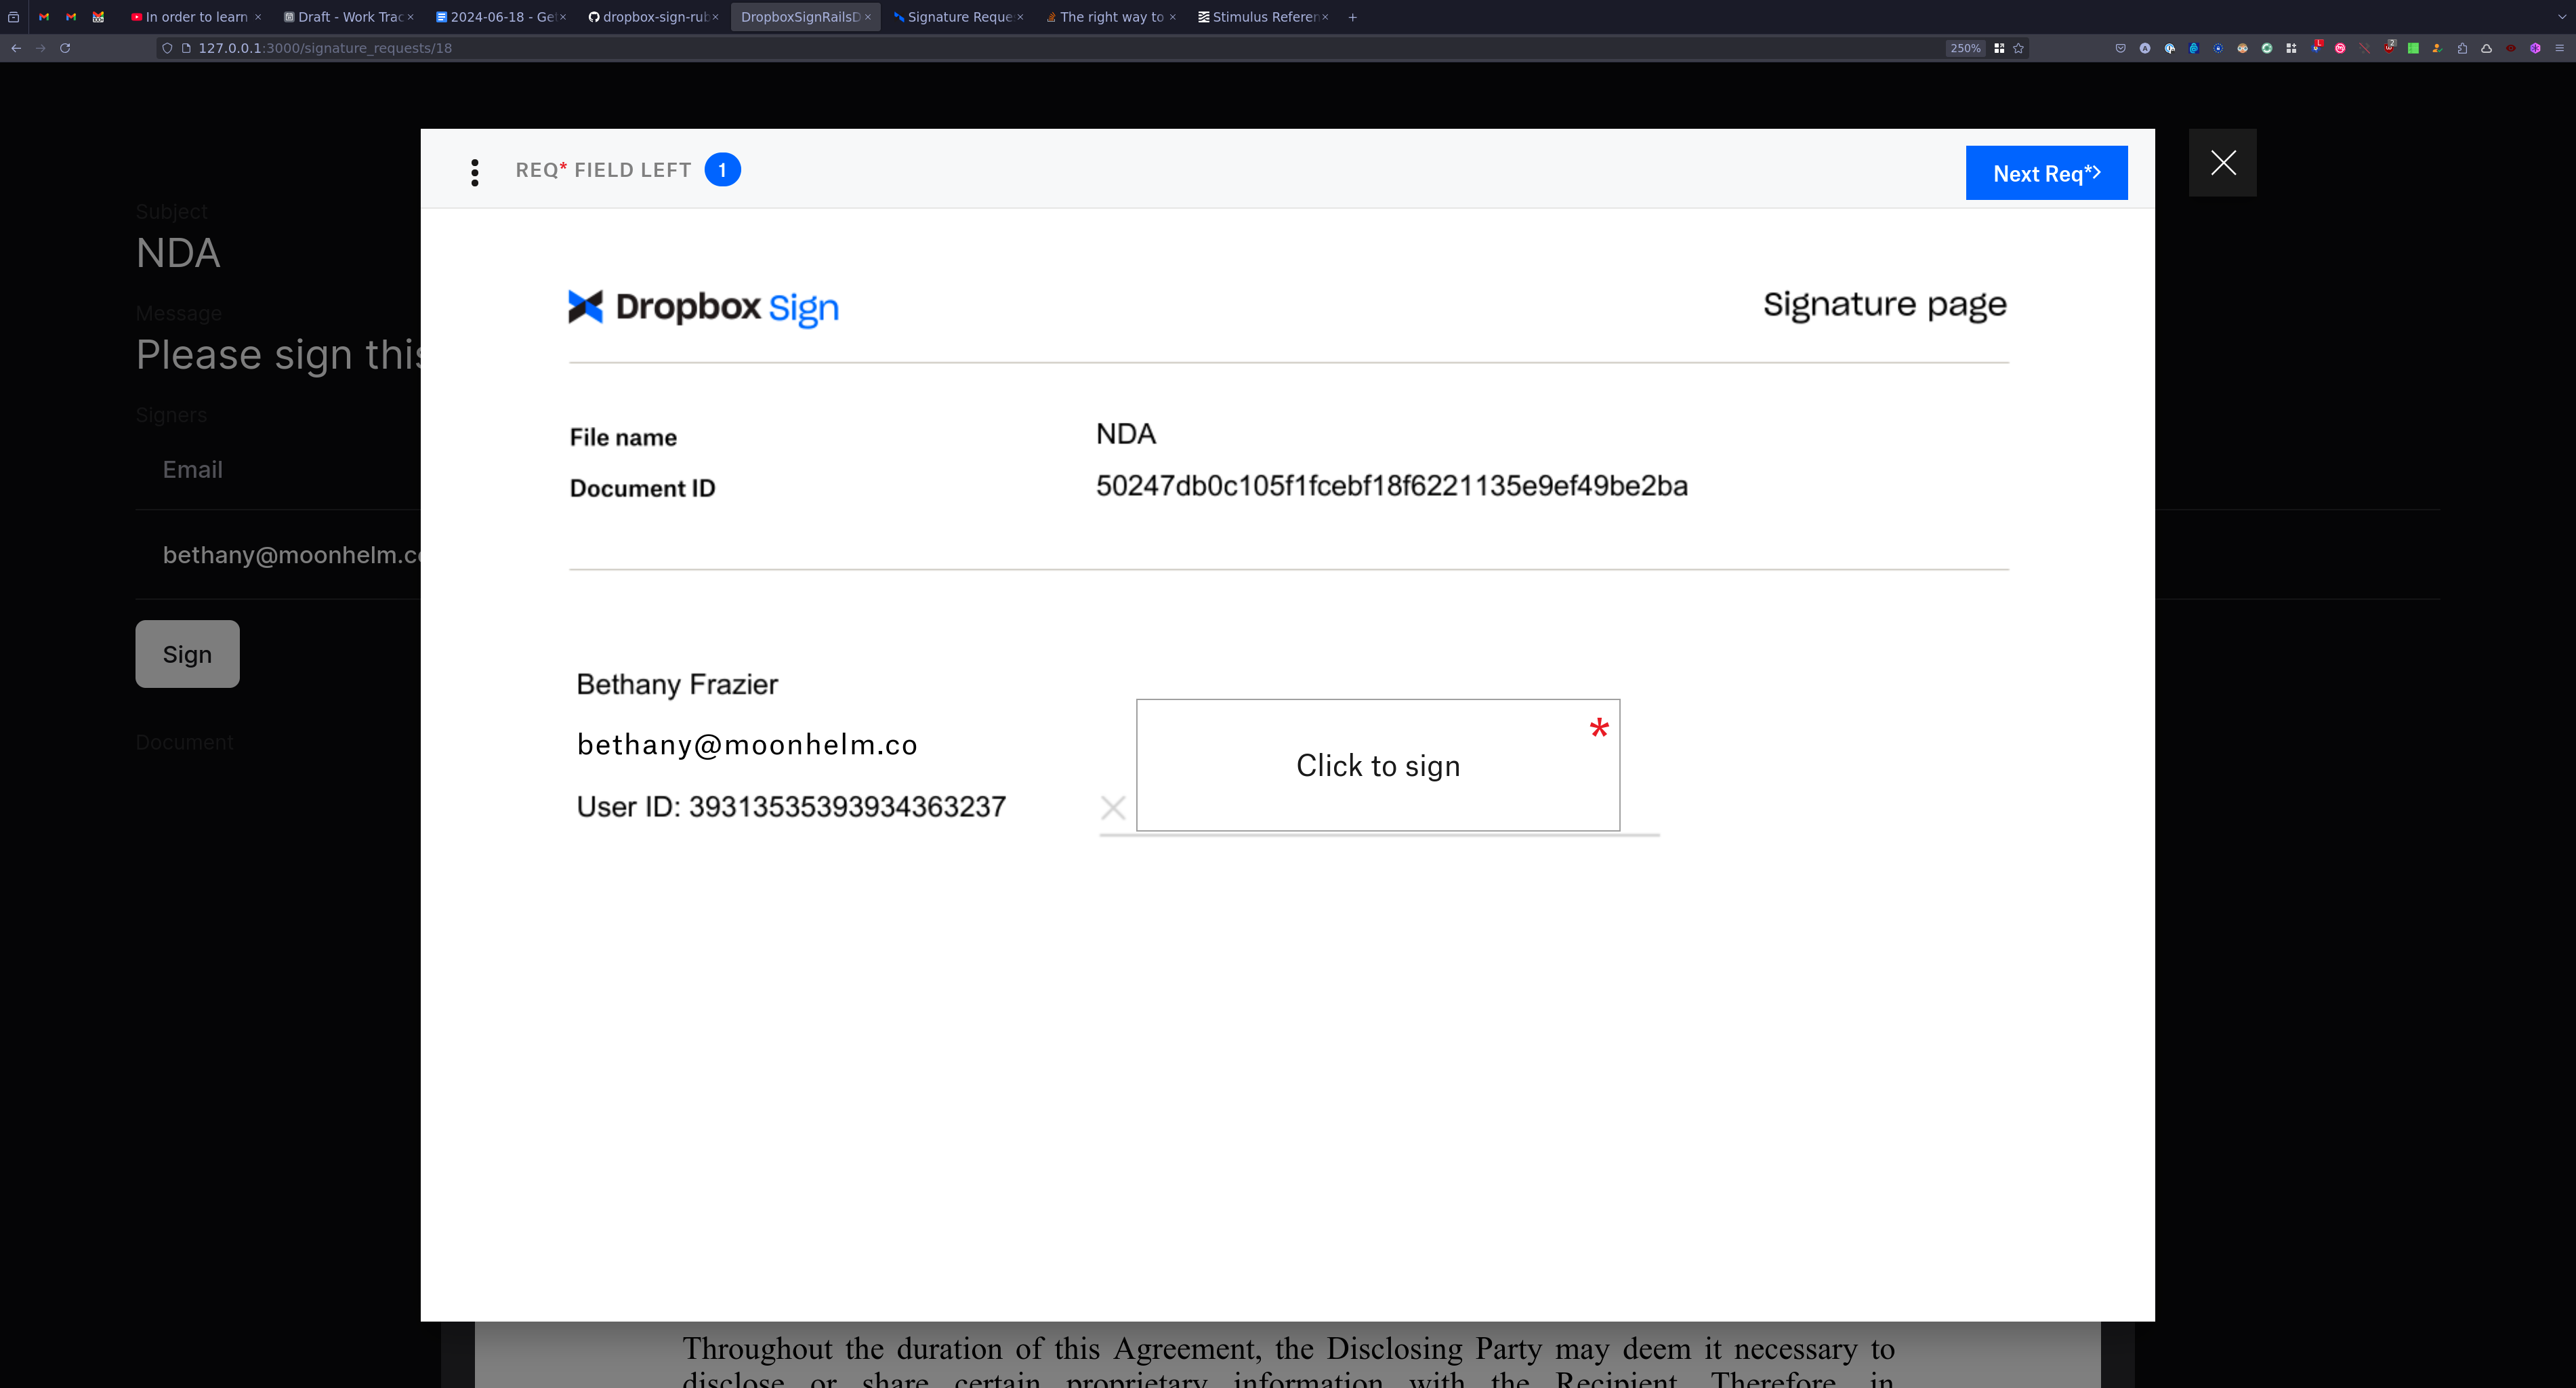
At the end of the document, you'll see a page for signatures:
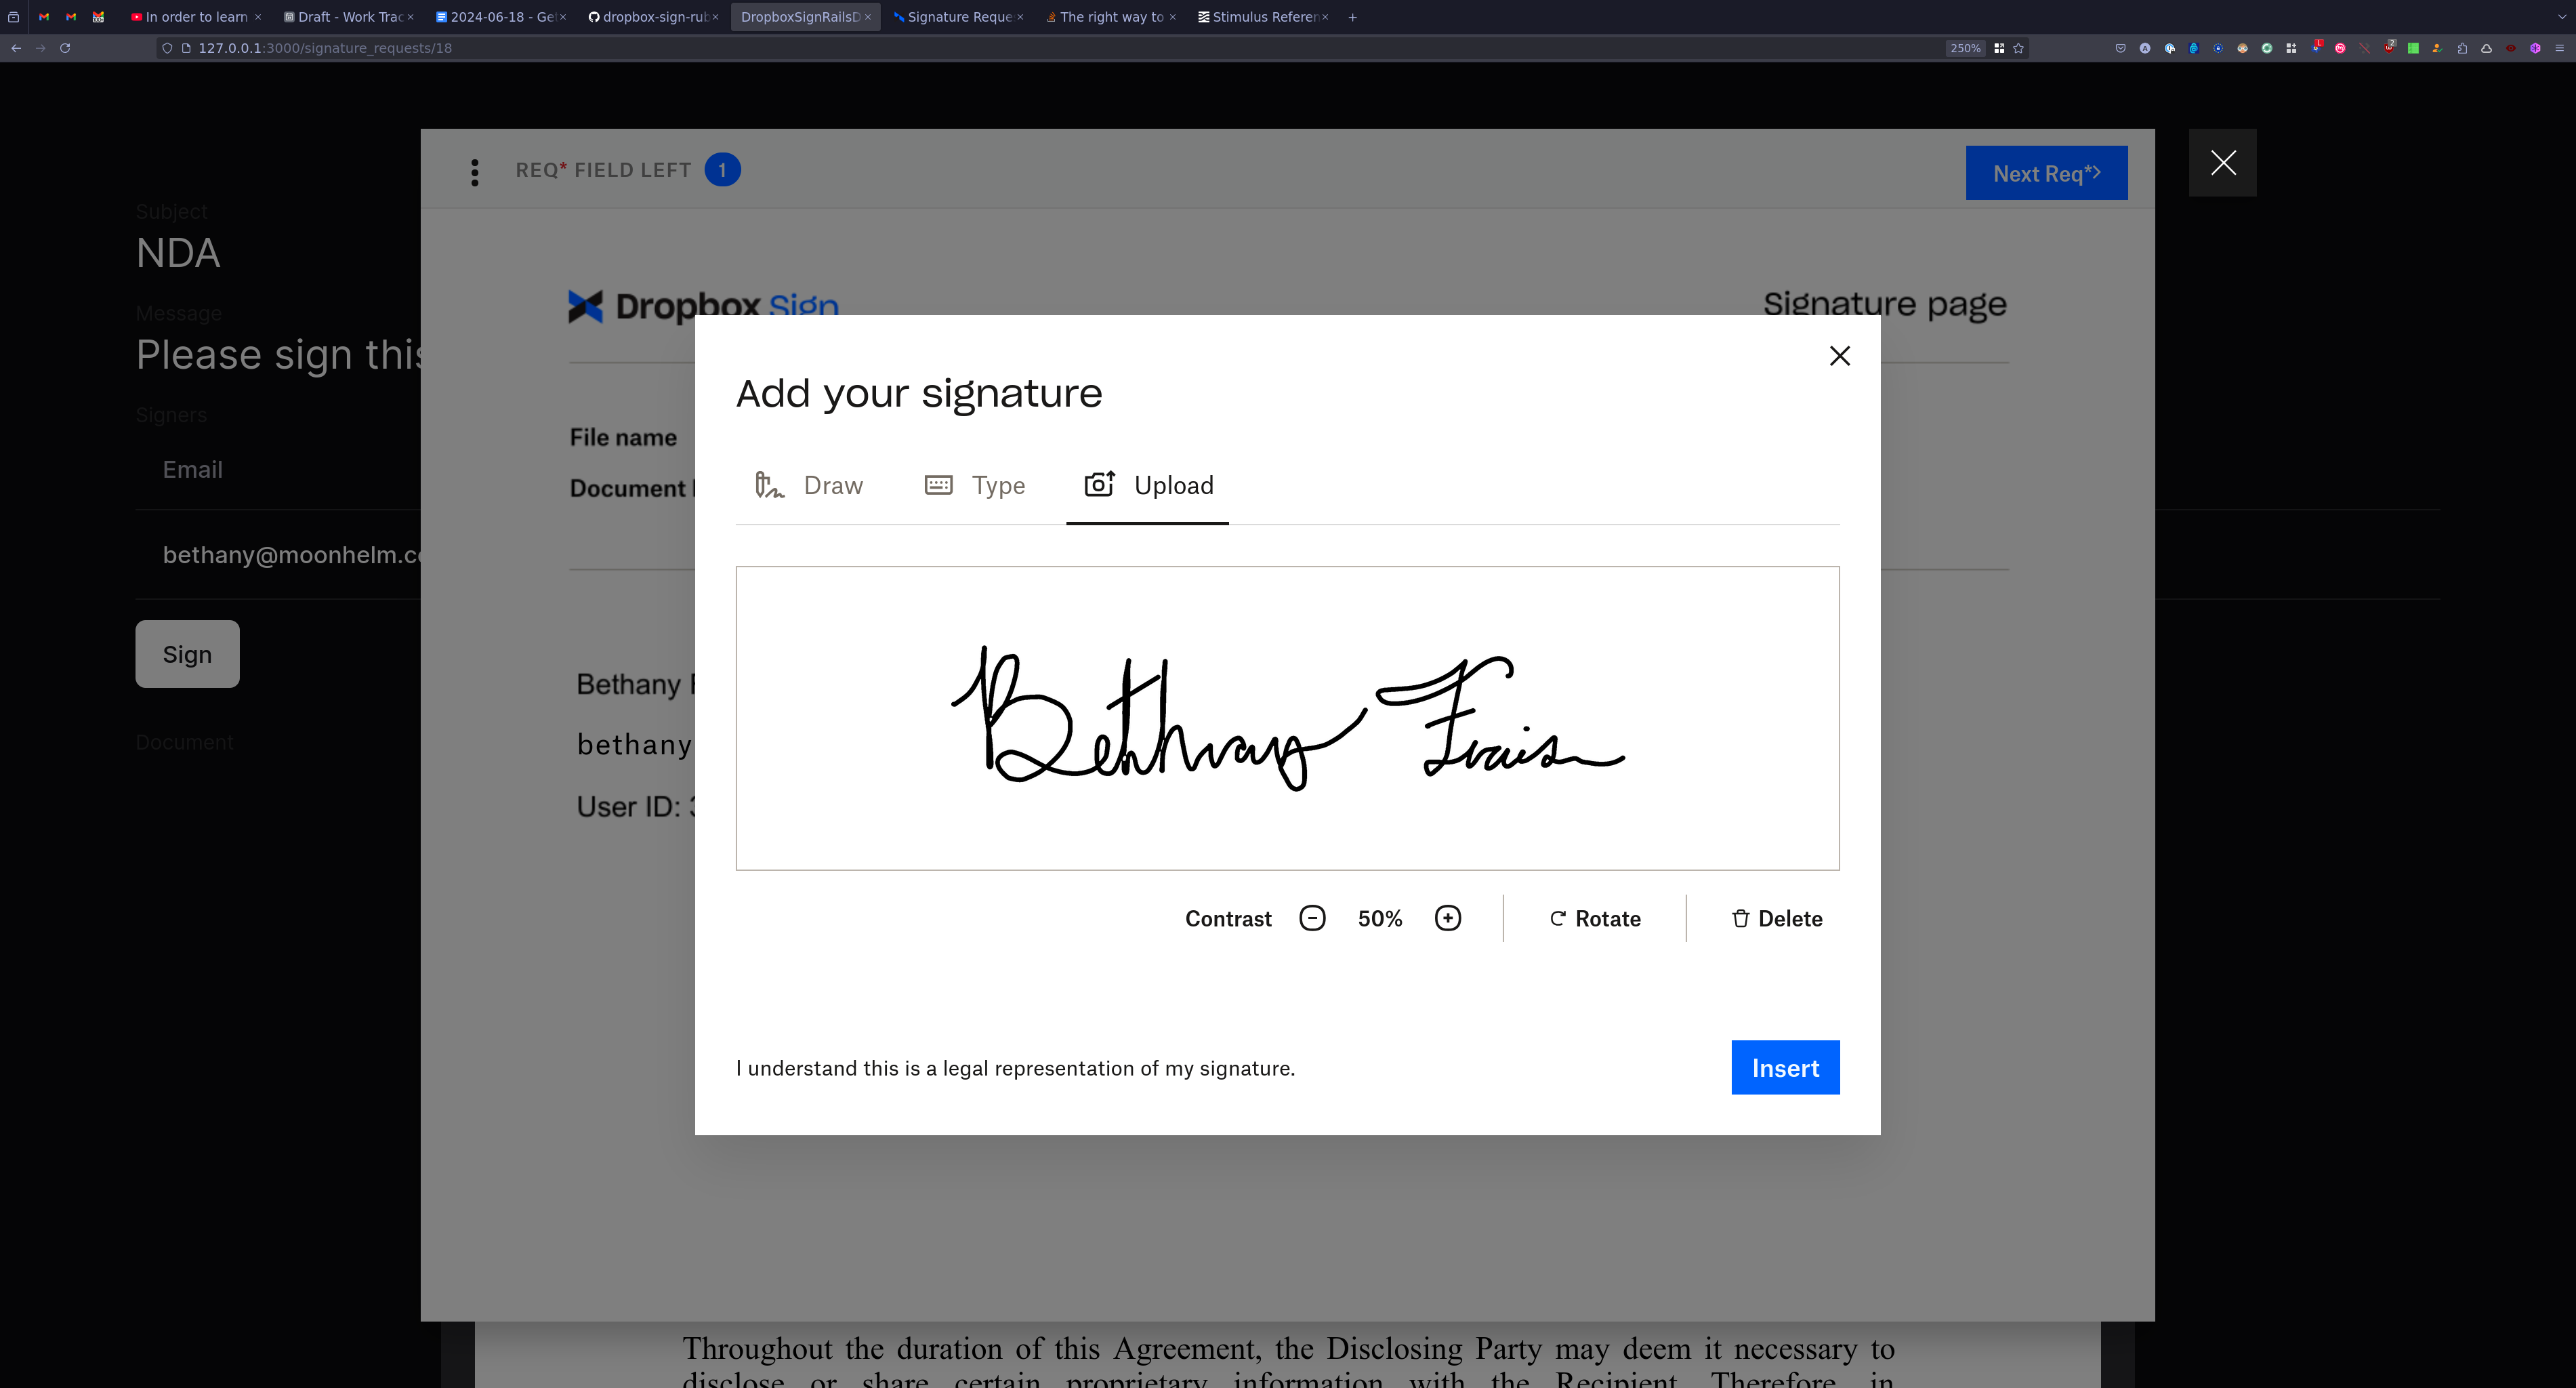
Click Click to sign and complete the signature:
Downloading documents
Currently, users can sign a document but have no way of downloading the file. To allow the users to download the file, use the Dropbox Sign API to check the status of the signature request. If all signers have signed the document, you can download the signed document from Dropbox Sign. Otherwise, serve the local file that was uploaded when the signature request was created.
In app/services/dropbox_sign_service.rb, add the following method:
This method uses signature_request_get to fetch the signature request details and uses the is_complete flag to check the status.
Dropbox Sign provides three different ways to download a file:
1. signature_request_files downloads the documents as PDF or ZIP files:
2. signature_request_files_as_data_uri returns a JSON object with a data_uri representing the Base64 encoded file (PDFs only):
3. signature_request_files_as_file_url returns a JSON object with a URL to the file (PDFs only):
In this article, you'll use the first method. Add the following method in app/services/dropbox_sign_service.rb:
In app/controllers/signature_requests_controller.rb, add the download method:
This method checks the status of the signature request. If it's complete, the file is downloaded from Dropbox Sign and served. If the signature request object has the file URL, the user is redirected there. Otherwise, the attached document is served.
Near the top of the controller, find the line that calls the set_signature_request method for the show action:
Include download in the list:
This ensures the @signature_request object is prepared using the ID passed in the URL before the download action is run.
In config/routes.rb, add the download route:
In app/views/signature_requests/_signature_request.html.erb, add the following code after the Sign button:
This shows a Download button to users who are authorized to download the document. Open app/models/ability.rb and look for the read ability, which starts with can :read. Change it to can [:read, :download]. This ensures the users who are allowed to see the signature request can also download the document. This includes all the signers as well as the initiator.
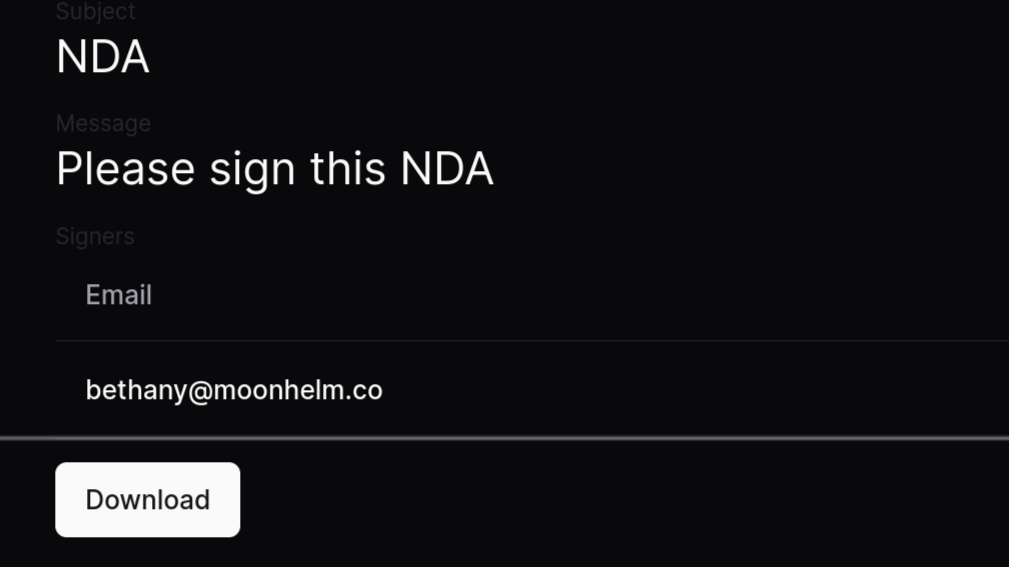
Now, you'll be able to see the Download button. Clicking it downloads the document:
Congratulations! You've successfully integrated the Dropbox Sign Ruby SDK into a Rails app. You can find the complete code in the final branch of this GitHub repo.
Next steps
Now that you've successfully added eSignature capabilities in your Rails app using the Dropbox Sign Ruby SDK, here are some ideas that you can explore to understand the full capabilities of the SDK:
* Use client-side events to react to different events on the frontend (*e.g.,* showing a success message after the user signs the document).
* Use webhooks to react to events on the server. Here are examples:
* After everyone has signed the document, download and store it locally. This saves you from having to download the file every time a user requests a download.
* Create a status column in the database, update it accordingly, and use it to streamline the user experience. For example, hide the Sign button after a user has signed the document.
* Use Dropbox::Sign::SubFormFieldsPerDocumentBase to customize where the user can sign and add custom data to the document.
* Use Templates to create reusable documents that can be customized for each signer.
* Use eID verification to verify the identities of signers.
Conclusion
This article taught you how to integrate the Dropbox Sign Ruby SDK into a Ruby on Rails app to enable eSignature capabilities.
Dropbox Sign offers a robust API and SDK for integrating eSignature functionality into web and mobile applications with ease. It offers features like reusable templates, customizable signing experiences, and real-time webhooks to streamline automated workflows. Compliant with global standards like the Electronic Identification and Trust Services (eIDAS), Dropbox Sign ensures secure and legally binding digital signatures. This makes it an ideal solution for businesses aiming to enhance productivity and provide a modern, user-friendly signing experience. Ready to get started? Sign up today.
Restez informé
Merci !
Merci de vous être abonné !


